Why Your Solar Array Needs Branch Connectors (And How to Install Them Right)
Updated:
Picture this: you’ve just installed your third solar panel on the roof, wires dangling everywhere, and suddenly you realize your two-panel string needs to connect with your new addition. You need a solar branch connector, but you’re staring at product listings wondering if you’re about to make an expensive mistake.
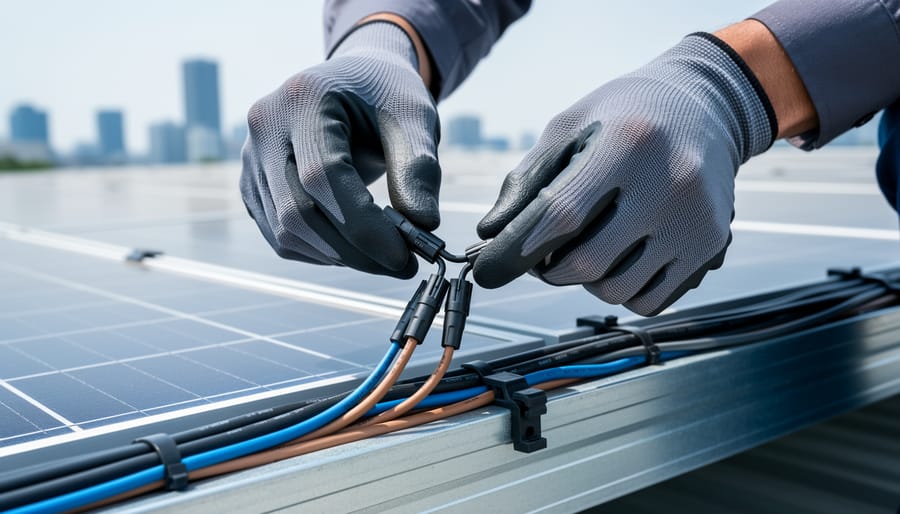
Solar branch connectors are the unsung heroes of panel arrays, allowing you to split or combine solar panel strings without cutting wires or creating dangerous connection points. Think of them as the Y-splitters of your solar system, turning one cable into two or merging multiple inputs into a single output. When I first expanded my garage solar setup from two panels to four, I spent hours trying to jury-rig connections with electrical tape and wire nuts before discovering these purpose-built connectors existed.
These weatherproof devices solve a specific problem: connecting panels in parallel or creating branch circuits without exposing bare wires to the elements. They’re rated for outdoor use, designed to handle the voltage and amperage your panels produce, and equipped with MC4 connectors that snap together securely. Most DIYers need them when expanding existing arrays, connecting panels with different orientations, or building ground-mounted systems where panels feed into a central junction point.
The key is matching the connector’s specifications to your system’s voltage and current requirements while ensuring proper polarity. Get this right, and your installation becomes cleaner, safer, and infinitely more professional-looking than any homemade solution.
What Solar Branch Connectors Actually Do
Think of your solar array like a small neighborhood of electricity producers. Each panel string is churning out power, but you need a way to gather all that energy and send it to your inverter. That’s exactly what solar branch connectors do—they’re the meeting point where multiple panel strings come together into a single, unified output.
Here’s the straightforward explanation: branch connectors (sometimes called Y-connectors or parallel connectors) allow you to combine two or more solar panel strings running in parallel. Instead of running separate cables from each string all the way to your combiner box or inverter, you can merge them partway through using these specialized connectors. This simplifies your wiring, reduces the number of entry points into your electrical equipment, and generally makes your installation cleaner and more professional-looking.
I like to tell folks that branch connectors work like joining multiple garden hoses into one main line—each hose carries water independently, but they all feed into the same sprinkler system.
That comparison really helped me understand them when I was first learning about solar installations.
Now, you might be wondering how these differ from the standard MC4 connectors you’ve probably heard about. MC4 connectors are the industry-standard plug-and-play connectors that link individual panels together in a string—they’re simple one-to-one connections. Branch connectors, on the other hand, are specifically designed for one-to-many (or many-to-one) scenarios. They feature multiple input ports that funnel into a single output.
Understanding solar connector compatibility is crucial here because mixing incompatible connector types can lead to poor connections, voltage drops, or even safety hazards. Branch connectors fit into the broader connector ecosystem as specialized tools for parallel configurations, working alongside your standard MC4s and potentially combiner boxes depending on your system size. For smaller DIY setups, they’re often the perfect middle-ground solution between simple string connections and full commercial-grade combining equipment.
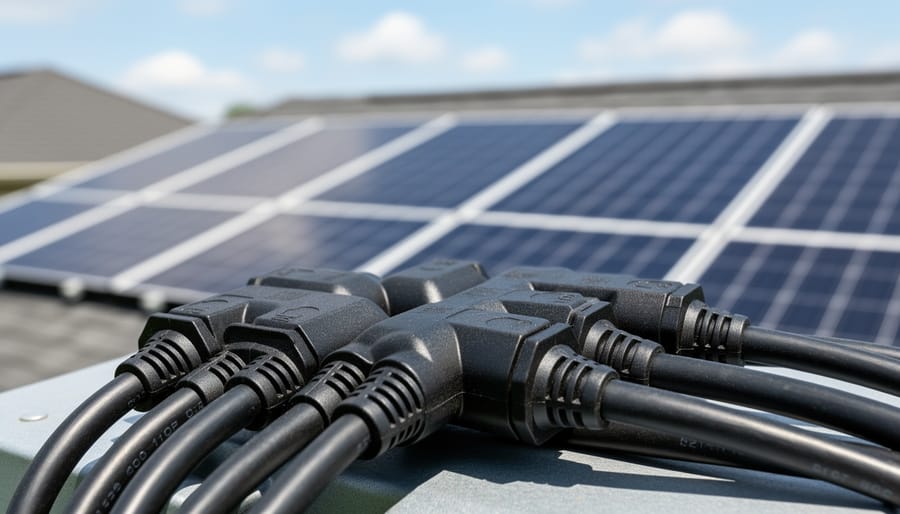
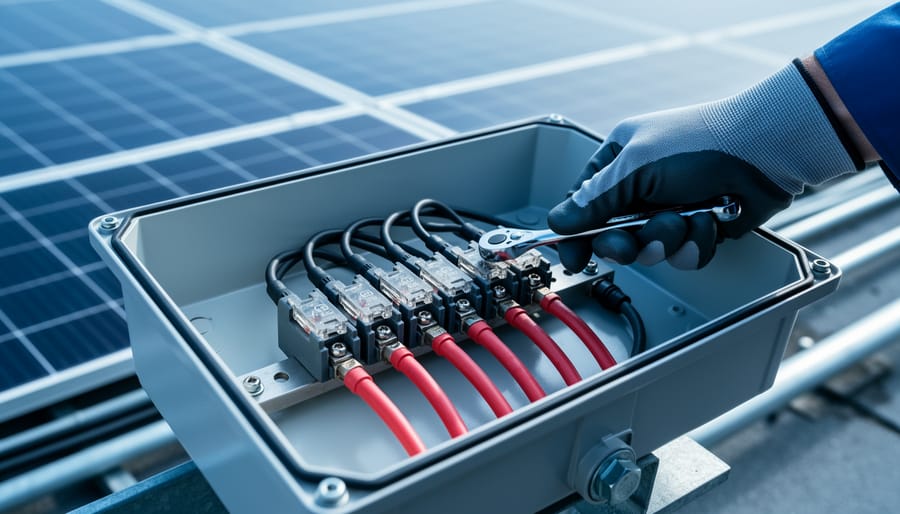
Solar branch connectors merge multiple panel strings into a single output, making parallel configurations possible in residential arrays.
When You Need Branch Connectors in Your Solar Setup
Let me tell you about the moment I realized I needed branch connectors for my own solar setup. I’d installed six panels on my garage roof, everything was humming along nicely, and then I decided to add four more panels on my shed. That’s when I discovered that branch connectors weren’t just convenient—they were essential for making my expanding system work efficiently.
So when exactly do you need these handy little devices? The most common scenario is when you’re working with parallel string configurations. Think of it this way: if you have multiple strings of solar panels that you want to combine before they reach your charge controller or inverter, branch connectors are your go-to solution. They let you merge two or more strings into a single output, keeping everything organized and weatherproof.
Another situation where branch connectors shine is during system expansion. Maybe you started with a small array, like I did, and now you want to add more panels without completely rewiring your setup. Branch connectors let you tap into your existing wiring and add new strings without dismantling what’s already working. It’s like adding a new branch to a tree rather than replanting the whole thing.
You’ll also need branch connectors when you’re trying to meet specific system voltage requirements. For example, if you have panels with different orientations—say some facing east and others facing south—you might want to keep them in separate strings for better performance monitoring. Branch connectors allow you to run these strings independently and then combine them efficiently at a central point.
Here’s a practical tip from my experience: if you’re installing panels in multiple locations around your property, branch connectors can save you from running excessive cable lengths. Instead of routing each panel string all the way back to your inverter separately, you can combine nearby strings with branch connectors and use a single, heavier gauge cable for the main run. This approach saves money on copper and reduces voltage drop.
The bottom line? If your solar setup involves more than one simple string of panels connected directly to an inverter, there’s a good chance branch connectors will make your life easier and your system more reliable.
Types of Solar Branch Connectors You’ll Encounter
When you’re wiring up your solar panel array, you’ll quickly discover that not all branch connectors are created equal. I remember Charles telling me about his first solar setup where he bought the wrong type of connector and had to make an extra trip to the hardware store. Let’s save you that hassle by exploring the main types you’ll encounter.
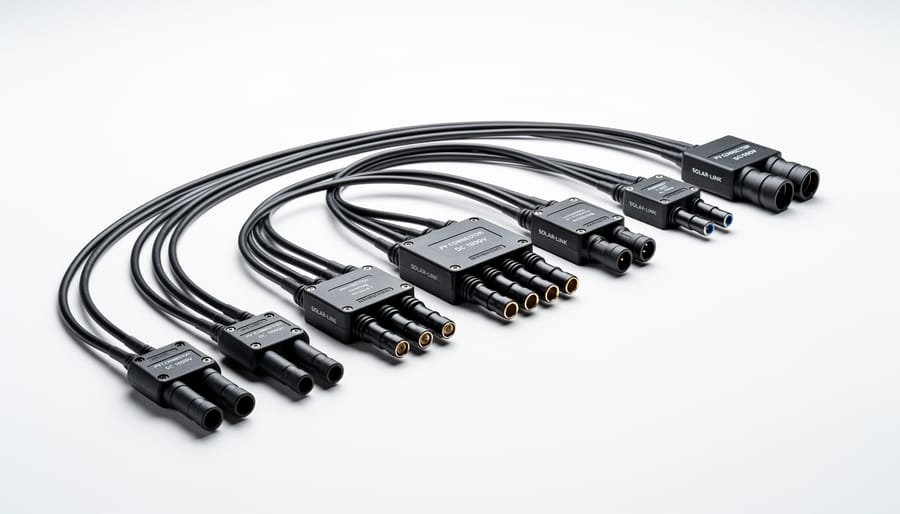
The Y-connector, or 2-to-1 branch connector, is probably the most common type you’ll see in DIY solar setups. Think of it like a Y-shaped pipe that merges two solar panel strings into one output. These are perfect for smaller systems where you’re connecting just a couple of panels in parallel. They’re straightforward, affordable, and great for beginners who are just getting their feet wet with solar installations.
T-connectors work similarly but with a slightly different configuration. They allow you to branch off from an existing string to add another panel or create a junction point in your system. These are particularly handy when you’re expanding an existing setup or need to route cables in a specific direction. Charles always keeps a few T-connectors in his workshop because they’re lifesavers when you need to modify your layout without redoing everything.
Connector Type
Configuration
Best Use Cases
Price Range
Y-Connector
2-to-1
Small arrays, parallel connections
$5-$15
T-Connector
2-to-1 or 3-way
Array expansion, routing flexibility
$8-$20
Multi-Branch Combiner
3-to-1, 4-to-1, 6-to-1
Large arrays, centralized combining
$25-$80
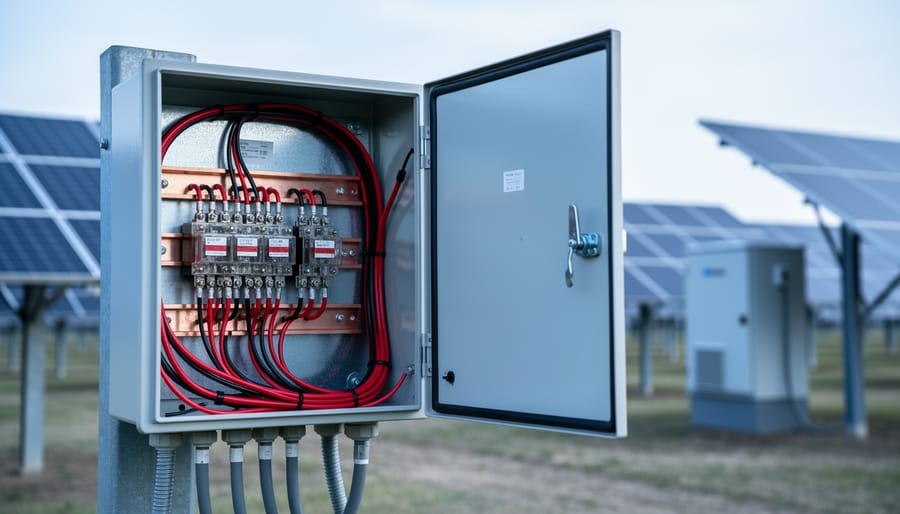
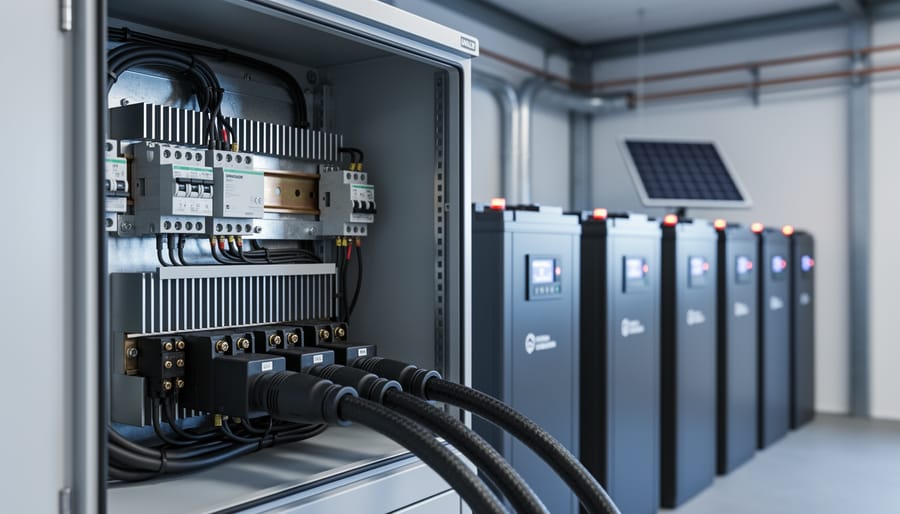
For larger installations, multi-branch combiners are where things get more serious. These units can handle three, four, or even six input strings, consolidating everything into one or two outputs. They’re essentially miniature junction boxes with built-in connectors. If you’re planning a rooftop array with multiple strings or working on combiner box wiring, these multi-branch units will simplify your life considerably.
The key to choosing the right type comes down to your system size and future plans. Starting small? Grab some Y-connectors. Planning to expand later? T-connectors give you flexibility. Building a serious array? Invest in a quality multi-branch combiner from the start. Whatever you choose, make sure it’s rated for your system’s voltage and current requirements.
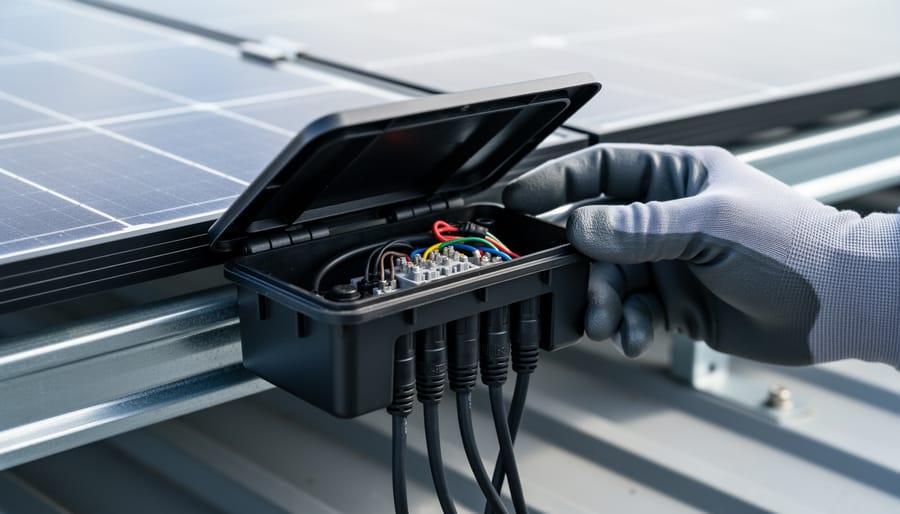
Different branch connector types serve specific array configurations, from simple Y-connectors to multi-branch combiners for larger installations.
Choosing the Right Branch Connector for Your Project
When I first started expanding my solar setup, I stood in the hardware aisle staring at branch connectors for way too long, completely overwhelmed by the options. Here’s what I wish someone had told me that day about choosing the right one for your project.
Start with voltage rating. Most residential solar panels operate at either 12V, 24V, or 48V systems, but individual panels can produce much higher voltages. Your branch connector needs to handle the maximum voltage your system can generate. Look for connectors rated for at least 1000V DC for standard home installations. This gives you headroom and ensures safety even when panels are producing peak power on those bright, cold winter days when voltage runs highest.
Current capacity comes next, and this is where math meets reality. Add up the maximum current from all the panels you’re connecting through that branch point. If you’re combining three 10-amp panels, you need a connector rated for at least 30 amps, but I always recommend going 20-25% higher for safety margin. A 40-amp rated connector would be perfect in this scenario.
Weather resistance might seem obvious for outdoor equipment, but the details matter. Check the IP rating, which tells you how well the connector resists dust and water. For solar installations, IP67 is the minimum I’d recommend. That means total dust protection and the ability to withstand temporary water immersion. If you live in particularly harsh climates like I do here in the Pacific Northwest, IP68 offers even better protection against prolonged moisture exposure.
Here’s the thing that trips up most DIYers: compatibility. The vast majority of modern solar panels use MC4 connectors as standard. Your branch connector absolutely must work with MC4 connections, or you’ll need adapters, which add complexity, potential failure points, and cost. Double-check the product specifications before purchasing.
Finally, consider the number of inputs and outputs you need. Branch connectors typically come in Y-configurations (one input, two outputs) or multi-branch designs with three or more outputs. Sketch out your panel layout beforehand so you know exactly what configuration makes sense for your specific installation. This simple planning step saved me from buying wrong connectors twice.
Step-by-Step: Installing Solar Branch Connectors
Before you dive into the installation process, let me share something I learned the hard way during my first solar setup. I was so eager to get my panels connected that I skipped a few safety steps and ended up with a connector that looked secure but wasn’t properly sealed. One rainstorm later, I understood why preparation matters. So let’s walk through this together, the right way.
Start by planning your layout on paper before touching any wires. Sketch out where each panel connects and which branches feed into your combiner box or charge controller. This simple step prevents the frustration of realizing halfway through that your cables don’t reach where they need to go. Trust me, measuring twice saves you from purchasing extension cables later.
Safety first, always. Even on cloudy days, solar panels generate voltage. Cover your panels with opaque material or wait until early morning before starting work. I keep a few old blankets in my garage specifically for this purpose. Also, invest in a multimeter to verify there’s no voltage present before you begin making connections.
Now you’re ready for the actual installation:
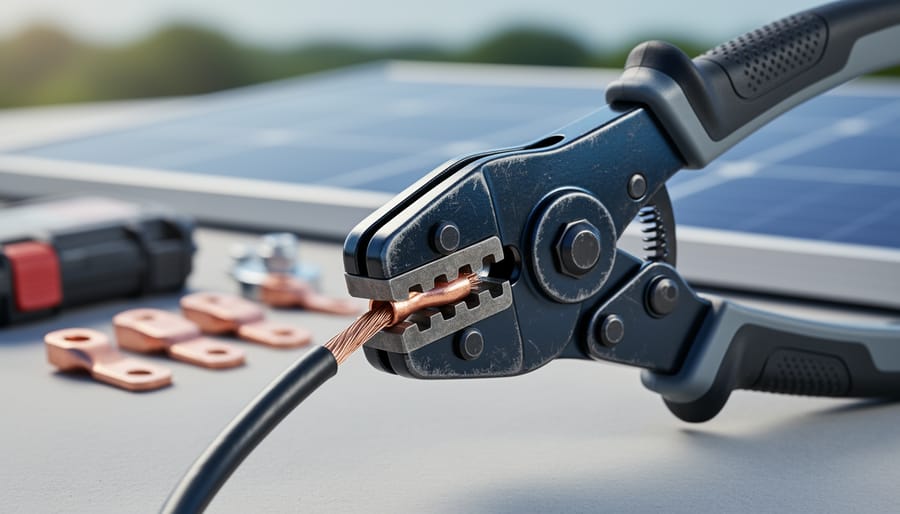
Gather all your components: branch connectors, appropriate cable lengths, wire strippers, and crimping tools if you’re working with bare wire ends.
Strip the cable insulation carefully, exposing about 6-8mm of conductor. Too much exposed wire creates shock hazards, too little won’t make proper contact.
Insert the stripped wire into the connector housing, ensuring the conductor reaches the metal contact point fully. You should feel a distinct click when it seats properly.
If you’re crimping MC4 connectors, apply firm, even pressure with your crimping tool. A half-crimped connector is worse than no connector because it creates resistance and heat buildup.
Attach the branch connector to your panel leads, matching positive to positive and negative to negative. Most connectors are keyed to prevent backwards installation, but double-check before forcing anything.
Perform a gentle tug test on each connection. If anything pulls apart with moderate hand pressure, it wasn’t properly secured.
After completing the physical connections, test everything with your multimeter before removing those panel covers. Verify voltage readings match your expectations based on your panel specifications.
Common beginner mistakes include over-tightening connectors, which can crack the housing, and mixing connector brands that aren’t truly compatible despite looking similar. Another frequent error is working on live circuits without properly safely disconnecting panels first.
Take your time with this process. Rushing leads to loose connections that degrade over time, creating resistance, heat, and potential fire hazards. A proper installation done once beats redoing sloppy work three times.
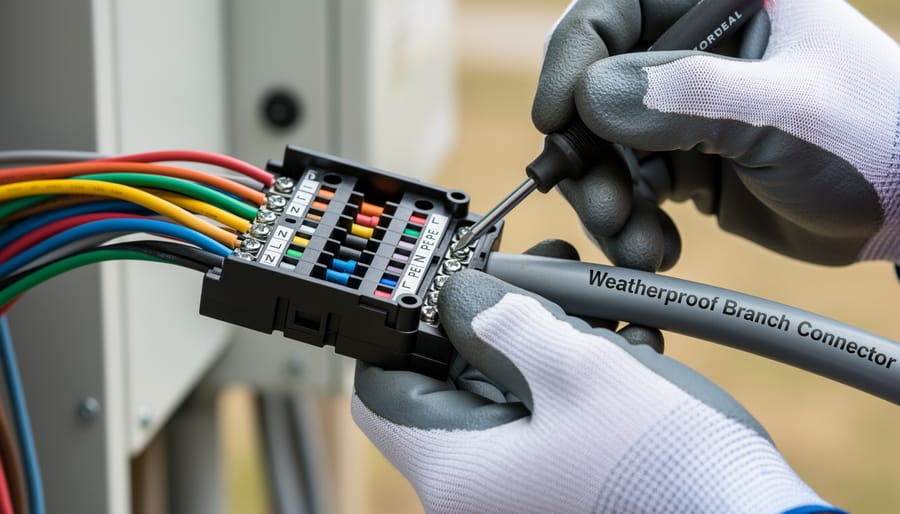
Proper branch connector installation requires attention to polarity, secure connections, and weather-resistant assembly techniques.
Common Branch Connector Mistakes (And How I Fixed Mine)
I’ll be honest – I’ve made pretty much every mistake in the book with solar branch connectors, and each one taught me something valuable. Let me walk you through the most common issues so you can skip the frustration I experienced.
The biggest mistake I made early on was mixing up polarity. I once spent an entire Saturday scratching my head, wondering why my panel array wasn’t producing power. Turns out, I’d reversed the positive and negative connections on one branch connector. The fix was simple once I figured it out, but the lesson stuck: always double-check your markings before crimping. I now use colored tape (red for positive, black for negative) to mark my wires before making any connections.
Another costly error involved undersizing my connectors. I thought I could get away with using smaller gauge connectors to save a few bucks on a 30-amp circuit. Within weeks, I noticed the connectors getting warm to the touch – never a good sign. The issue was voltage drop and heat buildup from resistance. I replaced them with properly rated connectors, and the problem disappeared immediately. The rule of thumb I follow now: always match your connector’s amp rating to your circuit’s maximum current, with a 25% safety buffer.
Weather sealing nearly got me too. I installed my first set of connectors without fully seating the rubber gaskets, thinking “close enough” would work. After one heavy rainstorm, I found moisture inside the connection housing. This led to corrosion and intermittent power issues. Now I always press firmly until I hear that satisfying click, and I apply a thin layer of dielectric grease for extra protection in exposed locations.
The learning curve was steep, but these mistakes made me a much better solar DIYer. Your best defense is taking your time during installation and testing everything before finalizing connections.
Looking back on my own solar journey, I’ve learned that the smallest components often make the biggest difference. Quality branch connectors might seem like minor details in your solar setup, but they’re actually protecting your entire investment. I once rushed through a connection on a cloudy afternoon, eager to finish before dinner, and ended up spending the next weekend troubleshooting voltage drops. Trust me, taking those extra few minutes to double-check each connection is worth it.
As you plan your solar array, remember that proper connectors aren’t just about making electricity flow—they’re about keeping your system safe and efficient for years to come. The few dollars you spend on reliable branch connectors pale in comparison to replacing damaged panels or inverters down the road.
Before you start your project, I encourage you to use our solar calculator to map out your array configuration. It’ll help you determine exactly how many branch connectors you’ll need and where they’ll go in your system. Take your time, ask questions in our community forums, and remember that every expert was once a beginner figuring things out one connection at a time. You’ve got this.
How useful was this post?
Click on a star to rate it!
Average rating 5 / 5. Vote count: 1
No votes so far! Be the first to rate this post.
We are sorry that this post was not useful for you!
Let us improve this post!
Tell us how we can improve this post?
charlesnoble
Here at Spheral Solar, I’m a hands-on solar power enthusiast, constantly exploring and experimenting with DIY solutions. I’m dedicated to sharing my discoveries, insights, and even the bumps I hit along the way, all in the pursuit of a more sustainable future.
Why Your DIY Solar System Needs a 4 String PV… by Charlesnoble January 27, 2026 Connect your solar panel strings to a single positive and negative output cable using a 4 string PV combiner box—the essential junction point that safely consolidates power from four separate string circuits before feeding your charge controller or inverter. This weatherproof enclosure houses individual fuses or circuit breakers for each…
Why Your Solar Panel’s J-Box Matters More Than You Think by Charlesnoble January 8, 2026 Flip over any solar panel and you’ll spot a small weatherproof box attached to the back—that’s the junction box, or j-box, and it’s the critical gateway between your panel’s delicate solar cells and your entire electrical system. Understanding this component isn’t just technical curiosity; it’s essential for anyone wiring their…
Why 8 AWG Solar Cable Changed How I Wire My Solar… by Charlesnoble December 17, 2025 Choosing 8 AWG solar cable for your DIY solar installation comes down to understanding one critical factor: how much current your system pushes through the wires and over what distance. If you’re running a 400-watt solar panel setup at 12 volts, you’re looking at roughly 33 amps of current, and…
Why Your RV Solar Panels Aren’t Charging (And How to… by Charlesnoble November 30, 2025 Check your multimeter readings at each connection point along your solar charging path—from panels to charge controller to battery—to pinpoint exactly where voltage disappears. Most RV solar systems lose 10-30% of their potential power to voltage drop, but this invisible thief often goes undetected until you systematically measure and compare…
Why Your Solar Array Needs Proper Grounding (Before… by Charlesnoble November 24, 2025 Connect your solar array’s metal frame to a grounding rod driven at least eight feet into the earth near your installation. This creates a safe path for electrical faults and lightning strikes to dissipate harmlessly into the ground instead of through your home’s wiring or, worse, through you. Install grounding…
Why Your 1500V DC Solar System Needs the Right… by Charlesnoble May 22, 2026 When I first upgraded my solar array to 1500V, I learned quickly that the combiner box isn’t just another component—it’s the critical safety hub protecting your entire system from potentially catastrophic overcurrent events. This unassuming metal enclosure sits between your solar panel strings and inverter, consolidating multiple DC inputs while…
Subscribe for handpicked DIY projects, exclusive tips, and giveaways.
Crimping 8-gauge wire correctly takes about 2 minutes per connection once you’ve got the hang of it, but those two minutes make the difference between a solar installation that lasts 25 years and one that fails in the first storm. An 8-gauge wire crimper is a heavy-duty hand tool designed to cold-forge lugs and terminals… Read more: How to Use an 8 Wire Crimper for Solar Panel and Battery Connections
Building a solar powered outdoor table takes about 8 to 12 hours and requires basic woodworking skills plus some familiarity with electrical connections. You’ll mount solar panels directly onto a custom-built or modified outdoor table, wire them to a charge controller and battery system housed underneath, and add USB ports or AC outlets for charging… Read more: How to Build a Solar Powered Outdoor Table for Your Camping Setup
Charging a battery bank with a 3-phase inverter requires connecting your inverter’s AC output to a compatible battery charger or hybrid inverter system that can convert the 3-phase power back to DC for storage. Most DIY solar setups achieve this by using a hybrid inverter that handles both solar input and battery charging simultaneously, or… Read more: How to Wire and Configure a Battery Inverter 3 Phase System for Off-Grid Solar