How to Test a Solar Panel Without a Multimeter
Updated:

You can easily test the performance of a solar panel even without a multimeter.
It requires a certain level of technical understanding, and the process must be approached carefully to avoid accidental damage or personal injury.
But, with the right guide, you will find that it’s not as daunting as it initially appears.
In this guide, we’ve gathered all the necessary insights to test solar panels without a multimeter easily. These methods are perfect for those wondering how to test a solar panel without a multimeter.
Solar Panel Inspection Methods That Don’t Require a Multimeter
Solar panel testing without a multimeter involves various inspection methods that serve unique purposes. Each of these solar panel test methods can tell you the condition of your solar panels.
In this section, we will walk you through the diverse inspection types that one can employ to assess the performance of solar panels.
These methods range from visual inspections that identify physical defects and test the solar panel output using a lightbulb to gauge energy production to more involved methods involving devices like a string inverter or a solar charge controller.
Other tools, such as a solar power meter, can also be used to measure the amount of sunlight hitting the solar panel, indirectly helping to evaluate the panel’s performance.
Visual Inspection
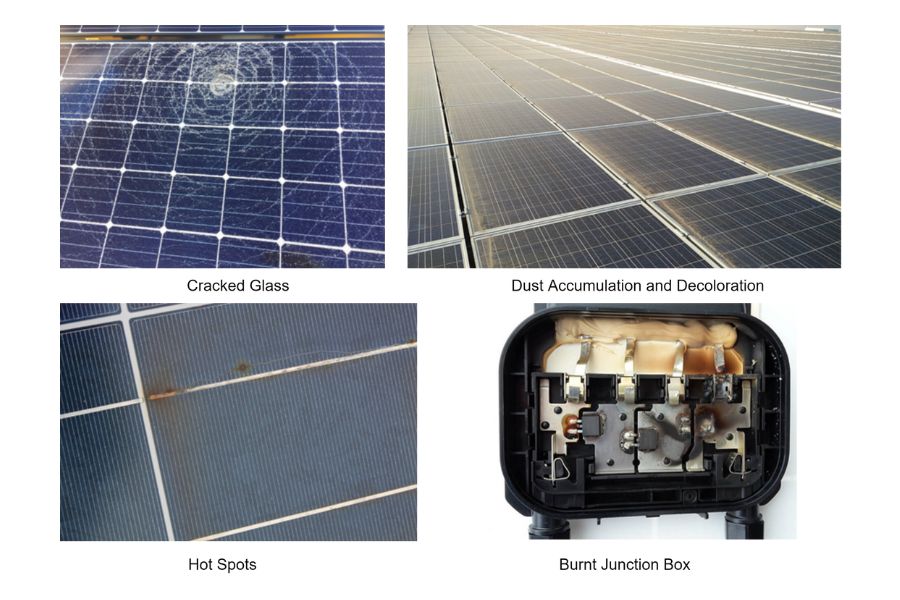
The visual inspection of a solar panel is the simplest way to inspect a solar panel without a multimeter. This process involves thoroughly examining the panel for any physical defects affecting its performance.
Here are the things to check during a visual inspection:
Check for Visible Cracks
Start by looking for any visible cracks on the solar panel. Cracks can significantly reduce the efficiency of a solar panel by obstructing the flow of electricity.
If you spot any cracks, it’s advisable to contact your solar panel provider for further assistance.
Look for Hotspots, Dust, or Moisture
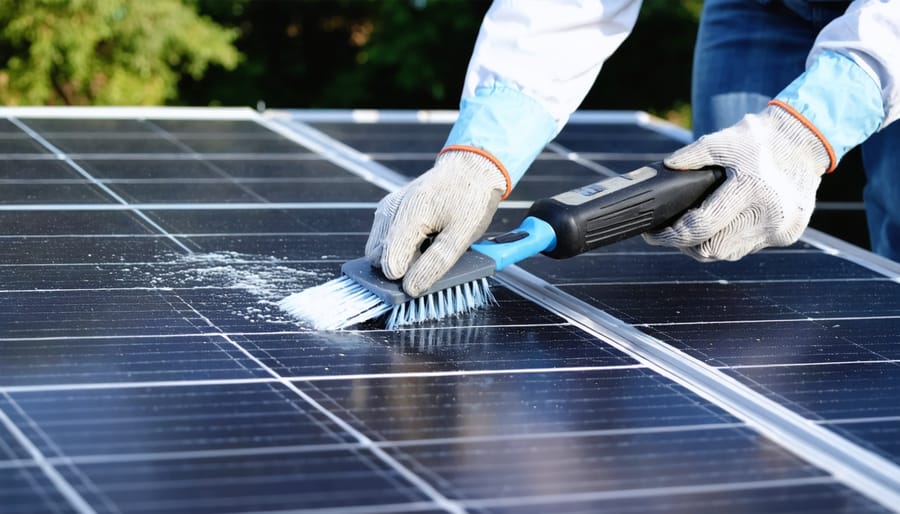
Check for any hotspots on the panel and any dust or moisture that might have infiltrated the panel.
Hotspots can cause overheating, leading to permanent damage and reduced panel performance. And dust and moisture can interfere with the panel’s ability to absorb sunlight effectively, which reduces its power output.
Look for Any Discoloration
Discoloration of solar cells can be a sign of potential issues. For instance, a brownish tint might indicate an overheated panel.
All panels gradually lose their transparency. This is why the power output of solar panels reduces over time.
Check the Junction Box
The junction box at the back of the solar panel should be securely attached and free from any signs of water ingress or corrosion. The cables and connectors should also be in good condition.
Check for Any Signs of Burn Marks or Fire Hazards
Burn marks or charring can be a sign of a potential fire hazard. If you notice any such signs in the panel wiring or the junction box, immediately get the panel checked by a professional.
Inspect the Back Sheet
The back sheet of the solar panel should be free from any signs of yellowing or delamination. These could be signs of premature aging or exposure to excessive heat.
Examine the Frame
The solar panel frame should be free from any signs of corrosion or damage. It should also be securely attached to the solar panel.
Solar Panel Output Test Using a Lightbulb
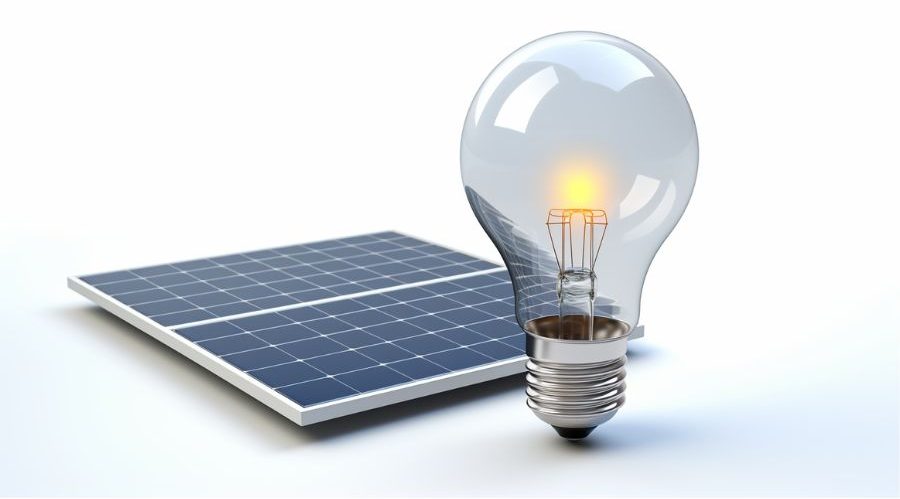
This simple testing method can give a quick estimate of whether your solar panel is producing energy or not.
However, it doesn’t provide specifics about the solar panel’s efficiency. This can help to test a solar panel and measure solar panel output.
Here is how you can do it:
Step 1. Choose a Lightbulb
Select a lightbulb with a wattage that your solar panel should be capable of powering.
For instance, if you have a small 100-watt solar panel, select a lightbulb that requires 50 watts or less. This can help estimate the solar panel wattage.
Step 2. Prepare the Connection
Connect the lightbulb to your solar panel. You can do this by attaching the lightbulb’s wires to the solar panel’s positive and negative terminals.
Always be cautious while handling wires to avoid short circuits.
Step 3. Expose to Sunlight
Once the connections are secure, expose your solar panel to direct sunlight. The intensity of the light can indicate the power output of the panel.
Step 4. Check the Lightbulb
If your solar panel is functioning correctly, the bulb should light up. The brightness level will depend on the power output of the panel.
Using a String Inverter
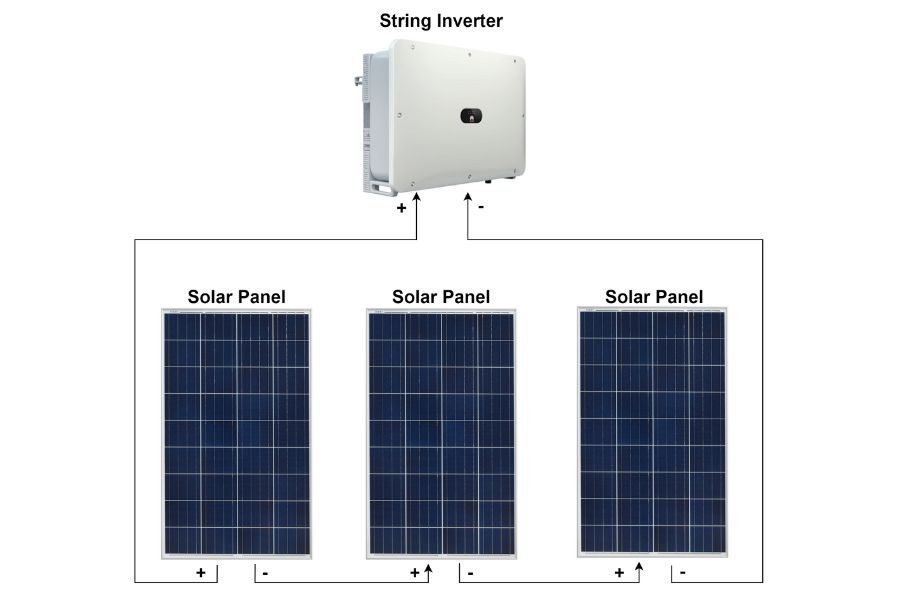
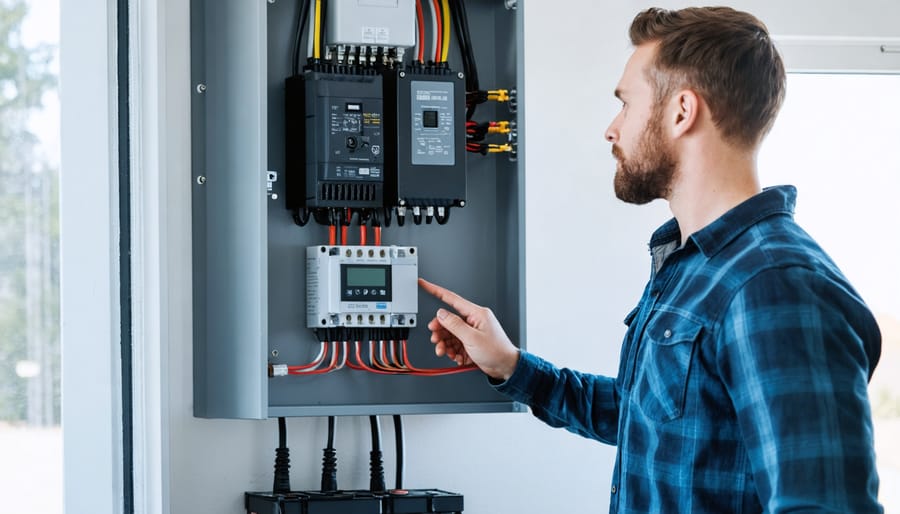
You can also use a string inverter as a solar panel tester. A string inverter converts the direct current (DC) produced by a series of solar panels, also known as a ‘string,’ into alternating current (AC) that household appliances can use.
So, a string inverter is your best option to test multiple solar panels connected in series.
Here’s how you can do it:
Step 1. Position Your Solar Panels
Place your solar panels at the optimal angle and direction where they can receive the maximum amount of sunlight.
This is crucial as the amount of sunlight the panels receive directly affects their performance.
Step 2. Connect the Solar Panels to the Inverter
First, connect the solar panels in series by connecting the positive terminal of one panel to the negative terminal of an adjacent panel. Do this until all panels are connected in series.
Next, connect the free positive and negative cables from your solar panel string to the terminals of your string inverter.
Step 3. Monitor the Electricity Flow
If there is sunlight, your solar panel will start to generate electricity. This electricity will be sent to the inverter.
Step 4. Check the Inverter Display
The string inverter will display the voltage and current of the solar system. This allows you to identify whether the system is functioning correctly quickly.
When the inverter is operating correctly, you should see a green light.
Step 5. Calculate the Power Output
Use the readings from your inverter to calculate the power output of your solar panels. The power output is calculated by multiplying the voltage by the current.
This will give you the wattage of your solar panels, which measures their power output.
Using a Solar Charge Controller to Test Solar Panels
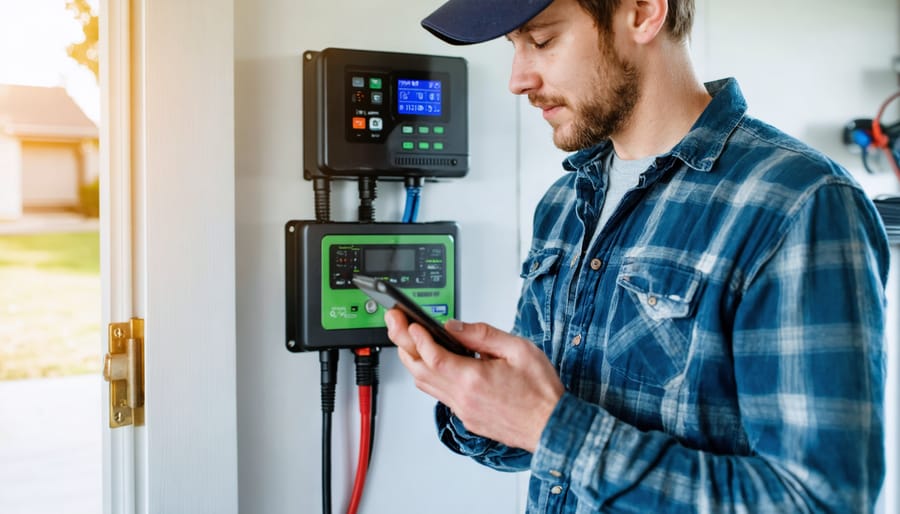
A solar charge controller is used in solar power systems to regulate the energy flowing from the solar panels to the battery.
It can also provide crucial information about the solar panel’s power output, making it an invaluable tool for testing solar panels.
The process involves the following steps:
Step 1. Connect your Solar Panel and Battery to the Charge Controller
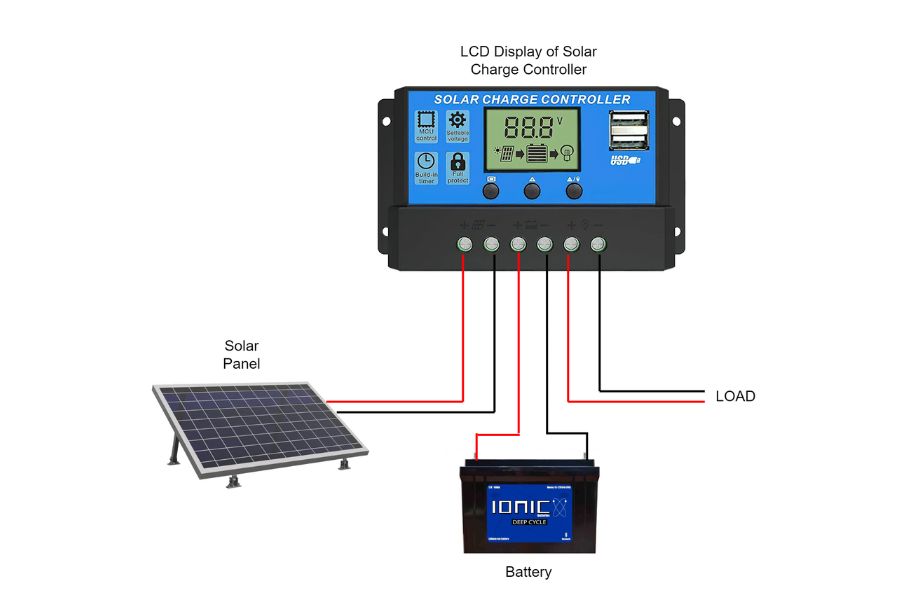
To set the system up, simply connect the solar panel and the battery to the solar charge controller.
Ensure that the positive and negative terminals of the panel and the battery are connected to the correct terminals on the controller.
Step 2. Monitor the Charge Controller Display
The LCD on the charge controller provides crucial information, such as the amount of current drawn from the solar panels, the battery voltage, and the power being delivered to the load.
These readings can provide a good indication of whether the solar panels are functioning optimally.
Step 2. Check the Charging Process
The controller regulates the charging process of the solar battery.
If your battery gets charged to its total capacity on a sunny day and the charge controller transitions to its ‘float’ stage (which maintains the battery at its full charge), it is a good sign that your solar panels are working well.
Step 3. Record the Energy Output
Some advanced solar charge controllers can connect to a computer or a smart system, enabling you to monitor and record the energy output over a certain period.
This can give you a clear idea of the performance of your solar panels.
Solar Panels Test Using a Solar Power Meter
Another option for testing your solar panel output is using a solar power meter, also known as a solar irradiance meter. This device measures the amount of solar energy hitting the surface of the solar panel.
While it doesn’t directly measure the electrical output, it helps ascertain if the solar panel receives enough sunlight to function optimally.
Follow the steps below to use a solar power meter:
Step 1. Position the Meter
Hold the solar power meter at the same angle and direction as your solar panel. This positioning ensures the meter records the same amount of sunlight as your solar panel.
Step 2. Read the Measurement
The meter will display the solar irradiance in watts per square meter (W/m²). A reading between 800 and 1000 W/m² on a sunny day is ideal.
This can help you understand your solar panels’ power output.
Step 3. Compare the Results
Compare the reading with standard values for your region or the solar panel’s specification sheet.
If the values are lower, there may be a problem with the positioning of the panel or obstructions such as shadows or debris.


