Micro Solar Panels Are Perfect for These Portable Power Projects
Updated:

Micro solar panels are revolutionizing how we power our everyday devices, from backyard lighting to portable electronics. These compact powerhouses, typically ranging from 1 to 20 watts, pack the same photovoltaic technology as their larger counterparts into a palm-sized package. Whether you’re a weekend camping enthusiast or a budding renewable energy hobbyist, these miniature solar solutions offer an accessible entry point into sustainable power generation.
As a DIY enthusiast who’s installed dozens of micro solar systems, I’ve witnessed firsthand how these small panels can transform ordinary projects into self-sustaining energy solutions. From powering Arduino-based garden monitors to charging emergency backup batteries, micro solar panels provide the perfect blend of affordability, portability, and practical functionality. Their versatility makes them ideal for both beginners taking their first steps into solar energy and experienced makers seeking compact power solutions for their next innovation.
Join me as we explore the world of micro solar technology, where small-scale solutions lead to big environmental impact.
What Makes Micro Solar Panels Different?
Size and Power Output Specs
Micro solar panels come in a variety of compact sizes, typically ranging from 1×1 inch up to 6×6 inches. When choosing a panel, understanding basic solar panel specifications is crucial for your project’s success. Most micro panels generate between 0.5 and 5 watts of power, depending on their size and efficiency rating.
The most popular sizes include 2×2 inch panels producing around 0.5 watts, perfect for charging small LED lights or sensors, and 4×4 inch panels generating 2-3 watts, ideal for powering smartphones or GPS devices. For slightly larger applications, 6×6 inch panels can output 4-5 watts, sufficient for running multiple devices or charging power banks.
These panels typically operate at 5-6 volts in optimal conditions, though actual output varies with sunlight intensity and angle. Most models feature a nominal voltage of 5V DC, making them compatible with USB devices and popular microcontrollers like Arduino or Raspberry Pi.

Efficiency vs Traditional Panels
While traditional solar panels excel in maximum peak power output, micro solar panels offer unique advantages in specific applications. Their compact size allows for greater flexibility in placement and installation, making them ideal for small-scale projects and portable devices. Think of it like comparing a powerful desktop computer to a tablet – each serves different needs effectively.
Traditional panels typically achieve higher efficiency rates of 15-20%, while micro panels generally range from 5-15%. However, this efficiency gap is often offset by micro panels’ versatility and lower initial cost. They’re perfect for charging small devices, powering LED lights, or maintaining battery levels in recreational vehicles.
The real advantage lies in their scalability. You can start small with a single micro panel and gradually expand your system as needed, making solar power more accessible to beginners. Plus, their lightweight nature means you can install them without significant structural modifications to your property.
Popular DIY Projects Using Micro Panels
Phone and Device Charging
Building a portable solar charger for your devices is a rewarding DIY project that can keep you powered up wherever you go. Micro solar panels, with their power output capabilities, are perfect for charging smartphones, tablets, and other small electronics.
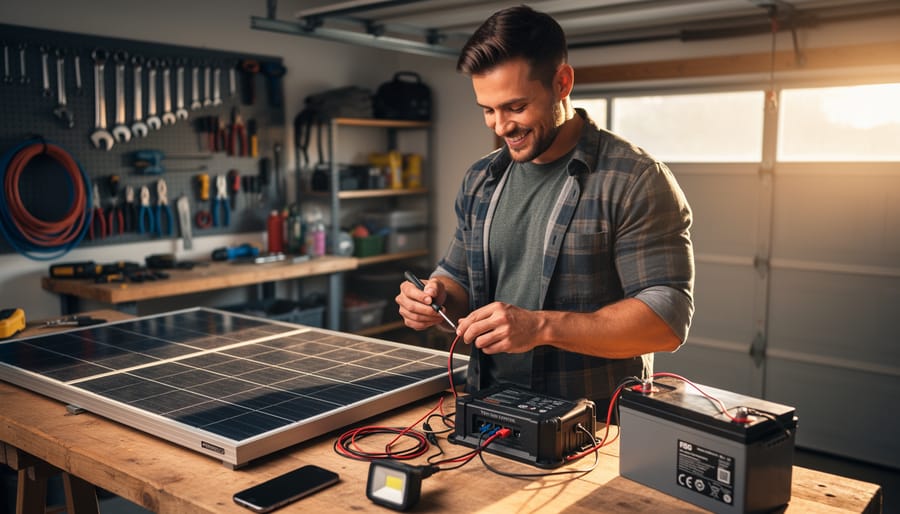
To create a basic charging setup, you’ll need a micro solar panel (typically 5-10 watts), a charge controller to regulate voltage, a USB output module, and a small battery pack for energy storage. I’ve found that combining these components in a weatherproof case creates a reliable charging solution that’s perfect for camping trips or emergency preparedness.
For best results, connect your micro panel to a 2000-4000mAh power bank. This configuration usually provides enough juice to charge a smartphone 1-2 times on a sunny day. Remember to position your panel directly facing the sun, and consider using a small adjustable stand to maximize exposure throughout the day.
Pro tip: Add a voltage indicator to monitor your charging status, and always include reverse polarity protection to safeguard your devices. With proper setup, your DIY solar charger can provide years of reliable, sustainable power for your portable electronics.

LED Lighting Systems
LED lighting systems are perfect companions for micro solar panels, offering an energy-efficient way to illuminate spaces while consuming minimal power. A single 2W micro solar panel can power several LED lights, making them ideal for garden pathways, camping setups, or emergency lighting solutions.
To create your own solar-powered LED system, you’ll need a micro solar panel, a small battery for energy storage, an LED strip or bulb, and a simple charge controller. The setup process is straightforward – connect the solar panel to the charge controller, which then connects to the battery and LED lights. Many DIY enthusiasts find success using 12V LED strips, which can be cut to size and are highly versatile.
For best results, position your panel where it receives maximum sunlight during the day. A 5W micro solar panel can typically power about 3-4 meters of LED strip lighting for 4-6 hours after dark, making it perfect for evening ambient lighting or workspace illumination. Remember to use weatherproof components if you’re planning an outdoor installation.
Small Sensor Applications
Micro solar panels have revolutionized the way we power small sensors and IoT devices, making them truly wireless and maintenance-free. These tiny powerhouses are perfect for environmental monitoring systems, smart agriculture sensors, and home automation devices that need consistent but minimal power to operate.
I recently helped a friend set up a garden monitoring system using micro solar panels to power soil moisture sensors and a small weather station. The setup was remarkably simple – the panels provide enough energy during daylight hours to both power the sensors and charge a small backup battery for nighttime operation.
Popular applications include motion sensors for security systems, temperature and humidity monitors for greenhouses, and smart mailbox notifications. The best part? Most of these sensors consume only milliamps of power, making them ideal candidates for micro solar solutions.
One key advantage is the ability to deploy sensors in remote locations without worrying about changing batteries or running power lines. This has made micro solar panels particularly valuable for wildlife tracking devices and remote weather stations.
Installation and Setup Tips
Wiring Basics
When working with micro solar panels, proper wiring is crucial for both safety and efficiency. Let me share a quick tip I learned the hard way: always double-check your connections before powering up your system!
Start by identifying the positive and negative terminals on your panel. Most micro solar panels come with red (positive) and black (negative) wires, but always verify this in your product documentation. For basic setups, you’ll need:
– Solar panel cables
– A charge controller
– Battery connectors
– Wire strippers
– Electrical tape or heat shrink tubing
Connect your panel to the charge controller first, maintaining correct polarity. The charge controller prevents overcharging and protects your battery. Next, connect the controller to your battery or power storage device. For multiple panels, you can wire them in series (higher voltage) or parallel (higher current) depending on your needs.
Safety is paramount! Always:
– Use appropriately rated wires
– Insulate all connections properly
– Keep connections away from moisture
– Install fuses or circuit breakers
– Disconnect power before making changes
For optimal performance, ensure your wiring is properly sized. Too thin, and you’ll lose power through resistance; too thick, and you’re wasting money. A good rule of thumb is to use wiring rated for at least 125% of your system’s maximum current.
Remember to regularly inspect your connections for signs of wear or damage, especially if your setup is exposed to the elements.

Mounting Solutions
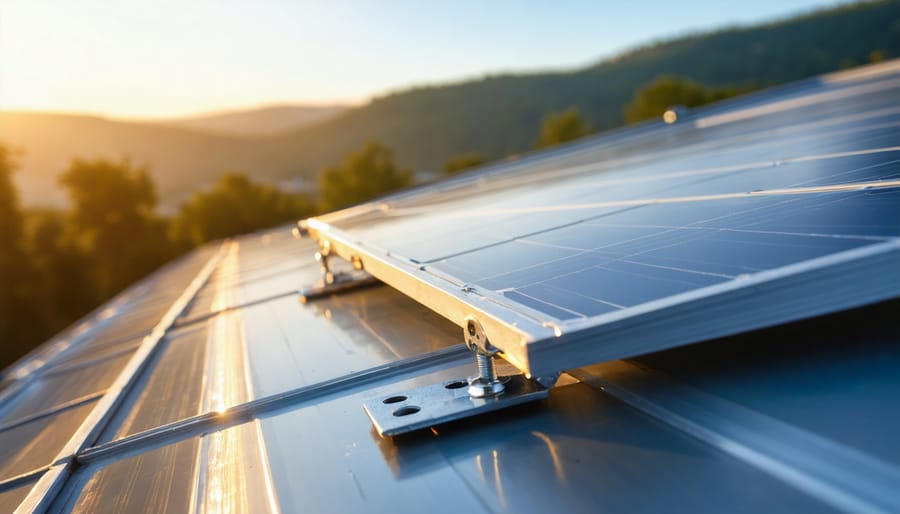
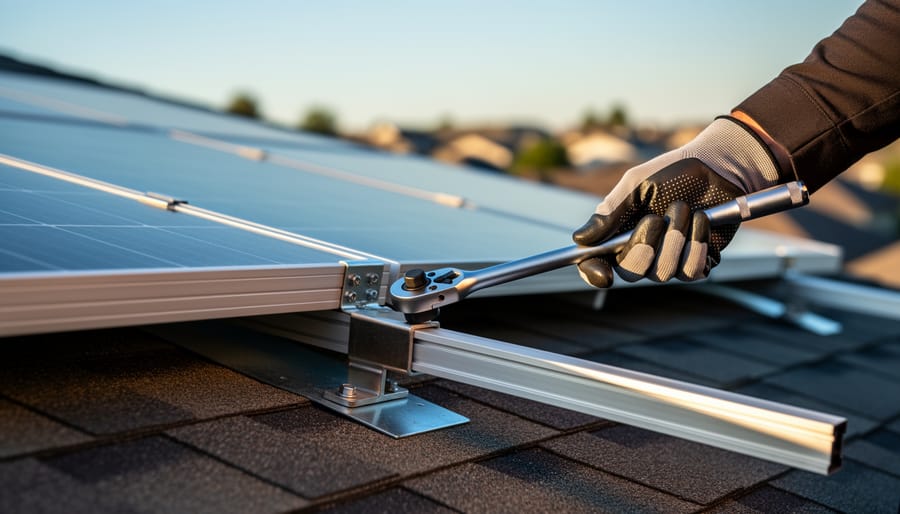
When it comes to installing micro solar panels, creativity is your best friend. I’ve found that double-sided adhesive tape works wonderfully for temporary installations, especially on smooth surfaces like laptop cases or backpack panels. For more permanent mounting, industrial-strength velcro strips provide both security and flexibility to remove the panel when needed.
For outdoor projects, consider using small aluminum brackets or 3D-printed mounts – I actually designed a simple bracket that’s perfect for attaching panels to bike frames and camping gear. Silicone adhesive is another excellent option, particularly for weatherproof applications, though remember to allow proper curing time.
One of my favorite mounting tricks involves using rare earth magnets with a protective rubber coating. These are perfect for temporary installations on metal surfaces and make repositioning a breeze. For fabric-based projects, like solar-powered backpacks, heavy-duty sewing with reinforced corners keeps panels secure while maintaining flexibility.
Don’t forget about angle optimization – even with micro panels, a slight tilt can significantly improve efficiency. I’ve had great success using adjustable smartphone stands modified with mounting clips. For window installations, suction cup mounts with UV-resistant adhesive backing provide a non-permanent solution that’s perfect for renters.
Remember to always ensure your mounting solution allows for adequate ventilation behind the panel, as proper airflow helps maintain optimal performance.
Maintenance and Care
Keeping your micro solar panels in top condition doesn’t require complex maintenance, but regular care will significantly extend their lifespan and efficiency. I’ve found that a monthly cleaning routine works best – simply use a soft cloth or sponge with mild soap and water to remove dust, bird droppings, and other debris. Avoid using abrasive materials or harsh chemicals, as these can scratch the panel’s surface and reduce its effectiveness.
For optimal performance, inspect your panels every few months for any physical damage, loose connections, or corrosion. Pay special attention to the wiring and connection points, especially if your panels are exposed to outdoor elements. If you notice any cracks or damage to the panel surface, address these issues promptly to prevent moisture infiltration.
During winter months or in areas with heavy foliage, ensure your panels aren’t shaded by fallen leaves or snow. A gentle brush with a soft-bristled broom can safely remove these obstructions. I recommend checking the angle of your panels seasonally – adjusting them slightly can help maximize sun exposure as the sun’s path changes throughout the year.
Keep a maintenance log to track cleaning dates and any issues you encounter. This helps identify patterns and potential problems before they become serious. Remember to check your charge controller readings regularly – unusual fluctuations might indicate maintenance needs.
In my experience, most micro solar panel issues can be prevented with these simple care routines, ensuring years of reliable renewable energy generation.
Embarking on your micro solar journey isn’t just about saving money – it’s about taking control of your energy future while contributing to a more sustainable world. Whether you start with a simple phone charger or dive into powering your garden lights, these small-scale solar projects offer incredible learning opportunities and tangible results. The beauty of micro solar lies in its accessibility; you can start small and gradually expand as your confidence grows. By implementing the techniques and tips we’ve discussed, you’ll be well-equipped to harness solar power for your everyday needs. Remember, every solar panel installed, no matter how small, makes a difference in reducing our carbon footprint. So why wait? Gather your materials, start planning your first project, and join the growing community of micro solar enthusiasts. Your sustainable energy adventure begins now!


