Fix Your Solar Inverter Problems Fast (DIY Troubleshooting That Works)
Updated:
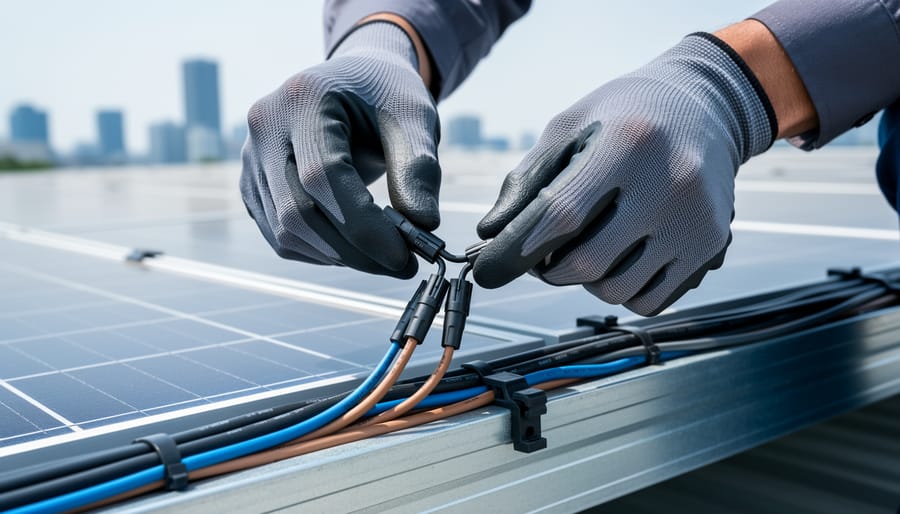
Monitor your solar inverter’s error codes and display indicators daily – these warning signs often reveal developing issues before complete system failure occurs. Test DC voltage inputs and AC outputs using a multimeter when your system’s performance drops, ensuring readings match manufacturer specifications. Check all cable connections, terminals, and grounding points for corrosion, loose fittings, or heat damage, especially after severe weather events. Different types of solar inverters require specific troubleshooting approaches, but most problems stem from improper installation, environmental stress, or component aging.
Understanding your inverter’s behavior is crucial for maintaining optimal solar system performance. Whether dealing with communication errors, grid synchronization issues, or efficiency drops, quick identification and response to problems can prevent costly system downtime. This guide walks you through essential diagnostic steps, safety protocols, and effective solutions for the most common inverter challenges, helping you maximize your solar investment while knowing exactly when to call in professional help.
Basic Safety Checks Before Troubleshooting
Required Safety Equipment
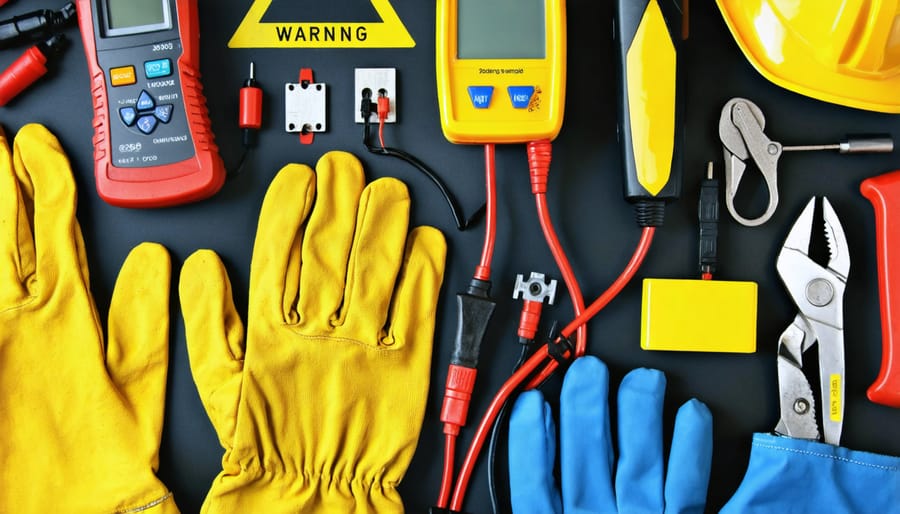
Before diving into any solar inverter troubleshooting, you’ll need to gear up with essential safety equipment. Start with a pair of insulated electrical gloves rated for your system’s voltage – I learned their importance the hard way! A reliable multimeter is absolutely crucial for safe testing, and make sure it’s CAT III rated or higher. Don’t forget your safety glasses to protect against electrical arcs and debris.
Keep a fire extinguisher rated for electrical fires (Class C) within easy reach. A non-conductive fiberglass ladder is essential if you need to access roof-mounted components. For added protection, wear rubber-soled shoes and avoid any metal jewelry or accessories while working.
Remember, these aren’t just suggestions – they’re vital shields between you and potentially dangerous voltage levels. As my mentor always said, “The right safety gear is your best insurance policy.”
Safety equipment layout showing gloves, insulated tools, voltage tester, and warning signs
System Shutdown Procedure
Before attempting any troubleshooting, it’s crucial to properly shut down your solar inverter system to ensure your safety. Follow these steps carefully:
1. Turn off all household appliances connected to the solar power system.
2. Access your main electrical panel and switch off the AC breaker that connects to the inverter. This stops power flow between your house and the inverter.
3. Locate the DC disconnect switch (usually near your inverter) and turn it to the “OFF” position. This disconnects the solar panels from the inverter.
4. Wait at least 5 minutes for the inverter’s internal capacitors to discharge. The display should completely power down during this time.
5. Check the inverter’s display or LED indicators to confirm there’s no power flowing through the system.
6. Use a multimeter to verify zero voltage at all connection points before proceeding with any maintenance work.
Remember, if you’re ever unsure about performing these steps, it’s better to contact a qualified solar technician. As I always say to my workshop participants, “When in doubt, safety first!”
Pro tip: Take photos of your inverter’s normal operating display before shutdown. This will help you verify proper operation when restarting the system later.
Common Inverter Error Codes Decoded
LED Indicator Patterns
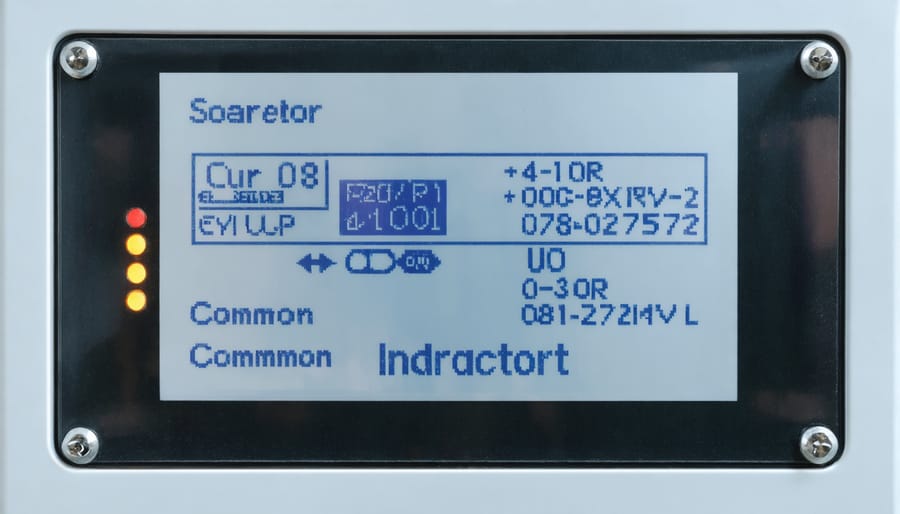
Most solar inverters use LED indicators to communicate their status and potential issues. Think of these lights as your inverter’s way of talking to you! A solid green light typically indicates normal operation – that’s what you want to see. If you notice a red light, either solid or blinking, your inverter is trying to tell you something’s wrong.
Yellow or orange lights usually serve as inverter warning signals, often indicating minor issues like grid voltage fluctuations or temporary system pauses. Some models use blinking patterns – for example, two quick flashes followed by a pause might indicate a different problem than three quick flashes.
I remember installing my first solar system and feeling overwhelmed by these lights, but they’re actually quite straightforward once you understand them. Keep your inverter’s manual handy, as manufacturers use different color combinations and patterns. Most modern inverters also display error codes alongside these lights, making troubleshooting even easier.
Pro tip: Take a photo or video of unusual light patterns before they change. This can help you or a technician diagnose the issue more accurately later.
Solar inverter display panel showing common error codes and LED indicators
Digital Display Messages
Understanding your inverter’s digital display messages can save you time and unnecessary service calls. Here are the most common error codes you might encounter and what they mean:
E01 or “Grid Fault”: This indicates irregular voltage or frequency from the power grid. Usually clears itself when grid conditions normalize, but persistent warnings may require utility company notification.
E02 or “DC Voltage High”: Shows excessive voltage from your solar panels. Often occurs during intense sunlight or cold weather. Check if your panel configuration matches inverter specifications.
E03 or “Low Insulation”: Points to poor isolation between DC circuits and ground. Common after rain or in humid conditions. Allow system to dry, but if persistent, check for damaged cables.
E04 or “Temperature High”: Your inverter is overheating. Ensure proper ventilation, clean any dust from cooling fins, and check if the inverter is in direct sunlight.
E05 or “PV Input Low”: Indicates insufficient voltage from solar panels. Normal during dawn/dusk or cloudy weather, but during sunny days might mean dirty panels or connection issues.
“Ground Fault” or “GFDI”: Signals current leakage to ground. Don’t ignore this – it’s a safety issue requiring immediate attention.
“Arc Fault”: Indicates dangerous electrical arcing. The inverter will shut down automatically. Requires inspection of all wiring connections.
Remember, while these are common interpretations, specific codes vary by manufacturer. Always consult your inverter’s manual for exact meanings. If you’re unsure about any message, especially those involving ground faults or arc detection, contact a qualified solar technician.
Pro tip: Take a photo of error codes when they appear – they can help technicians diagnose issues even after the display clears.
Quick Fixes for Common Problems
No Power Output
When your solar inverter isn’t producing any power output, it can be frustrating, but don’t worry – we’ve got you covered with some straightforward checks you can perform. First, verify that your system’s DC disconnect switch is in the “ON” position and check all circuit breakers. I learned this the hard way when my own system stopped working, only to find out the DC switch had been accidentally turned off!
Next, examine your inverter’s display panel for any error codes or warning messages. Most modern inverters have diagnostic screens that can help identify the issue. You’ll want to check battery charging status if you have a battery backup system, as low battery voltage can prevent proper operation.
Look for any loose connections between your solar panels and the inverter. Sometimes, extreme weather can cause cables to come loose or sustain damage. If you notice any burnt marks or discoloration around the connections, this could indicate a serious problem requiring professional attention.
If these steps don’t resolve the issue, try to reset overloaded inverters by following your manufacturer’s reset procedure. This often involves turning the unit off completely, waiting for 5-10 minutes, then powering it back up.
If you’re still experiencing problems after these checks, it’s time to contact a qualified solar technician. Some issues require specialized testing equipment and expertise to diagnose and repair safely.
Overheating Issues
One of the most common issues I encounter in my solar installations is overheating, which can significantly reduce your inverter’s efficiency and lifespan. When your inverter runs too hot, it might automatically reduce its power output or shut down completely as a protective measure.
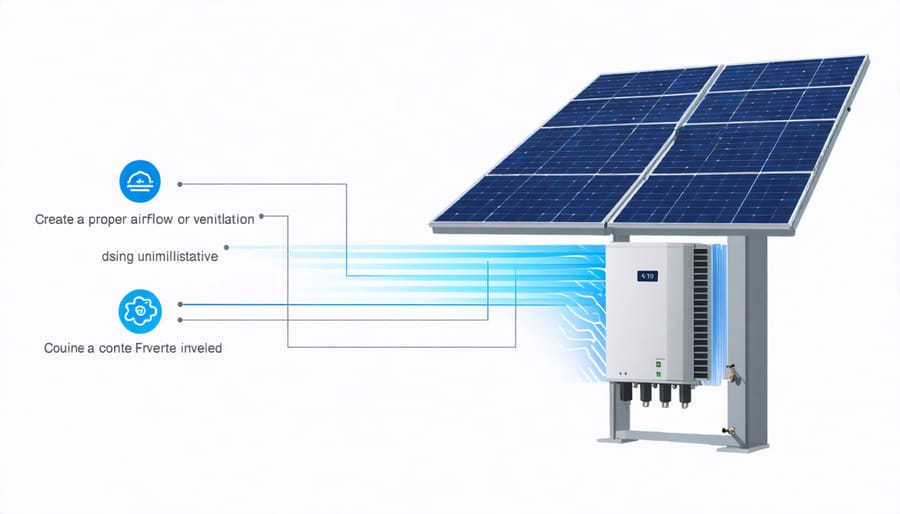
To address overheating issues, start by checking your inverter’s location. Ensure it’s installed in a well-ventilated area, away from direct sunlight, and has adequate clearance around all sides for proper airflow. I’ve seen many DIY installations where inverters were mounted in cramped spaces or direct sunlight, leading to unnecessary temperature problems.
Regular maintenance is crucial. Clean any dust or debris from the cooling fins and vents at least every three months. Use a soft brush or compressed air, being careful not to damage the components. If your inverter has cooling fans, listen for any unusual noises that might indicate they’re failing.
For additional cooling, consider installing a small fan nearby or creating shade over the inverter if it’s exposed to direct sunlight. In extreme cases, you might need to relocate the inverter to a cooler spot. Keep an eye on the temperature display if your model has one – most inverters operate best below 40°C (104°F).
If overheating persists despite these measures, it could indicate a more serious internal issue requiring professional inspection. Don’t ignore recurring temperature warnings, as they can lead to permanent damage.
Infographic showing proper airflow and ventilation around a solar inverter
Grid Connection Problems
One of the most frustrating issues solar system owners face is grid connection problems. When your inverter struggles to synchronize with the power grid, it can lead to system shutdowns and reduced energy production. I’ve encountered this issue several times in my own setup, and it’s usually related to voltage or frequency mismatches.
Start by checking your inverter’s display for specific error codes related to grid connection. Common indicators include “Grid Fault,” “Grid Outside Specifications,” or “Grid Not Present.” These messages can help pinpoint the exact nature of the synchronization problem.
First, verify that your grid voltage is within acceptable ranges (typically 220-240V for most residential systems). If you notice frequent disconnections, especially during peak usage times, your local grid might be experiencing voltage fluctuations. Installing a voltage stabilizer can help manage these variations.
Check all AC connections between your inverter and the grid connection point. Loose or corroded wiring can cause intermittent connection issues. Ensure the circuit breakers are properly sized and functioning correctly.
If problems persist, monitor grid frequency readings on your inverter display. Most systems require a stable 50/60Hz frequency to operate. Significant deviations might indicate larger grid stability issues in your area.
Remember, some grid connection problems require coordination with your utility company. If basic troubleshooting doesn’t resolve the issue, contact your utility provider to check for any known grid problems in your area. For persistent issues, consider having a professional electrician evaluate your system’s grid-tie configuration.
When to Call a Professional
While DIY troubleshooting can resolve many solar inverter issues, certain situations require professional expertise. Here are clear signs that it’s time to call a qualified solar technician:
If you notice any burning smells, unusual sounds like buzzing or crackling, or see visible damage to your inverter’s casing, stop your DIY efforts immediately and contact a professional. These symptoms could indicate serious electrical problems that pose safety risks.
When your inverter displays error codes that aren’t covered in your user manual or persist after basic troubleshooting, it’s time for expert help. Additionally, if you’re experiencing frequent system shutdowns, significant drops in power output, or complete system failure, these complex issues typically require professional diagnosis and repair.
Call a professional if your inverter’s warranty is still valid – attempting repairs yourself could void the coverage. Most manufacturers recommend annual professional maintenance anyway, so this might be a good time to schedule that check-up.
Before the technician arrives, prepare by:
– Documenting all error messages and when they occurred
– Taking photos of any visible issues
– Recording your system’s recent performance data
– Gathering your warranty information and system documentation
– Making a list of any troubleshooting steps you’ve already tried
Remember to keep the area around your inverter clean and accessible. A professional will need clear access to both the inverter and your electrical panel.
I recently had a client who insisted on fixing a complex grounding issue themselves – it ended up costing them more in repairs than if they’d called a professional right away. Sometimes, trying to save money through DIY can lead to more expensive problems down the road.
Don’t hesitate to ask for professional help if you feel uncomfortable with any aspect of troubleshooting. It’s better to be safe than sorry when dealing with sophisticated electrical equipment like solar inverters.
Preventive Maintenance Tips
Regular maintenance is your best defense against solar inverter issues, and I’ve learned this firsthand through years of working with these systems. Let’s explore some practical steps you can take to keep your inverter running smoothly.
First, establish a monthly cleaning routine. Dust and debris can accumulate on your inverter’s cooling fins and vents, reducing its efficiency. Use a soft brush or compressed air to gently clean these areas, but remember to power down the system first. I once saw a perfectly good inverter fail simply because its cooling system was clogged with dust!
Monitor your inverter’s display regularly for any error codes or unusual readings. Many modern inverters track various parameters, including inverter waveform types and power output. Create a simple logbook to record these readings – this helps you spot trends and potential issues before they become serious problems.
Check all cable connections quarterly. Look for signs of corrosion, loose connections, or damaged insulation. Ensure the mounting brackets are secure and that there’s adequate ventilation around the unit. If you live in an area with extreme weather, consider installing additional weather protection.
Test your grounding connections annually. Poor grounding can lead to safety issues and reduced performance. Also, verify that your surge protection devices are functioning correctly – they’re your first line of defense against power surges.
Remember to update your inverter’s firmware when available. Many manufacturers release updates that improve performance and fix known issues. Set a calendar reminder to check for updates every six months.
By following these maintenance tips, you’ll significantly extend your inverter’s lifespan and maintain optimal performance. Just remember: if you’re ever unsure about performing any maintenance task, it’s better to consult a professional.
Regular maintenance and proper troubleshooting of your solar inverter are essential for maintaining optimal system performance and longevity. By following the steps outlined in this guide, you can identify and resolve many common inverter issues safely and effectively. Remember to prioritize safety, regularly check error codes, and maintain clean connections. While DIY solutions can address many problems, don’t hesitate to contact a certified professional when faced with complex issues or safety concerns. Keep your warranty information handy, document any troubleshooting steps you take, and stay proactive with maintenance schedules. With proper care and attention, your solar inverter system can provide reliable renewable energy for years to come. Together, we’re building a more sustainable future, one well-maintained solar system at a time.
How useful was this post?
Click on a star to rate it!
Average rating 0 / 5. Vote count: 0
No votes so far! Be the first to rate this post.
We are sorry that this post was not useful for you!
Let us improve this post!
Tell us how we can improve this post?
charlesnoble
Here at Spheral Solar, I’m a hands-on solar power enthusiast, constantly exploring and experimenting with DIY solutions. I’m dedicated to sharing my discoveries, insights, and even the bumps I hit along the way, all in the pursuit of a more sustainable future.
Why Your RV Inverter Keeps Failing (And How to Fix It Fast) by Charlesnoble January 11, 2026 Check your battery connections first—loose or corroded terminals account for nearly 60% of inverter issues I’ve seen in my years working with RV solar systems. Remove both positive and negative cables, clean them with a wire brush and baking soda solution, then reconnect tightly. While you’re at it, use a…
Why Your Generator Inverter Fails (And How to Fix It… by Charlesnoble May 16, 2026 Listen for the telltale signs first: if your generator runs fine but produces no usable AC power, or if sensitive electronics won’t charge despite the unit operating, you’re likely dealing with inverter failure rather than engine problems. I learned this the hard way during a week-long camping trip when my…
Why Your DIY Solar Project Needs a Commercial-Grade Inverter by Charlesnoble May 5, 2026 Compare your power needs against inverter capacity ratings before choosing between string, central, or micro-inverter configurations—commercial systems typically handle 10kW to 500kW, far exceeding residential 3-10kW units. Calculate your total panel wattage, then add 25% overhead to account for startup surges and future expansion. A 50kW system, for instance, performs…
This Device Lets Your Solar System Talk to the Grid… by Charlesnoble February 2, 2026 Verify your utility’s specific anti-islanding requirements before purchasing any equipment—most power companies mandate IEEE 1547-compliant devices that automatically disconnect your solar system when the grid goes down, protecting line workers from unexpected backfeed. Contact your local utility interconnection department directly and request their technical specifications document, which lists approved devices…
Why Most RV Solar Setups Fail (And How to Build Yours Right) by Charlesnoble December 21, 2025 Calculate your daily power consumption by listing every device you’ll run in your RV—from the refrigerator drawing 40-60 amp-hours daily to your phone charger using just 5 amp-hours—then multiply by 1.3 to account for system losses and cloudy days. This single step prevents the most common mistake I see fellow…
How to Ground an Inverter in an RV by Charlesnoble July 30, 2023 You can ground an RV inverter using the appropriate gauge wire by securely attaching it to the RV chassis. This connection to the RV frame acts as a protective measure against stray currents, ensuring safety and optimal electrical performance. In this article, we will guide you through the details of…
Subscribe for handpicked DIY projects, exclusive tips, and giveaways.
Monitor your greenhouse temperature daily during peak sun hours—if it consistently exceeds 85°F or condensation builds up on interior surfaces, you’re losing crops to heat stress and creating the perfect environment for fungal diseases. A greenhouse solar ventilation fan addresses both problems without adding a penny to your electricity bill, making it one of the… Read more: Why Your Greenhouse Needs a Solar Ventilation Fan (Before Summer Hits)
Press and hold the adjust button (usually bottom-left) on your G-Shock for three seconds until the time display starts flashing—this unlocks manual time adjustment on most models. Navigate between hours, minutes, and date using the mode button, then use the forward/reverse buttons to change values. If you own a radio-controlled G-Shock with Multi-Band 6 technology,… Read more: How to Adjust Time on Your G-Shock Solar Watch (Without Breaking It)
Picture this: you’ve just installed your third solar panel on the roof, wires dangling everywhere, and suddenly you realize your two-panel string needs to connect with your new addition. You need a solar branch connector, but you’re staring at product listings wondering if you’re about to make an expensive mistake. Solar branch connectors are the… Read more: Why Your Solar Array Needs Branch Connectors (And How to Install Them Right)

")
")

")
")

")
")

")
")