Sun-Powered Toolshed: A Step-by-Step Guide to Your Solar Tool Charging Station
Updated:

Picture this: a vibrant garden teeming with life, your tools prepped and ready, all powered by the sun’s clean energy. No more tangled cords, depleted batteries, or trips to the gas station. This dream can become reality with a DIY solar charging station for your electric lawnmower, trimmer, and other outdoor tools.
More than just convenience, it is a commitment to sustainability, reducing your carbon footprint and contributing to a healthier planet.
Here’s a breakdown of what you need to consider:
Planning and design
- Location: Choose a sunny spot in your garden, preferably close to where you store your tools and equipment. Ensure the area is easily accessible and provides enough space for the charging station and panels. This ensures optimal energy production from your solar panels.
- Sun exposure: Analyze the daily sunshine hours in your location to determine the size and capacity of your solar panels needed to efficiently charge your tools.
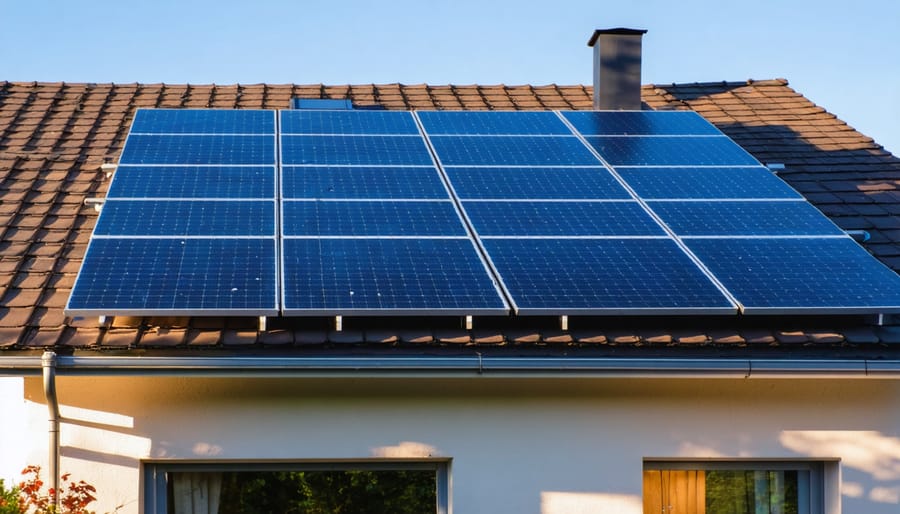
Install the solar panels facing south for maximum sun exposure, as this orientation typically receives the most sunlight throughout the day. If a southern orientation is not feasible, aim for an east or west-facing placement to capture the morning or afternoon sunlight.
- Power needs: Identify the total wattage required to charge your tools simultaneously. This involves assessing the power consumption of each tool and adding them up. This information is essential for selecting the appropriate battery bank capacity and inverter size (if an inverter is needed to convert DC power from the solar panels to AC power for your tools).
- Budget: Determine your budget for the entire setup, including solar panels, battery bank (optional), inverter (optional), cables, and mounting hardware.
Components
- Solar panels: Choose monocrystalline or polycrystalline panels based on your budget and efficiency needs. Monocrystalline offers higher efficiency but is more expensive, while polycrystalline is more affordable but less efficient.
For basic tools like a lawnmower (1,000W) and trimmer (400W), consider two 100-watt monocrystalline panels (200W total). You can scale up depending on your tool collection and charging needs.
Renogy, Eco-Worthy, and SUNNKO offer budget-friendly options with good warranties. It’s best to consult a local solar expert to find the best solar panels for your charging project.
- Battery bank: If you want to store solar energy for charging at night or on cloudy days, invest in a deep-cycle battery bank with sufficient capacity.
Aim for a capacity that can fully charge your largest tool (e.g., 1,000W lawnmower) multiple times. Lithium-ion batteries like Jackery or BLUETTI offer portability and fast charging.
- Inverter: Many tools use AC power directly. If your tools require DC power, you’ll need an inverter to convert the stored DC energy from the battery bank to AC.
Most garden tools use AC power directly. Only DC-powered tools need an inverter. Choose the wattage matching your largest tool (e.g., 1,500W for a high-power mower).
- Charging cables: Select the appropriate cables with compatible connectors for your tools. Consider weatherproof options for outdoor use.
MC4 to Anderson Powerpole connectors are common for solar setups. Look for cables rated for outdoor use from brands like Renogy or Windy Nation.
Ensure connectors match your tools’ charging ports.
- Mounting hardware: Choose sturdy mounts and brackets to securely install the solar panels and station at your chosen location.
Z-brackets or tilt mounts allow adjusting the angle for optimal sun exposure. Choose aluminum or stainless steel for durability. Use weatherproof treated wood or metal like galvanized steel for the station structure.
Installation tips for your solar charging station
Optimal placement
Before installing your solar panels, conduct a sun path analysis for your garden. Identify the areas that receive maximum sunlight throughout the day. Tools such as solar pathfinder tools or apps can help visualize shading patterns and select the most optimal locations.
Ensure that the chosen area is free from obstructions such as trees, buildings, or structures that may cast shadows on the solar panels. Even partial shading can significantly impact the efficiency of the solar panels, so choose a location with minimal shading during peak sunlight hours.
Consider using adjustable mounts for your solar panels. These mounts allow you to tilt and adjust the angle of the panels seasonally, optimizing their exposure to the sun and maximizing energy production.
Proper wiring and connection
Strictly adhere to the manufacturer’s guidelines for wiring and connecting the solar panels to the charging station. Each solar panel system may have specific requirements, and deviating from these guidelines could compromise the system’s efficiency and safety.
Outdoor solar charging stations are exposed to various weather conditions. Utilize weather-resistant cables and connectors to protect the entire system from moisture, UV rays, and temperature fluctuations. This ensures the longevity and reliability of your solar charging station.
Install overcurrent protection devices, such as fuses or breakers, in accordance with the system’s specifications. These devices safeguard the system from potential electrical issues, enhancing safety.
Regular maintenance
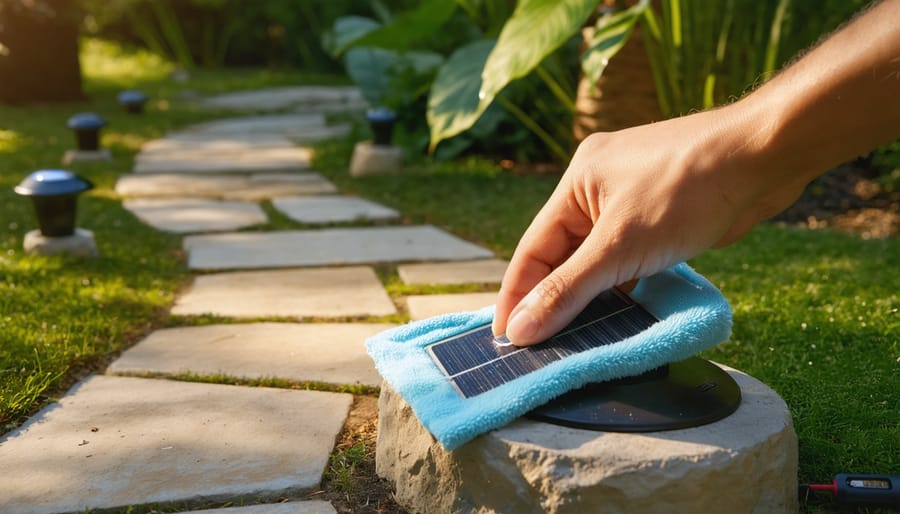
Keep the solar panels clean to ensure optimal performance. Regularly remove dirt, dust, bird droppings, and other debris that may accumulate on the panels. Use a soft brush, sponge, or a gentle stream of water for cleaning. Avoid abrasive materials that may scratch the surface of the panels.
Consider installing a monitoring system that tracks the performance of your solar panels. Monitoring allows you to detect any deviations in energy production early on, enabling timely intervention and ensuring consistent power output.
Additional considerations
- Safety: Ensure all electrical connections are secure and weatherproof to prevent hazards. Ground the system properly and adhere to local electrical codes.
Use crimp connectors or soldering for secure, permanent connections. Apply heat shrink tubing for insulation and weatherproofing.
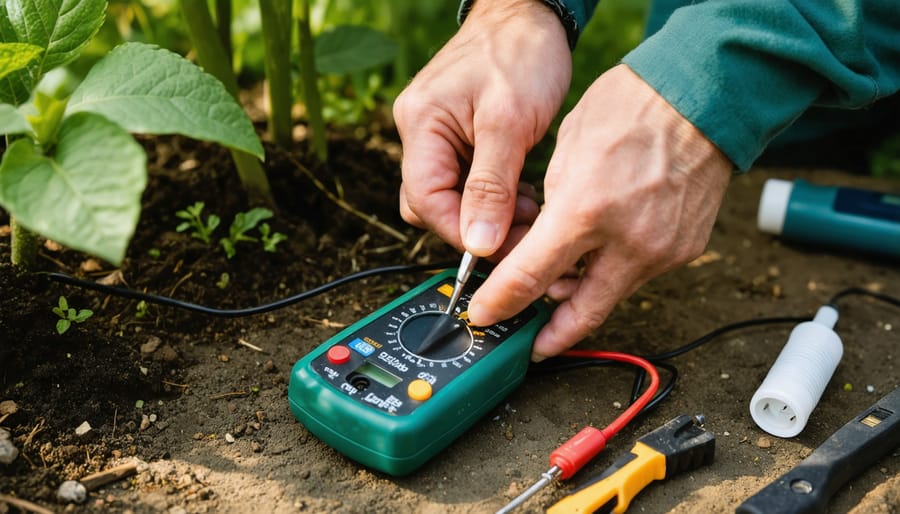
Double-check all connections for tightness and proper polarity. Use fuses or circuit breakers rated for your system’s amperage. Never overload the system or exceed component ratings.
- Security: Depending on the value of your setup, consider adding locking mechanisms to secure the panels and equipment.
Consider solar-powered security options for off-grid setups.
- Maintenance: Regularly clean your solar panels to maintain optimal efficiency. Inspect the system for any damage or loose connections.
In some regions, seasonally adjusting the tilt angle of your panels can optimize sun exposure. Consult a local solar installer to determine the optimal angle for your location.
With this guide and a little planning, you can create a sustainable and convenient solar charging station for your garden tools, empowering you to work with the power of the sun!


