How to Submit a PG&E Solar Interconnection Application, Step by Step
Updated:
To apply for solar interconnection with PG&E, you create an account on PG&E’s online interconnection portal, enter your system details, upload a single-line diagram, sign, pay any fee, and wait for approval before you flip the switch. Plan on an evening to gather your documents and another hour or two to complete the application. The difficulty is moderate, and it’s almost entirely paperwork, not hardware.
The prerequisite that trips up most DIYers is the single-line diagram. It’s a simple drawing showing how your panels, inverter, disconnects, and main service panel connect, and PG&E won’t process an application without one. Get that right and the rest is mostly data entry.
I learned this the slow way. When I filed my first application years ago, I rushed through the equipment fields, guessed at a couple of inverter specs, and got a correction request that cost me weeks. Now I keep a folder with every spec sheet open before I touch the portal, and I’ve never had a bounce since.
Below, you’ll find a document checklist, guidance for drawing the diagram, a ten-step walkthrough from eligibility to permission to operate, a table of what happens after you submit, a verification checklist, and an FAQ. Forms, fees, and review times change, so I’ll point you to where to check the live numbers instead of guessing. The process itself, though, is one you can absolutely handle yourself.
Key Takeaway: A complete form, an accurate single-line diagram, and numbers that match everywhere are the fastest route to approval. Check names, DC and AC sizes, and equipment models against your paperwork before you submit.
What an Interconnection Application Is and Where It Fits in Your Solar Build
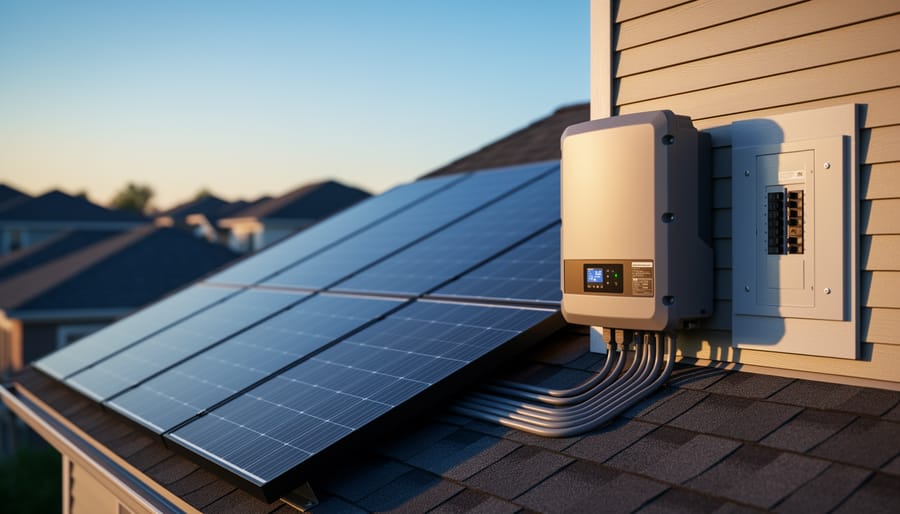
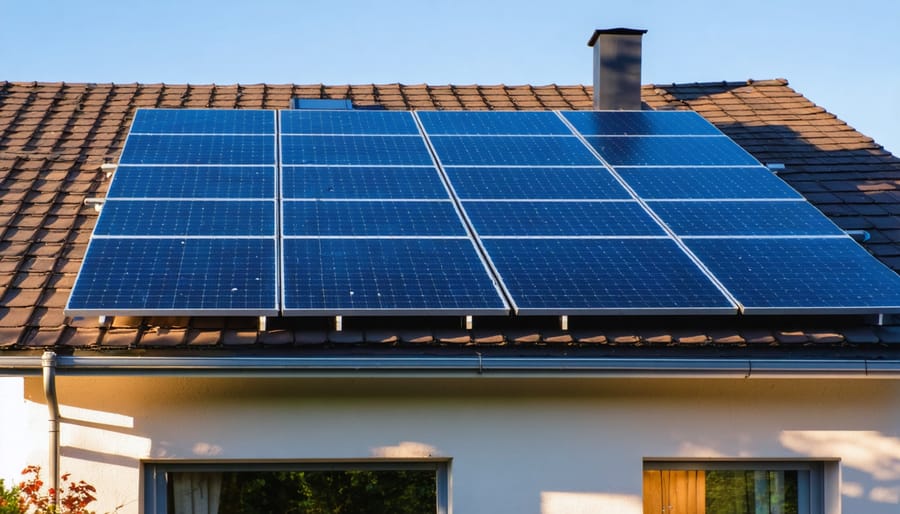
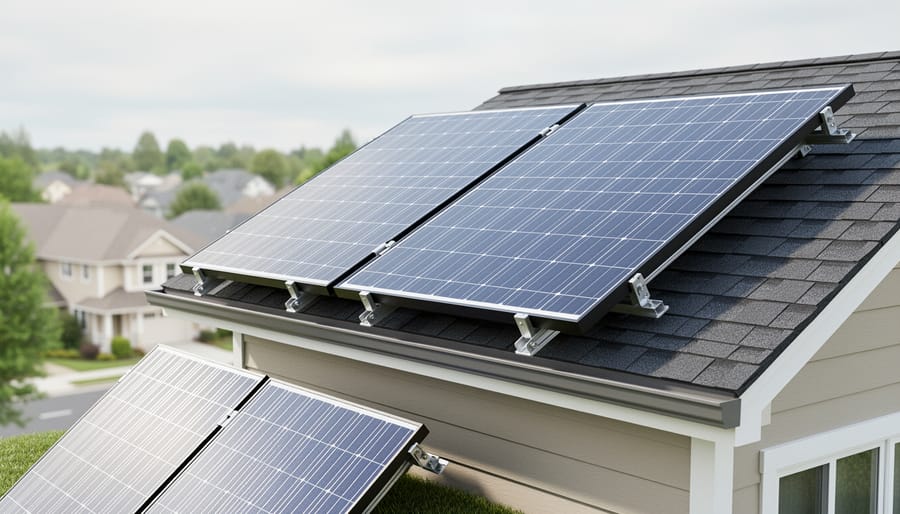
A clear view of how solar panels and an inverter fit into a typical home installation.
An interconnection application is your formal request to PG&E for permission to run your solar system in parallel with the grid. In plain terms, you’re telling the utility, “I’m about to feed my own power into your lines, so please confirm my equipment is safe for them.” That review protects the line workers who maintain nearby poles and wires, and it protects your neighbors’ power quality too.
Here’s the part that surprises a lot of first-timers: this is only one of three separate approvals. Your city or county issues the building permit, which covers how the system is installed on your roof and panel. A local inspector then checks that work in person. PG&E handles the interconnection application, which is about the grid connection itself. Different offices, different paperwork, different timelines. Passing one doesn’t clear the others.
That’s also why finishing the install isn’t the finish line. PG&E’s written permission to operate is its own milestone, and until you have it, your system stays off. Flipping the switch early can push power onto lines that crews assume are dead, which is dangerous.
A few terms you’ll see on the form:
– Inverter: the box that converts the DC power from your panels into the AC power your home uses.
– Point of interconnection: the spot where your system ties into your electrical service.
– Net metering: the billing arrangement that credits you for extra power you send back to the grid.
If you want the bigger picture of how it works, that guide walks through the full path from sunlight to outlet.
Usually the homeowner files, or an installer files on your behalf. Many DIYers can submit it themselves, but check PG&E’s own interconnection pages for current eligibility and ownership rules before you start.
Tools and Materials: What to Gather Before You Open the Application
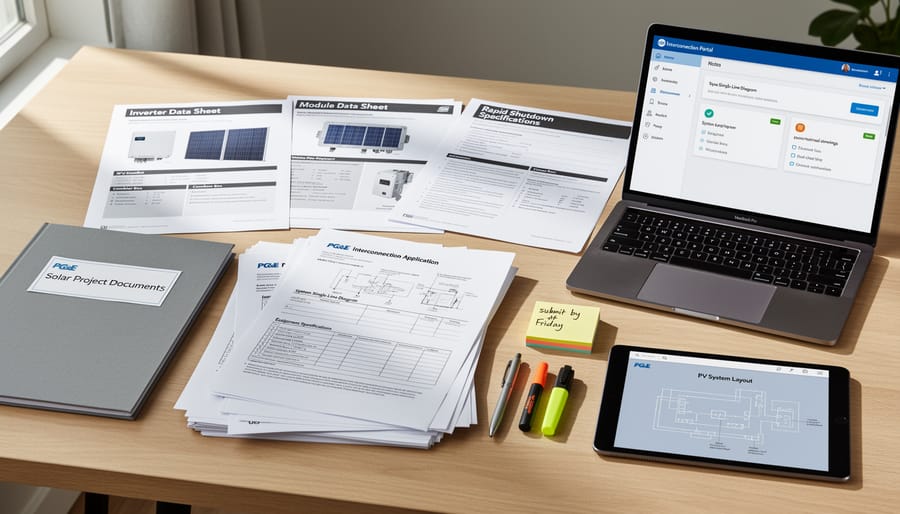
Organized documents and equipment information ready for submitting a PG&E interconnection application.
Getting Your Single-Line Diagram Ready
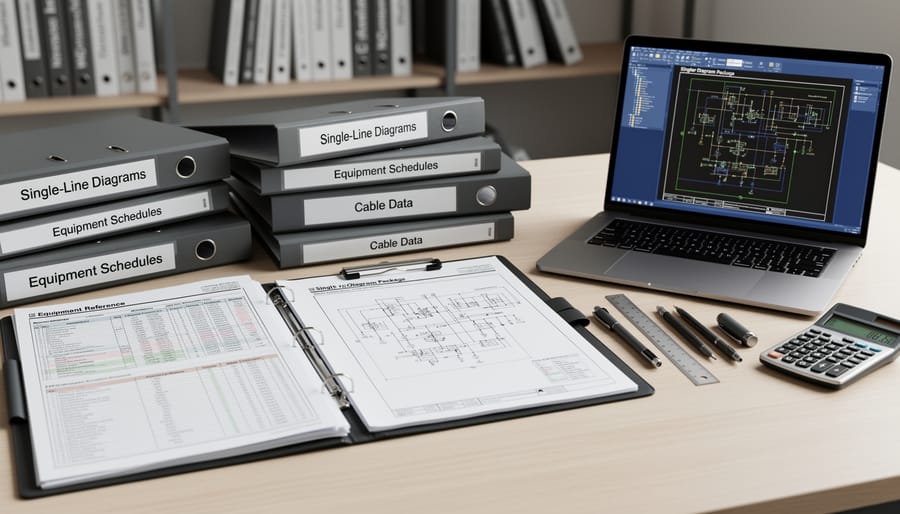
A focused view of a clean, organized document set and equipment references used to prepare the single-line diagram package.
A single-line diagram is just a one-page map of how your power travels. It starts at the solar panels, runs through the inverter, passes the disconnects and breakers, lands at your main panel, and finally connects to the grid. Instead of drawing every wire, you show each major piece once, as a simple box or symbol, joined by a single line.
Reviewers aren’t judging your artwork. They want to see clear labels on every component, ratings that match your equipment list (panel wattage, inverter output, breaker size), and the location of each disconnect so a utility worker could find it quickly. If the diagram says one thing and your spec sheets say another, expect questions.
You can draw it yourself or start from a template. A tidy template with your own numbers filled in usually beats a freehand sketch, since it keeps the layout familiar to the person reading it.
When I filed my first application, I sent in a hand-drawn diagram on graph paper. It got bounced because my inverter rating didn’t match the number on my equipment list, and one disconnect was unlabeled. I redrew it with a template, labeled everything, and double-checked each figure against the spec sheets. It sailed through the second time.
Tip: A neat, fully labeled diagram that matches your equipment list line for line prevents the most common reason for a request for corrections.
Before you upload, run through a quick diagram checklist: every component labeled, ratings consistent with your spec sheets, disconnects clearly marked, and the connection point to the grid shown. Spheral Solar’s checklist tool can walk you through it.
Safety Warnings and Stop Points Before You Submit or Energize
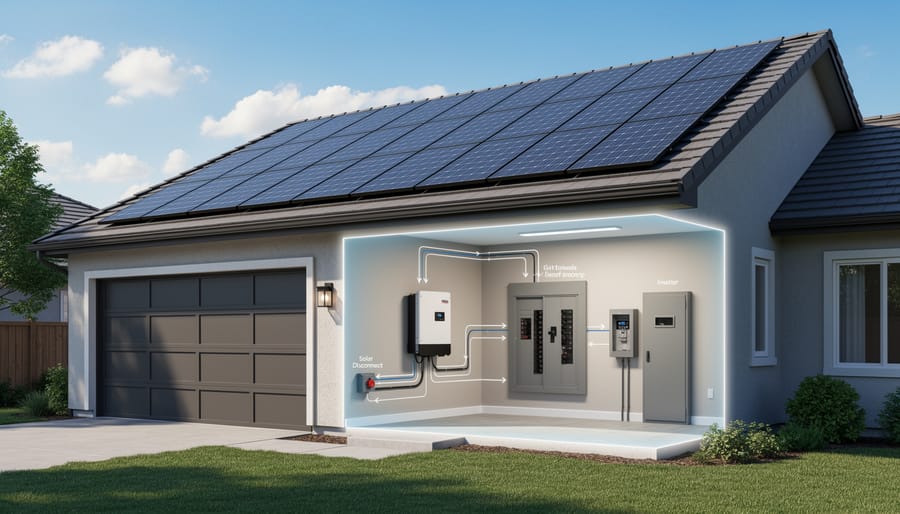
A visual metaphor for waiting for written permission before energizing, showing the point of readiness without powering up.
Filing the application is not permission to turn anything on. Your system stays off the grid until PG&E gives you written permission to operate and any required inspection is signed off. That’s the rule that keeps everyone safe, including the line workers who maintain the wires outside your house.
Warning: Do not energize or connect your system to the grid until you have written permission to operate from PG&E and your local inspection is complete.
The big risk is backfeeding. If your inverter pushes power onto a grid line that crews believe is dead, they can be seriously hurt or killed. Grid-tied inverters are built to shut down during outages, but that protection only counts when the whole system is installed, inspected, and approved as designed. Don’t test it early “just to see.”
Panels also keep making power whenever there’s light. DC conductors stay live all day, even with the main breaker off, so treat every wire and connector as energized until you’ve confirmed otherwise. I learned to cover the array and work in low light before touching anything, and the guide on safe stop points walks through the right order for shutting things down.
Main panel work is a different level of risk. If you’re not qualified, or your local rules require it, hire a licensed pro. A Level 2 electrician can handle the breaker, bus, and service connections while you stay in charge of the rest of the project.
Pause and ask, rather than guess, if any of these happen:
– Your kW numbers don’t match between the application, diagram, and spec sheets.
– The inspector flags something, even a small item.
– You’re unsure your panel can handle the added capacity.
– A device or wire doesn’t match what the diagram shows.
Waiting a few days for an answer beats a rebuild, or a dangerous mistake.
How to Submit Your PG&E Solar Interconnection Application: The Step-by-Step Process
What to Expect After You Hit Submit: Review, Corrections, and Timelines
Once you submit, your application moves through a few stages, and knowing them keeps the waiting from feeling like a black hole.
First comes a completeness check. Someone confirms that every required field is filled in and every document is attached. If something is missing, this is where it gets flagged. Next is the technical review, where PG&E looks at your single-line diagram and equipment list to make sure the system is safe to run alongside their lines. If anything doesn’t add up, you’ll get a request for more information. That’s normal, and it isn’t a rejection. Fix it and resubmit. Once everything checks out, you get approval, which comes before the finish line, not at it. After that you’ll complete the local inspection sign-off, then wait for written permission to operate. Don’t energize until that arrives.
How long does each stage take? Honestly, it varies. Review times move with PG&E’s workload and with the size and complexity of your system, so expect a range rather than a fixed number. For your real status, check the portal and watch your email for PG&E messages. Those beat any number I could quote you, since figures go stale fast.
A few habits help a lot:
– Answer correction requests quickly, since delays on your end add directly to the total.
– Keep your names, addresses, and system sizes identical across every document.
– Keep a simple log of dates, application numbers, and who you talked to. I started one after my first filing, and it saved me more than once.
Common Mistakes That Delay Approval (and How to Dodge Them)
Almost everyone trips on at least one of these the first time, so don’t beat yourself up. Here’s where applications usually stall:
– Name or address mismatches. The name and service address on your application should match your PG&E account exactly. “Chuck” versus “Charles,” or “Street” versus “St,” can trigger a back-and-forth.
– DC versus AC confusion. Your panels add up to a DC number, and your inverter puts out a lower AC number. Enter each in the right box, and make sure the same figures show up on the form, the diagram, and the spec sheets.
– A missing or hard-to-read single-line diagram. A blurry photo of a napkin sketch won’t cut it. Use clear labels and a clean upload.
– Equipment that doesn’t match the paperwork. If you swap a panel or inverter model after submitting, update the application before you install.
– Installing before approval. Buying and mounting gear is fine, but don’t energize anything until you have written permission.
– Forgetting the battery. If storage is part of the plan, put it on the application from the start. Adding it later can mean an amended filing.
Before you hit submit, read every number out loud against your spec sheets. It takes five minutes and catches most of these.
Verification and Next Steps: Confirming You’re Approved and Ready to Switch On
Before you flip the breaker, make sure every piece of the process actually closed out. Log in to PG&E’s interconnection portal and check that your application status shows approved, not just “submitted” or “under review.” Download the approval notice and save it right away, because screens and links change.
Next comes the local building inspection, which is a separate office from PG&E. Once that’s signed off, you wait for written permission to operate. That email or letter is your real green light. Until you have it in hand, the system stays off.
Here’s the checklist I run through every time:
Application confirmation number saved.
Approval received in writing from PG&E.
Local inspection passed and signed off.
Permission to operate in hand.
Meter or billing changes set up, if PG&E requires them.
Inverter monitoring app running and reporting.
After you energize, PG&E may swap your meter or set up net metering on your account, so watch your first bills to confirm credits show up as expected. Open your inverter app and track production over the first few weeks. Then compare it against the estimate from the Spheral Solar calculators. Small gaps are normal, since weather and shading swing real numbers around, but a big, steady shortfall is worth a closer look.
Keep up with some basic solar maintenance too, so your output stays close to that estimate for years.
Finally, put every document in one folder, digital or paper: the application, diagram, spec sheets, approvals, and inspection records. If you add a battery or more panels later, you may need a new or amended application, and having it all in one place will save you real headaches.
Frequently Asked Questions About PG&E Solar Interconnection
Can I submit the application myself, or does an installer have to?
Many homeowners file for their own system, and installers often file on a customer’s behalf as part of the job. Check PG&E’s interconnection pages for current rules on who can apply and what ownership details they expect.
Do I file before or after buying equipment?
You’ll need exact panel and inverter make and model numbers to fill in the form, so settle your equipment list first. File before you install or energize anything, not after.
Do I need a separate application for adding a battery later?
Adding storage later usually means amending or submitting a new application, because the equipment list and single-line diagram change. Ask PG&E which path applies to your setup before you buy the battery.
Is the application the same as my building permit?
No. The building permit and inspection come from your local jurisdiction, while the interconnection application is PG&E’s approval to connect to the grid. You’ll need both, and they run on separate tracks.
What if I made a mistake after submitting?
Don’t panic. Contact PG&E or use the portal to correct or resubmit, and respond quickly to any request for changes. Small fixes like a typo in an address are common and usually easy to sort out.
Can I turn the system on while I wait?
No. Keep your system switched off until you have written permission to operate from PG&E and your local inspection is signed off. Running it early can endanger utility workers and set your approval back.
For fees, review times, and the exact screens you’ll see, treat PG&E’s own website and your portal account as the source of truth, since those details change.
Getting a PG&E interconnection approved really comes down to three habits: gather your documents before you start, file a clean application with an accurate single-line diagram, and wait for written permission before you energize anything. Do those, and the paperwork stops being a mystery and becomes just another build step.
This is the piece that finishes your Solar Energy Electrical Integration journey. Panels on the roof and an inverter on the wall are only half the job. The approval is what turns them into a legal, safe, grid-connected system.
I won’t pretend my first application went perfectly, but every delay taught me something, and yours will go smoother than mine did. Take your time, check your numbers twice, and don’t flip that switch early.
Ready to start? Pin down your kW figures with the Spheral Solar system-sizing calculator, then come tell the community how your own interconnection went. Your story might save someone else a few weeks.
How useful was this post?
Click on a star to rate it!
Average rating 0 / 5. Vote count: 0
No votes so far! Be the first to rate this post.
We are sorry that this post was not useful for you!
Let us improve this post!
Tell us how we can improve this post?
charlesnoble
Here at Spheral Solar, I’m a hands-on solar power enthusiast, constantly exploring and experimenting with DIY solutions. I’m dedicated to sharing my discoveries, insights, and even the bumps I hit along the way, all in the pursuit of a more sustainable future.
Why Florida Homeowners Are Going Solar (And How You Can Too) by Charlesnoble March 6, 2026 Calculate your home’s solar potential by checking your annual electricity bills and measuring your available south-facing roof space—Florida homes typically need 20-30 panels to offset 100% of energy usage. Contact your utility provider to understand net metering policies, as companies like Duke Energy, FPL, and Tampa Electric have different buyback…
How the Solar Tax Credit Puts Thousands Back in Your Pocket by Charlesnoble January 16, 2026 Claim up to 30% of your solar installation costs back from the federal government through the residential solar tax credit—officially called the Investment Tax Credit (ITC)—which applies to equipment, labor, and even permits when you install solar panels on your home. This credit directly reduces what you owe the IRS…
How Sunlight Becomes Electricity in Your Home (The… by Charlesnoble November 3, 2025 Understand the photovoltaic effect—when sunlight hits solar panels, photons knock electrons loose from silicon atoms, creating an electrical current through a principle Einstein won a Nobel Prize for discovering. Your solar panels generate direct current (DC) electricity, which then flows to an inverter that converts it into alternating current (AC)…
UV Roof Coating Saved My Solar Setup (And Stopped a… by Charlesnoble April 28, 2026 Inspect your roof for cracks, blisters, or worn areas before applying any UV coating—these problem spots need repair first, or you’ll just be sealing in future leaks. I learned this the hard way when I rushed to coat my garage roof before installing my first solar array and ended up…
Why Your Rooftop Solar Installation Needs… by Charlesnoble January 28, 2026 Seal every penetration point where your solar mounting hardware breaks through the deck surface with marine-grade polyurethane caulk rated for continuous UV exposure and thermal cycling. I learned this the hard way after my first DIY installation when I assumed standard silicone would suffice—three months later, I discovered water pooling…
How I Built a Zero Energy Home Without Breaking the Bank by Charlesnoble November 14, 2025 **Imagine slashing your electricity bill to zero—permanently.** A zero energy home produces as much renewable energy as it consumes over the course of a year, transforming your house from an energy drain into a self-sustaining powerhouse. It’s not science fiction or reserved for millionaires; thousands of homeowners are already living…
Subscribe for handpicked DIY projects, exclusive tips, and giveaways.