How to Build a 9 Volt Battery Water Pump for Your Solar System
Updated:
You can build a working 9 volt battery water pump in about 30 minutes using a small DC motor, plastic tubing, and a few basic materials you probably already have at home. These miniature pumps move water at roughly 1-2 liters per minute, perfect for drip irrigation systems, small fountains, aquarium maintenance, or emergency water transfer when you’re camping off-grid.
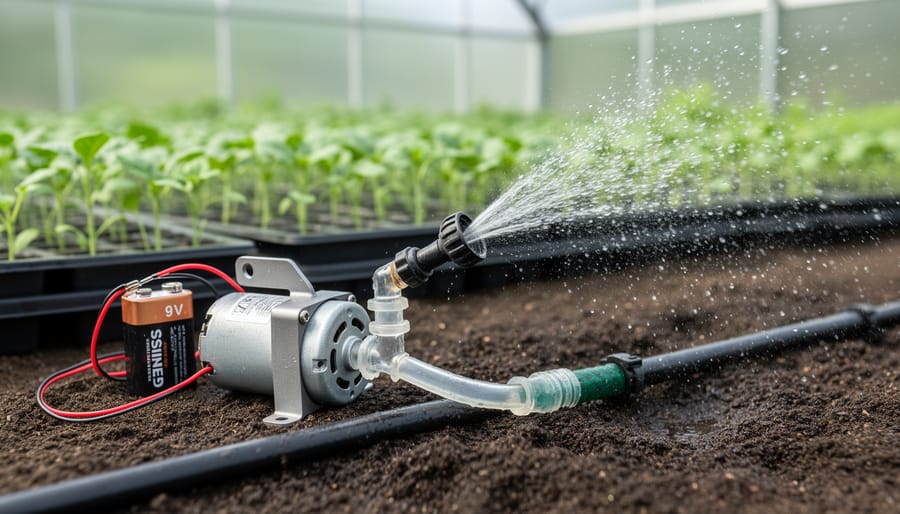
I first experimented with 9V pumps back when I needed a quick solution to water seedlings in my greenhouse without running extension cords everywhere. What started as a weekend project taught me that these humble little pumps are surprisingly capable once you understand their limitations. They won’t replace your garden hose, but for moving water short distances or creating low-pressure irrigation systems, they’re exactly what many DIYers need.
The beauty of a 9V system is its simplicity and safety. You’re working with voltage low enough that accidental contact won’t shock you, yet powerful enough to lift water several feet vertically. This makes 9V pumps ideal entry points for anyone exploring solar-powered water systems without committing to larger 12V setups or complex electrical work.
Most commercial 9V pumps cost between $8 and $25, but building your own teaches you the fundamentals of DC water movement, how motors interact with fluid dynamics, and why voltage matters in pump selection. Whether you’re planning a solar-powered garden drip system or just need to understand how these pumps work before buying one, this guide walks you through both the build process and the practical applications that make 9V pumps worth your time.
Key Takeaway: A 6V solar panel matched with a rechargeable battery pack gives you the best of both worlds, continuous operation for low-flow needs like drip irrigation or fountain circulation without the complexity of 12V systems. Skip the charge controller unless you’re protecting expensive batteries.
What You’ll Need: Tools and Materials
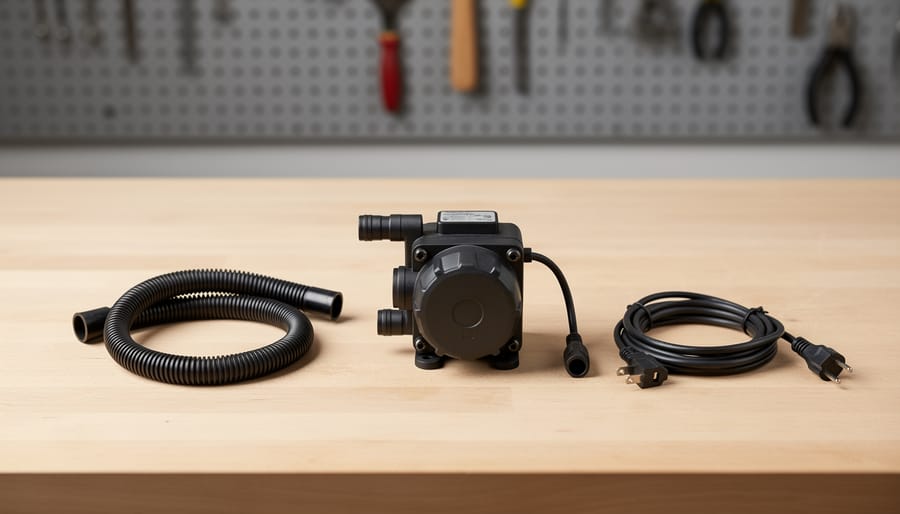
A close view of the pump, tubing, and power lead laid out on a workbench helps readers visualize what they’ll assemble.
You can build a working 9V battery water pump for about $15-25, depending on what you already have lying around. I’ve helped dozens of community members source these parts, and the good news is everything’s available from your local hardware store or online.
Here’s what you need to gather before starting:
Core Components:
• DC submersible water pumpLook for one rated 3-9V DC with 100-300mA current draw. The typical lift height is 1-3 feet. Brands like Gikfun or Bayite work well ($8-12 on Amazon or eBay)
• 9V batteryStandard alkaline or rechargeable. Rechargeable NiMH batteries are better if you plan to run this regularly ($3-8)
• 9V battery snap connectorThe clip that connects to your battery terminals, with red and black wire leads ($1-2 for a pack)
• Silicone or vinyl tubing1/4 inch inner diameter, get 3-6 feet to allow flexibility in positioning. Silicone is food-safe if you’re pumping drinking water ($3-5)
• Wire connectors or solderEither twist-on wire nuts, crimp connectors, or solder and heat shrink tubing for permanent connections ($2-5)
Testing and Optional Upgrades:
• MultimeterFor checking voltage and diagnosing issues. Any basic model works ($10-15 if you don’t have one)
• Small solar panelOptional but useful: 6V 1-2W panel for solar integration ($8-15)
• Hose clamps or zip tiesTo secure tubing connections (under $2)
Most folks already have wire strippers, electrical tape, and a container for testing. I sourced my first pump from a broken aquarium filter, which cost me exactly zero dollars. Hardware stores like Lowe’s carry the tubing and connectors, while the pumps are easier to find online unless you’ve got a good electronics surplus shop nearby.
Safety First: What to Watch Out For
Working with 9 volts feels safe because it’s just a battery, but combining electricity and water demands respect regardless of voltage. I learned this the hard way when I casually dunked exposed wiring into a test bucket and got a sharp reminder that even low voltage can short out, damage components, and create heat.
Start by ensuring all electrical connections stay completely dry. Use heat shrink tubing or quality electrical tape to cover every exposed wire and connection point. Water conducts electricity, and even though 9V won’t shock you, it’ll drain your battery instantly if connections touch water or create a short circuit across the terminals.
Warning: Never use this pump for drinking water unless you’ve confirmed all materials are food-grade certified and installed proper filtration, standard hobby pumps and tubing can leach harmful chemicals.
Keep your workspace organized to avoid accidental shorts. A stray wire touching both battery terminals simultaneously can overheat quickly, potentially damaging the pump motor or causing the battery to leak. I keep my 9V connections in a small project box once assembled, which prevents accidental contact and keeps everything tidy.
Battery disposal matters too. Don’t toss spent 9V batteries in regular trash. Most hardware stores and electronics retailers accept them for recycling. The alkaline and lithium inside can contaminate groundwater if they end up in landfills.
Finally, supervise this project if kids are involved. The build itself is beginner-friendly, but the combination of electricity and water requires adult oversight to prevent mishaps.
Building Your 9V Battery Water Pump: Step-by-Step
Step 1: Prepare and Test Your DC Pump
Before connecting anything permanently, you’ll want to make sure your DC pump is actually compatible with your 9V battery and that it works properly.
Start by examining the pump’s wiring. Most small DC pumps have two wires, typically red and black, though some cheap imports use unmarked wires. Red indicates positive, black is negative. If yours has unmarked wires, check the pump housing for a polarity diagram, or search the model number online. Getting polarity wrong won’t usually damage the pump permanently, but it’ll run backward or not at all.
Now verify the voltage rating. Look for a label on the pump body or check the product listing where you bought it. Pumps rated for 3-6V will run sluggishly or burn out on 9V. Those rated for 12V might barely turn. You want something rated between 6-9V, ideally right at 9V.
Here’s the smart move: test it before you start cutting wires and making permanent connections. Touch the pump’s positive wire to the battery’s positive terminal and negative to negative. The motor should hum to life immediately. If it doesn’t, reverse the connections, you might have the polarity backward. No response at all? The pump’s likely defective, and you’ve just saved yourself an hour of frustrating assembly.
Step 2: Wire Your Power Connection
Grab your 9V battery snap connector, it’s the little plastic clip with two wires that attaches to the top of a standard 9V battery. You’ll see a red wire (positive) and a black wire (negative). Match these to your pump’s leads: red connects to the pump’s positive wire, black to negative. If your pump wires aren’t color-coded, check the manufacturer’s specs or look for tiny + and – symbols molded into the pump body.
Strip about 1/4 inch of insulation from each wire end, then twist the matching wires together firmly. Polarity matters here, reverse it and your pump won’t work, though you won’t damage anything at this low voltage. I learned this the hard way during my first build when nothing happened until I swapped the connections.
Slide heat shrink tubing over each connection before you join the wires, then heat it with a lighter or heat gun until it seals tight. No heat shrink? Wrap each connection individually with electrical tape, overlapping layers to create a waterproof barrier. Water and exposed metal connections don’t mix, even at 9 volts. Keep these connections elevated above your water source whenever possible, a lesson I picked up after watching moisture creep up unprotected wires during testing.
Step 3: Attach Tubing and Seal Connections
Choosing the right tubing makes all the difference between a pump that works smoothly and one that fights you at every turn. Most small DC pumps work best with 1/4-inch or 3/8-inch ID (inner diameter) tubing, check your pump’s specifications, but if the tubing slides on too easily, it’ll pop off under pressure; too tight, and you’ll damage the barb fittings.
Cut two pieces of tubing, one for the inlet and one for the outlet. Before attaching, warm the tubing ends in hot water for 30 seconds. This softens the plastic and lets you push it onto the barbs without excessive force. Once it cools, it’ll grip tighter than when cold.
Slide each tube onto its fitting, pushing until it bottoms out against the pump body. For basic testing, friction alone might hold, but for any real application, secure each connection with a small hose clamp or zip tie positioned about 1/4-inch from the end. I learned this the hard way when my first test pump shot its outlet tube across the room like a water cannon.
If your pump will run continuously or handle drinking water, add a thin bead of food-safe silicone sealant around each connection point. Let it cure for 24 hours before pressurizing the system.
Step 4: Perform Your First Test Run
Fill a clean bucket or large container with water, enough to fully submerge the pump’s inlet. Place your assembled pump in the water and connect the 9V battery. You should hear the motor start immediately and see water begin flowing through the outlet tubing within 2-3 seconds.
For most small DC pumps, expect a flow rate between 1-3 liters per minute. To measure this, simply time how long it takes to fill a one-liter container. If flow seems weak or nonexistent, check for air locks first. Disconnect the battery, squeeze the tubing gently to release trapped air bubbles, then reconnect. I’ve found that holding the outlet tubing slightly below the pump level for the first few seconds helps prime stubborn models.
No flow at all usually means reversed polarity or a loose connection. Swap your positive and negative wires and test again. If the motor runs but doesn’t pump, your tubing might be kinked or the inlet could be blocked. Pull everything apart and inspect carefully before reassembling.
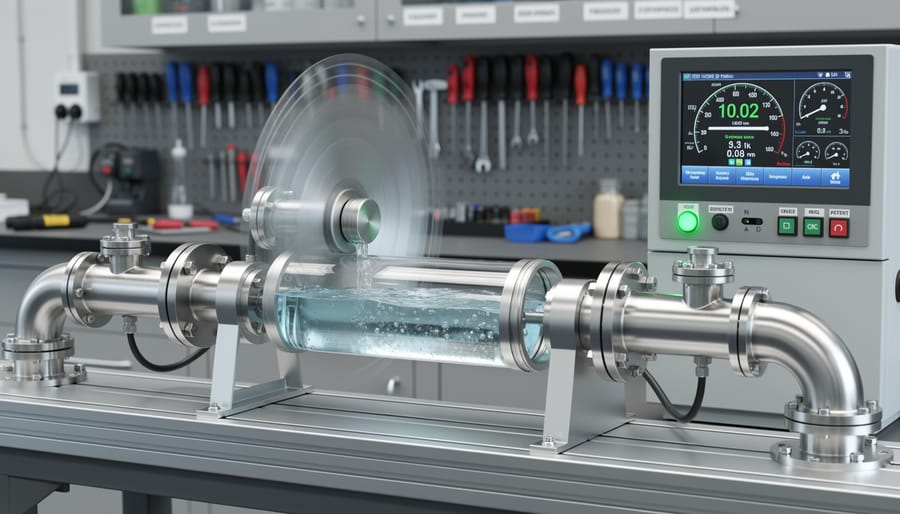
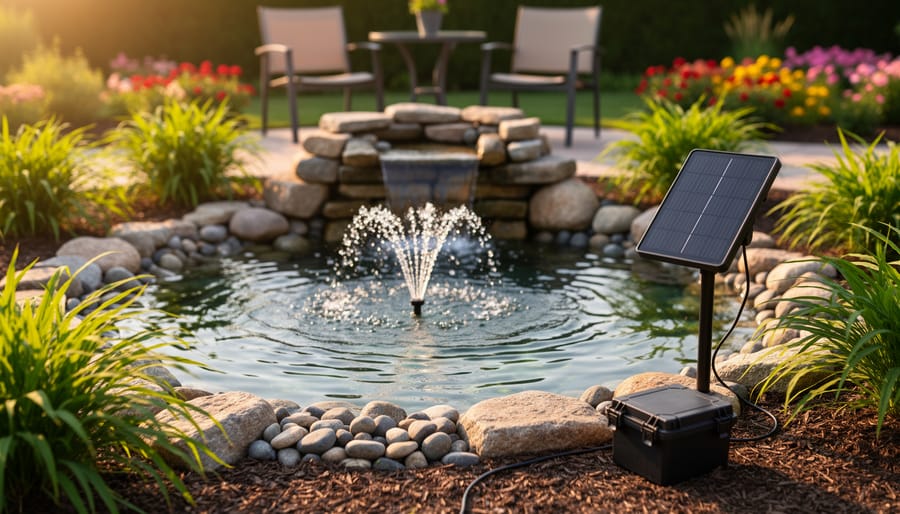
The test-run scene shows what “getting flow” looks like when the pump is powered correctly.
Connecting to Your Solar Power System
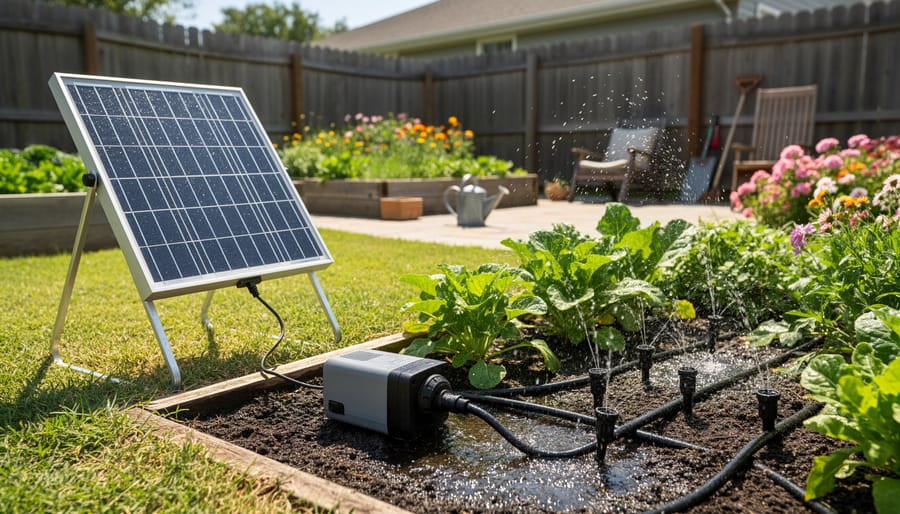
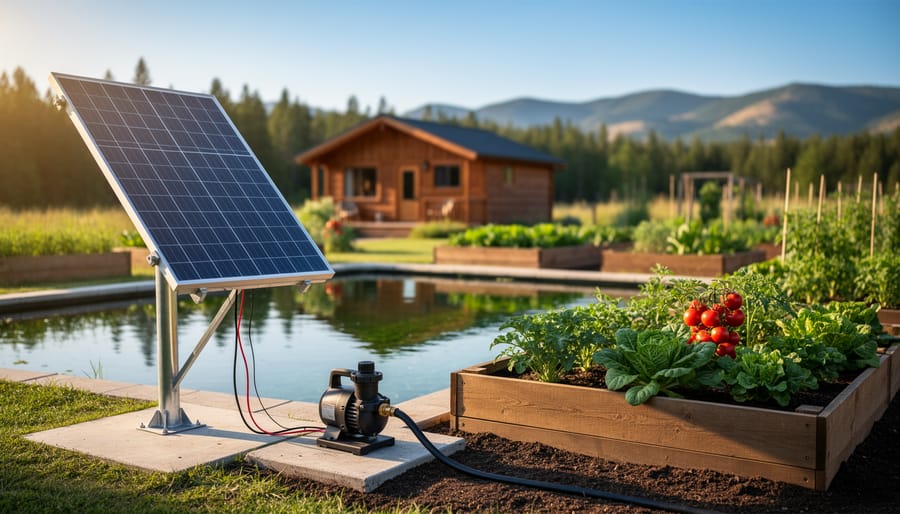
This outdoor scene illustrates how a tiny battery pump can support solar-powered watering in real everyday settings.
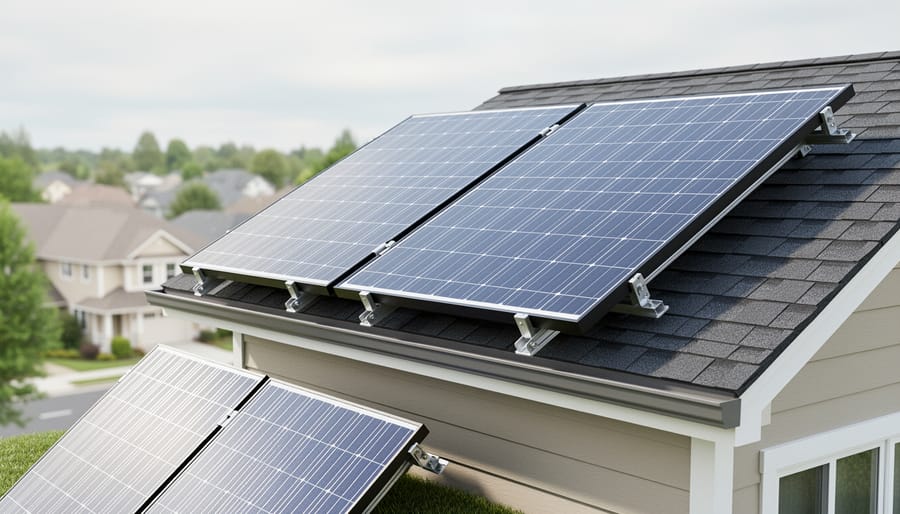
Once you’ve got your 9V pump running reliably, connecting it to solar power is easier than you might think. A small 6V solar panel (5-10W) paired with a rechargeable battery pack creates a surprisingly effective setup for continuous operation. I learned this the hard way after trying a 12V panel first, completely unnecessary and actually required adding a voltage regulator to prevent overheating the pump motor.
Start with a 6V or 9V crystalline solar panel in the 5-10W range. These panels typically output 6-9V in full sun, which matches your pump’s voltage requirements without modification. The beauty of this size is the price point, you’ll find decent panels for $15-30 online. Mount the panel where it gets at least 4-6 hours of direct sunlight daily. For permanent installations, angle it toward the south (in the Northern Hemisphere) at roughly your latitude angle.
Here’s where most people get confused: you don’t necessarily need a charge controller for this small system. If you’re running the pump directly during daylight hours only, wire the panel straight to the pump. The motor will simply run slower in partial shade and faster in full sun. However, if you want 24-hour operation or consistent flow rates, add a rechargeable 9V NiMH battery pack (or six AA rechargeable batteries in series) between the panel and pump. This stores excess solar energy during the day and keeps water flowing after sunset.
For the hybrid setup, wire the solar panel to the battery pack’s charging terminals, then connect the pump to the battery’s output. The battery acts as a buffer, smoothing out power fluctuations when clouds pass overhead. I’ve run a small fountain this way for three months straight without touching it, the panel keeps the batteries topped up, and the pump hums along day and night.
Now, when should you stick with 9V versus upgrading to 12V? If your application needs less than 2-3 liters per minute flow or you’re lifting water less than 3 feet vertically, 9V works perfectly fine. Think pet water dishes, small desktop fountains, hydroponic drip systems, or emergency backup for fish tanks. But if you’re planning serious garden irrigation, livestock watering, or anything requiring more than 5 feet of lift, you’ll hit the 9V system’s ceiling fast. Proper solar panel sizing for 12V pumps becomes essential for those bigger jobs, the power requirements jump significantly, but so does the capability.
The 9V solar pump serves as an excellent proving ground. Build this system first, understand how solar power behaves with real loads, then scale up with confidence when your needs outgrow it.
Testing Your Pump and Troubleshooting Common Issues
Your pump is wired and ready, but before you celebrate, you need to confirm it actually works as expected. Start by placing the pump in a bucket of water with the outlet tube aimed into a measuring container. Power it on and time how long it takes to fill a known volume, most 9V pumps move between 1-3 liters per minute, though cheaper models may barely manage half a liter. If you’re getting significantly less, something’s wrong.
Next, test the lift height by gradually raising the outlet tube above the water source. Most 9V pumps max out around 1-2 meters of vertical lift before flow drops to a trickle. This limitation is why they work for tabletop fountains and camping filters but struggle with applications that need serious height, like solar irrigation pumps that draw from wells.
I learned this the hard way with my first build. The pump barely moved water, making a high-pitched whine instead of the normal hum. After checking connections twice, I finally looked closely at the motor label, it was rated for 3V, not 9V. I was essentially overvolting it, which explained both the noise and the pathetic performance. A quick voltage check with a multimeter confirmed my 9V battery was fine; I’d just ordered the wrong pump.
When things go sideways, start with these usual suspects:
Weak flow: Check for air bubbles trapped in the line, kinked tubing, or a clogged inlet screen
No flow at all: Verify polarity, swap the wires if the motor’s silent
Pump runs but no water moves: Inlet may be above water level or tube connections are leaking air
Excessive noise or vibration: Pump is cavitating from insufficient water supply or running dry
Intermittent operation: Loose wire connection or dying 9V battery
If the pump runs hot to the touch within a few minutes, disconnect immediately. Either the voltage is wrong for your motor or there’s a short somewhere. Don’t just power through it, a burnt-out pump smells terrible and wastes your time rebuilding from scratch.
Real-World Applications and Next Steps
Your 9V battery water pump opens up surprisingly diverse possibilities, even with its modest flow rate. I’ve used these little pumps for camping trips where I needed to move water from a stream to my cooking area, no heavy lifting required. They’re perfect for circulating water in small pet fountains or aquaponics experiments where you’re testing concepts before committing to a full system.
For emergency preparedness, a 9V pump paired with a small solar panel gives you independence from the grid. You can move water from storage containers to where you need it without manual hauling. Some folks use them to keep birdbaths fresh or run miniature water features that add ambiance without the electric bill.
Garden irrigation works for container plants or seedling trays, though the limited lift height (typically 3-6 feet) means you can’t pump uphill very far. If you’re dreaming of a watering autopilot system for larger garden beds, you’ll hit the 9V pump’s ceiling quickly.
That’s when you know it’s time to scale up. If you need more than 3 liters per minute, want to lift water higher than 5 feet, or plan to run the pump for extended periods, a 12V solar-powered system becomes essential. Our solar calculator tool helps you size the right panel and battery combination for bigger applications. Think of this 9V project as your training wheels, once you’ve mastered the basics here, upgrading feels natural rather than intimidating.
Congratulations! You’ve just built a working water pump powered by a simple 9V battery. More importantly, you’ve learned the core principles that drive every solar water system, from tiny camping setups to whole-house installations. The connections you made, the voltage requirements you checked, and the troubleshooting you did mirror exactly what happens in larger systems that run on sunshine.
This little pump is your gateway to bigger projects. Once you’ve tested different battery types, experimented with solar panel connections, or adapted the design for specific tasks, you’ll have hands-on knowledge that no amount of reading can replace. I started the same way years ago, and each small success gave me the confidence to tackle more ambitious solar installations.
How long will a 9V battery power my pump?
A standard alkaline 9V battery typically runs a small DC pump for 2-4 hours of continuous use, depending on the pump’s current draw. Rechargeable 9V batteries offer shorter runtime but can be recharged with a small solar panel.
Can I run the pump continuously?
Yes, if you use a solar panel or wall adapter instead of batteries. For battery operation, plan for intermittent use to extend battery life.
What’s the maximum height this pump can lift water?
Most 9V pumps lift water 3-6 feet vertically. Check your pump’s specifications for exact lift capacity, as exceeding it will result in weak or no flow.
Will any 9V battery work?
Any standard 9V battery will physically connect, but alkaline batteries provide the best runtime. Avoid cheap carbon-zinc batteries, which drain quickly under the pump’s load.
Share your build in the Spheral Solar community. We’d love to see your variations, whether you’ve added a solar panel, created a fountain, or solved a specific watering challenge. When you’re ready to scale up to 12V systems with greater flow rates and more robust solar integration, check out our related articles on sizing and installing larger solar-powered pumps.
How useful was this post?
Click on a star to rate it!
Average rating 0 / 5. Vote count: 0
No votes so far! Be the first to rate this post.
We are sorry that this post was not useful for you!
Let us improve this post!
Tell us how we can improve this post?
charlesnoble
Here at Spheral Solar, I’m a hands-on solar power enthusiast, constantly exploring and experimenting with DIY solutions. I’m dedicated to sharing my discoveries, insights, and even the bumps I hit along the way, all in the pursuit of a more sustainable future.
How Does a Solar-Powered Drip Irrigation System Work by Paul September 13, 2021 Solar-powered drip irrigation can be installed in most gardens using a small solar system, readily available irrigation materials, and minimal tools. If you already have a home solar system, it can be tapped into without installing a dedicated system. And the installation of an average drip irrigation system is well…
How Solar-Powered Greenhouses Slash Your Growing… by Charlesnoble November 13, 2025 Picture this: It’s mid-July, your tomatoes are thriving, but your electricity bill just jumped $80 because your greenhouse exhaust fans have been running nonstop. I’ve been there. Three summers ago, I watched my monthly power costs climb while knowing the sun beating down on my 12×16 greenhouse could be doing…
5 Best Solar Powered Water Pump for Irrigation in… by Adeyomola June 18, 2021 A high-capacity solar panel is not all that defines the best solar water pump for irrigation. Flow rate, head lift, pump efficiency, and power source flexibility all contribute to how well a solar-powered water pump will perform in the field. For instance, the Lewisia 10W solar water pump can move…
Set Your Garden Watering on Autopilot (Even When the… by Charlesnoble February 23, 2026 Picture this: You’re enjoying a relaxing weekend morning when you suddenly remember—you forgot to water the garden yesterday. Again. That sinking feeling is all too familiar for busy homeowners and gardening enthusiasts alike. But what if your irrigation system could run itself, powered entirely by the sun, without trenching for…
Solar Water Pumps That Bring Your Garden Features to… by Charlesnoble January 13, 2026 Match your pump’s wattage to your solar panel capacity by calculating total daily runtime hours multiplied by pump watts, then add 30% for cloudy days and battery charging losses. A typical 10-watt fountain pump running 8 hours daily needs a minimum 20-watt panel and 12-volt, 7-amp-hour battery to maintain consistent…
Why Your Next Outdoor Water Pump Should Run on Sunshine by Charlesnoble March 12, 2026 Picture this: You’re standing in your garden on a sunny afternoon, watching crystal-clear water flow effortlessly from your well to your vegetable beds—no extension cords snaking across the lawn, no monthly electricity bills, and no guilt about your carbon footprint. That’s the promise of solar powered outdoor water pumps, and…
Subscribe for handpicked DIY projects, exclusive tips, and giveaways.
Keeping your JD solar sensor light functioning at peak performance requires three simple maintenance steps: regular cleaning of the solar panel and sensor, seasonal battery checks, and proper winter storage. Most owners can complete a full maintenance cycle in under 15 minutes using household supplies, and doing so twice a year will typically extend your… Read more: How to Maintain and Care for Your JD Solar Sensor Light (Step-by-Step)