How Sunlight Becomes Electricity in Your Home (The Complete Journey)
Updated:
Understand the photovoltaic effect—when sunlight hits solar panels, photons knock electrons loose from silicon atoms, creating an electrical current through a principle Einstein won a Nobel Prize for discovering. Your solar panels generate direct current (DC) electricity, which then flows to an inverter that converts it into alternating current (AC) power compatible with your home appliances and the electrical grid.
Recognize that modern solar cells operate at 15-22% efficiency, meaning they convert roughly one-fifth of available sunlight into usable electricity—a figure that continues improving with technological advances. The complete conversion chain involves solar cells arranged in panels, junction boxes that consolidate the current, inverters for AC conversion, and your breaker box for distribution throughout your home.
I’ve watched countless DIYers grasp this concept and successfully integrate solar into everything from RV setups to backyard workshops. The process isn’t mysterious—it’s pure physics you can harness with the right equipment and knowledge. When you understand how photons become electricity powering your devices, the numerous benefits of solar power transform from abstract environmental talking points into tangible energy independence you control.
This conversion happens silently, reliably, and automatically every time sunlight strikes your panels. Whether you’re considering a full home installation or experimenting with portable solar solutions for camping, knowing this fundamental process empowers you to make informed decisions about capacity, placement, and system design that maximize your energy production.
The Photovoltaic Effect: Where the Magic Happens
Silicon Cells and the Electron Dance
At the heart of every solar panel lies something beautifully simple: silicon cells arranged like tiles on a roof. Think of silicon as the perfect middleman in the electrical world—it’s not quite a conductor like copper wire, but it’s not an insulator like rubber either. This “semiconductor” quality makes it ideal for catching sunlight and turning it into electricity.
Here’s where the magic happens. When I first learned about this process, I imagined it like a crowded subway car where someone suddenly opens the doors—everyone rushes to move. Silicon cells are engineered with two layers: one side has extra electrons (like having too many passengers), while the other side has spaces waiting to be filled (empty seats). This creates an electric field right at the junction between them.
When photons from sunlight slam into these silicon atoms, they transfer their energy in a process that knocks electrons loose from their normal positions. Picture a game of pool where the cue ball (photon) strikes and sends other balls (electrons) scattering across the table. These freed electrons don’t just wander aimlessly—the built-in electric field acts like a one-way street, pushing them in a specific direction.
As these electrons flow toward metal contacts on the cell’s surface, they create an electrical current. Connect a wire between the two sides of the cell, and you’ve got electricity flowing—ready to power anything from a small calculator to your entire camping setup. It’s this elegant electron dance, repeated billions of times across thousands of cells, that transforms pure sunlight into usable power.
Modern solar panels contain silicon cells that capture photons from sunlight to generate electrical current through the photovoltaic effect.
Why Direct Current (DC) Comes First
When solar panels capture sunlight, they first create what’s called direct current, or DC electricity. Think of DC as electricity that flows in one steady direction—just like water flowing through a garden hose. It’s the same type of power you’ll find in your smartphone, laptop battery, flashlight, or that portable speaker you take camping.
I remember when I first started tinkering with solar panels in my garage, I was curious why my panel’s output looked so similar to a car battery’s specifications. The answer is beautifully simple: solar cells are designed to work just like batteries, producing a steady, one-directional flow of electrons.
Here’s what happens at the atomic level: when sunlight hits the silicon layers inside a solar panel, it energizes electrons and gets them moving in a specific direction through the cell’s structure. This creates that characteristic DC flow—always moving from the negative terminal to the positive terminal in a predictable pattern.
This is actually fantastic news for DIY enthusiasts! DC electricity is incredibly versatile for direct applications. You can charge 12-volt batteries, power LED lights, run DC fans, or operate small electronics without any additional equipment. Many off-grid setups and portable solar projects work entirely with DC power because it’s straightforward and efficient for battery storage.
However, here’s the challenge: most household appliances and the electrical grid operate on alternating current (AC), which is where inverters enter the picture.
From DC to AC: Making Solar Power Home-Friendly
Inverters are the critical component that transforms DC electricity from solar panels into AC power compatible with home appliances and the electrical grid.
What Inverters Actually Do
So your solar panels are generating DC power—now what? This is where inverters come in, and honestly, they’re the unsung heroes of any solar setup. Think of an inverter as a translator: it takes the direct current (DC) electricity your panels produce and converts it into alternating current (AC) electricity that your home appliances actually use.
Here’s the cool part: DC power flows in one direction, like water through a hose. AC power, on the other hand, rapidly switches direction—in the U.S., it flips back and forth 60 times per second. Your refrigerator, TV, and laptop all need AC power, which is why inverters are absolutely essential for solar electrical integration.
When I installed my first portable solar setup for camping, I made the mistake of thinking I could skip the inverter for simple devices. Wrong! Even USB chargers in your car are technically tiny inverters, converting DC battery power to what your phone needs. Modern solar inverters do this conversion at impressive efficiency rates—usually 95-98%, meaning very little energy is lost in the process.
There are three main types you’ll encounter: string inverters (one unit for your whole array), microinverters (one per panel), and power optimizers (a hybrid approach). String inverters are the most affordable and what I recommend for beginners tackling small projects. I’ve used a 1000-watt string inverter for my RV setup, and it handles everything from charging laptops to running a small coffee maker.
One thing that surprised me during my DIY installations: inverters generate heat. They’re working hard to do that DC-to-AC conversion, so proper ventilation matters. I learned this the hard way when my first inverter started thermal throttling on a hot summer day—performance dropped until it cooled down. Now I always mount them in shaded, well-ventilated spots.
Different Inverter Types for Different Needs
Once your solar panels generate DC power, you’ll need the right inverter to make it usable in your home. Think of inverters as translators—they convert that solar DC electricity into the AC power your appliances understand. But not all inverters work the same way, and choosing the right one can make or break your DIY solar project.
**String inverters** are the traditional workhorses of solar systems. They connect all your panels in a series (like old-school Christmas lights), feeding power to one central inverter unit. They’re cost-effective and simple to install—perfect if you’re starting with a straightforward rooftop setup without shade issues. I remember installing my first string inverter system, and honestly, the simplicity was reassuring for a beginner.
**Microinverters** take a different approach. Each panel gets its own tiny inverter attached to its back, converting DC to AC right there on the roof. This means if one panel underperforms (maybe a tree casts shade on it), the others keep humming along at full capacity. They’re pricier upfront but offer better monitoring and flexibility—ideal for DIYers with complex roof angles or partial shading.
**Power optimizers** split the difference. They’re panel-level devices that condition the DC power before sending it to a central inverter. You get some of the individual panel monitoring benefits of microinverters without the full cost commitment.
For small DIY projects like RV setups or portable power stations, string inverters usually offer the best bang for your buck and easiest installation.
The Complete Path: Panel to Outlet
Your Solar Array: The Starting Point
One solar panel typically produces around 30-40 volts and a few amps under optimal conditions—enough for small applications, but most homes need much more power. That’s where solar arrays come in. By connecting multiple panels together, you create a system that generates sufficient voltage and current to meet your energy needs.
When I first sized my backyard setup, I learned that panels can be wired in series (adding voltage) or parallel (adding current). Most residential systems use a combination of both to achieve the right balance. A typical home might need anywhere from 15 to 25 panels, depending on energy consumption and roof space.
Here’s a practical tip: start by calculating your daily energy usage in kilowatt-hours (check your utility bill). Then work backward to determine how many panels you’ll need, factoring in your location’s average sun hours. Many online calculators can help with this, but remember to add about 25% extra capacity to account for cloudy days and system losses.
The beauty of solar arrays is their scalability—you can start small and expand as your budget and needs grow.
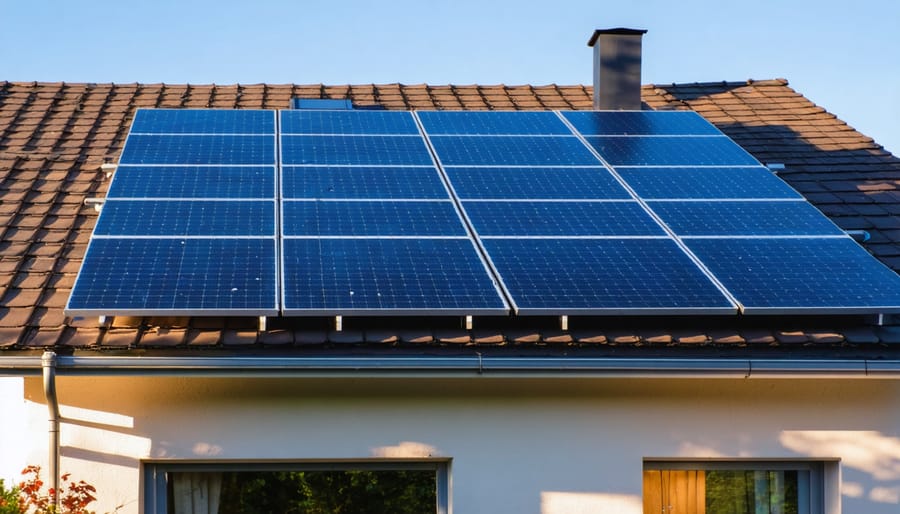
A complete solar array installation shows how multiple panels work together with proper wiring to generate sufficient power for household needs.
Charge Controllers: The Traffic Cops
If you’re planning an off-grid solar setup or want battery backup for your home system, you’ll need a charge controller—think of it as the traffic cop directing power flow between your solar panels and batteries. Without one, you’re risking serious damage to your battery investment.
Here’s why they matter: solar panels can produce varying voltages throughout the day depending on sunlight intensity. Send too much power into a battery, and you’ll overcharge it, drastically shortening its lifespan or even causing dangerous thermal runaway. A charge controller regulates this flow, ensuring your batteries receive exactly what they need.
There are two main types you’ll encounter. **PWM (Pulse Width Modulation)** controllers are the budget-friendly option, perfect for smaller systems—I’ve used these on camping setups with great results. They work by rapidly switching the connection on and off to maintain proper voltage. **MPPT (Maximum Power Point Tracking)** controllers are the premium choice, up to 30% more efficient because they actually optimize the power transfer by converting excess voltage into additional current.
Charles here: When I installed my first battery system, I cheaped out on the charge controller. Big mistake. Within six months, my batteries were toast. Trust me, spending an extra hundred dollars upfront saves you from replacing $500 worth of batteries prematurely.
For DIY enthusiasts, choosing the right controller means matching it to your panel voltage and battery bank capacity—something we’ll help you calculate with our sizing tool.
Battery Storage: Saving Electricity for Later
Once your solar panel generates DC electricity, you might wonder: what happens when the sun goes down? That’s where battery storage comes in—essentially saving your solar harvest for later use.
Solar batteries store direct current (DC) electricity in chemical form, ready to release it when you need power. Think of it like filling a water tank during the day so you can use it at night. When sunlight hits your panels, excess electricity flows into the battery instead of going to waste. Later, that stored energy powers your devices, whether it’s midnight or cloudy outside.
I remember my first camping trip with a solar setup—Charles here—and realizing I could charge my battery bank during the day, then run lights and a small fridge all evening. Game-changer! No more listening to a noisy generator or rationing power.
For DIY solar projects, battery storage makes the most sense in off-grid situations: RVs, boats, camping setups, or remote cabins where you can’t plug into the grid. It’s also great for backup power during outages or maximizing self-sufficiency at home.
The key is matching your battery capacity (measured in amp-hours) to your actual needs. Oversizing costs money; undersizing leaves you in the dark. Most DIYers start with lithium or AGM deep-cycle batteries—they’re reliable and relatively affordable. You’ll connect your solar panels to a charge controller, which prevents overcharging, and then to your battery bank.
Bottom line: batteries transform your solar system from “only works when sunny” to “power available whenever you need it.”
Real-World Efficiency: What Actually Reaches Your Appliances
Where Energy Gets Lost Along the Way
Here’s the reality: solar panels don’t capture every photon that hits them, and not all the electricity they generate makes it to your devices. Understanding these losses isn’t depressing—it’s empowering, because you can design around them.
**From Sunlight to Panel (Lost: ~75-80%)**
Even the best solar panels convert only 20-25% of incoming sunlight into electricity. The rest becomes heat or simply passes through. I remember Charles telling me about his first panel installation: “I was shocked that my fancy 300W panel wasn’t producing 300 watts. Then I learned that rating assumes perfect conditions—which basically never happen in real life.”
**DC to AC Conversion (Lost: ~2-8%)**
Your inverter transforms DC power into usable AC, but this process generates heat and wastes energy. Quality inverters lose around 3-5%, while cheaper models can lose up to 8%. This matters more than you’d think when calculating system sizing.
**Wiring and Connection Losses (Lost: ~2-3%)**
Electricity traveling through cables encounters resistance. Longer wire runs mean more loss. Using appropriately thick cables and keeping distances short minimizes this.
**What This Means for You**
When designing your system, expect real-world efficiency of 15-20% from sun-to-outlet. Size your panels accordingly—if you need 100W consistently, install at least 120-130W of panel capacity. This buffer accounts for these unavoidable losses and ensures reliable power when you need it.
Maximizing Your Conversion Efficiency
Understanding solar conversion is one thing—actually getting the most out of your panels is another. Through my own DIY solar projects, I’ve learned that the difference between a mediocre and excellent system often comes down to minimizing conversion losses at every step.
**Choose quality components wisely.** I made the mistake early on of buying the cheapest inverter I could find. Big error. A quality inverter with 95%+ efficiency might cost more upfront, but it pays for itself by converting more of that precious DC power into usable AC electricity. The same goes for charge controllers—opt for MPPT (Maximum Power Point Tracking) over PWM controllers when you can. MPPT controllers squeeze out 20-30% more power, especially in less-than-ideal conditions.
**Wire sizing matters more than you’d think.** When I first wired my rooftop setup, I used whatever gauge wire I had lying around. Wrong move. Undersized wires create resistance, which means heat and wasted energy. Use our wire sizing calculator to determine the right gauge for your distance and amperage—it’s saved me countless watts.
**Placement is everything.** Even a small shadow from a chimney or tree branch can disproportionately tank your output. I repositioned one panel just three feet and saw a 15% efficiency boost. Keep panels clean, angled toward the sun, and as cool as possible—every degree above 77°F reduces efficiency slightly.
Grid Integration vs. Off-Grid: Two Different Conversion Stories
Grid-Tied Systems: Simplicity and Net Metering
Grid-tied systems represent the most straightforward path to solar energy for homeowners. Unlike off-grid setups, these systems connect directly to your local utility grid, eliminating the need for expensive battery banks while still letting you harness the sun’s power.
Here’s how it works: your solar panels generate DC electricity, which flows through an inverter that converts it to AC power matching your home’s electrical system. What makes grid-tied systems brilliant is their simplicity—any excess electricity you generate automatically feeds back into the utility grid through your existing meter.
This is where net metering comes in, and honestly, it’s one of my favorite aspects of modern solar. When your panels produce more electricity than you’re using (like on sunny afternoons), your meter literally spins backward, giving you credits with your utility company. Then, during nighttime or cloudy days when your panels aren’t producing enough, you draw power from the grid, using those accumulated credits.
The inverter handles all the synchronization automatically, matching the grid’s voltage and frequency perfectly. Most utility companies require professional solar integration to ensure everything meets safety standards and interconnection requirements. The system seamlessly switches between solar power and grid power without you lifting a finger—it’s truly set-it-and-forget-it technology that maximizes your investment while keeping things refreshingly simple.
Off-Grid Systems: Complete Energy Independence
Off-grid systems add an extra layer to the solar-to-electricity conversion process, but don’t let that intimidate you! I remember setting up my first off-grid cabin system – it felt complex at first, but understanding the flow made everything click.
In standalone setups like RVs, remote cabins, or camping rigs, your solar panels still convert sunlight to DC electricity the same way. The key difference? You need battery storage since you’re not connected to the grid. Your charge controller becomes crucial here, managing the conversion flow between panels and batteries to prevent overcharging or damage.
Here’s where it gets interesting: most off-grid systems use a two-stage conversion. First, solar energy converts to DC power that charges your battery bank (typically 12V, 24V, or 48V). Then, when you need to run standard appliances, an inverter converts that stored DC power into 120V AC electricity.
Think of your batteries as an energy buffer – they store converted electricity for nighttime or cloudy days. This means sizing your system correctly is essential. You’ll want enough panel capacity to both power your daily needs *and* replenish your batteries.
The beauty of off-grid systems? Complete energy independence. No utility bills, no blackouts affecting you – just pure self-sufficiency powered by the sun!
Off-grid solar systems require charge controllers and battery storage to manage power conversion and provide electricity independence for RVs, cabins, and camping.
Putting This Knowledge to Work in Your DIY Projects
Sizing Your System Based on Conversion Reality
Understanding how solar panels convert sunlight to electricity is one thing—but translating that knowledge into a properly sized system is where the rubber meets the road. Here’s the reality: those efficiency losses we talked about aren’t just theoretical numbers. They directly impact how many panels, what size inverter, and how much battery storage you’ll actually need.
I learned this the hard way on my first portable setup. I calculated everything based on peak panel ratings and wondered why my batteries never quite charged as expected. The problem? I hadn’t accounted for the 15-20% efficiency loss through the conversion process, plus additional losses from temperature and less-than-perfect sun angles.
Here’s a practical approach: Start with your actual power needs, then work backwards. If you need 1,000 watts of usable power, you’ll need to generate closer to 1,200-1,300 watts at the panel level to account for conversion losses. Your inverter should be sized slightly larger than your peak load to handle surge demands without maxing out.
This is where Spheral Solar’s sizing calculators become invaluable tools. Rather than doing complex math yourself, these calculators factor in real-world efficiency rates, your location’s average sunlight hours, and seasonal variations. Just input your daily energy consumption, and you’ll get realistic recommendations for panel arrays and battery banks that actually deliver the power you need—not just on paper, but in your backyard or campsite.
Common Conversion Mistakes DIYers Make
I’ve seen countless DIYers rush into solar projects only to hit the same roadblocks. The biggest mistake? Mixing up DC and AC connections—trust me, I learned this the hard way when I first started tinkering with panels at my cabin. Your solar panels produce DC electricity, but your home runs on AC. Skipping or incorrectly wiring the inverter creates dangerous situations and damaged equipment.
Another common pitfall is underestimating voltage drop in long cable runs. Many folks use thin wires to save money, then wonder why their system underperforms. Always size your wiring generously—it’s cheaper than replacing components later.
I also notice people frequently neglecting proper grounding and bonding. This isn’t just about code compliance; it’s genuinely life-saving protection against lightning strikes and electrical faults. Before working on any installation, make sure you’re comfortable with disconnecting solar panels safely to avoid shocks.
Finally, mismatched component voltages plague many DIY builds. Your charge controller, battery bank, and inverter must work together harmoniously. Check compatibility twice before purchasing anything. A little planning prevents expensive mistakes and keeps your system running smoothly for years.
Understanding how solar panels transform sunlight into electricity isn’t just fascinating science—it’s practical knowledge that puts you in control of your renewable energy journey. When you grasp the fundamentals of the photovoltaic effect, DC-to-AC conversion, and system efficiency, you’re better equipped to design solar setups that actually meet your needs, whether you’re powering a weekend camping rig or supplementing your home’s energy consumption.
I remember when Charles first experimented with his portable solar charger setup. He told me that understanding the conversion process helped him troubleshoot why his devices weren’t charging efficiently—turns out his inverter was undersized for the job. That “aha moment” transformed him from someone who just plugged things in hoping they’d work to a confident solar tinkerer who could optimize every component.
Now that you’ve got this foundation, you’re ready to put it into practice. Start small if you’re new to this—maybe a simple panel-battery-inverter system for outdoor adventures. As you gain confidence, scale up. The beauty of solar is that it’s modular and forgiving for experimenters.
We’d love to hear about your solar projects! Share your successes, challenges, and creative solutions in our community forums. And if you’re ready to take the next step in going solar, check out our project guides and calculators to help plan your setup. Your renewable energy adventure starts with understanding—and continues with doing.
How useful was this post?
Click on a star to rate it!
Average rating 0 / 5. Vote count: 0
No votes so far! Be the first to rate this post.
We are sorry that this post was not useful for you!
Let us improve this post!
Tell us how we can improve this post?
charlesnoble
Here at Spheral Solar, I’m a hands-on solar power enthusiast, constantly exploring and experimenting with DIY solutions. I’m dedicated to sharing my discoveries, insights, and even the bumps I hit along the way, all in the pursuit of a more sustainable future.
How I Built a Zero Energy Home Without Breaking the Bank by Charlesnoble November 14, 2025 **Imagine slashing your electricity bill to zero—permanently.** A zero energy home produces as much renewable energy as it consumes over the course of a year, transforming your house from an energy drain into a self-sustaining powerhouse. It’s not science fiction or reserved for millionaires; thousands of homeowners are already living…
Six Energy Sources That Work With Your Solar Panels… by Charlesnoble December 16, 2025 Harness the sun’s energy streaming onto your roof right now—solar panels convert sunlight into electricity that powers your home while slashing monthly utility bills. Capture moving air with residential wind turbines mounted on your property, generating supplemental power during breezy days and nights when solar production drops. Tap into the…
Why Commercial Rooftop Solar Isn’t Just for Experts… by Charlesnoble January 2, 2026 Calculate your building’s solar potential by measuring the usable roof area—subtract space for HVAC units, vents, and required maintenance walkways, then multiply by 15 watts per square foot for a quick capacity estimate. Most commercial roofs between 5,000 and 50,000 square feet can support systems ranging from 30kW to 400kW,…
Why Solar Alone Isn’t Enough: Five Energy Sources… by Charlesnoble February 11, 2026 Combine multiple power sources to create a resilient energy system that keeps your home running when solar panels can’t produce electricity. Start by identifying which backup sources match your property’s natural resources—flowing water, consistent wind, or reliable grid access—then layer them strategically so you’re never dependent on a single energy…
Why Solar Alone Isn’t Enough: Five Energy Sources… by Charlesnoble February 11, 2026 Combine multiple power sources to create a resilient energy system that keeps your home running when solar panels can’t produce electricity. Start by identifying which backup sources match your property’s natural resources—flowing water, consistent wind, or reliable grid access—then layer them strategically so you’re never dependent on a single energy…
Why Solar Alone Isn’t Enough: Five Energy Sources… by Charlesnoble February 11, 2026 Combine multiple power sources to create a resilient energy system that keeps your home running when solar panels can’t produce electricity. Start by identifying which backup sources match your property’s natural resources—flowing water, consistent wind, or reliable grid access—then layer them strategically so you’re never dependent on a single energy…
Subscribe for handpicked DIY projects, exclusive tips, and giveaways.
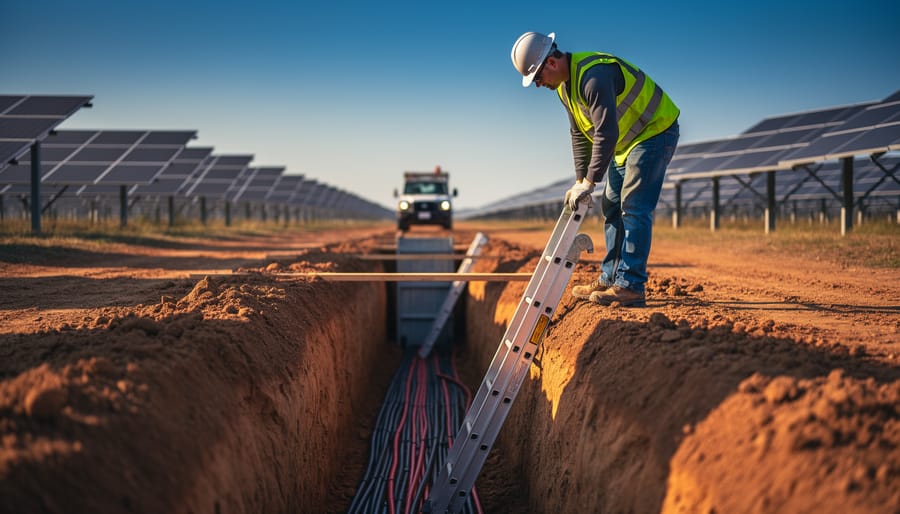
Dig a trench deeper than four feet for your ground-mounted solar array, and you’re entering territory where the walls can collapse without warning—burying you in seconds under thousands of pounds of soil. I learned this the hard way when planning my first major DIY solar project: what seemed like simple ditch-digging for conduit runs turned… Read more: Why Your DIY Solar Trench Could Cave In (And How to Prevent It)
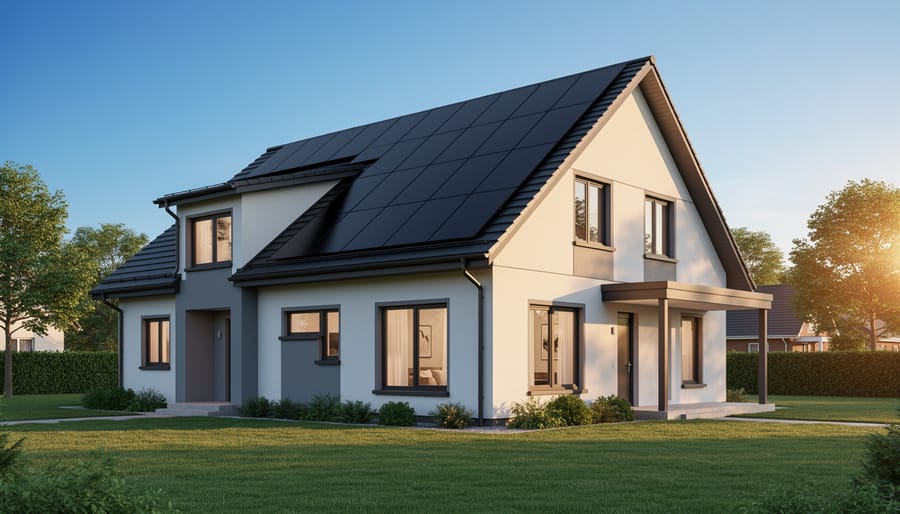
Calculate your daily energy consumption by examining your electricity bills for the past year—most households use between 20-30 kilowatt-hours per day, which translates to a 5-7 kilowatt solar array for complete energy independence. This single number determines everything: how many panels you’ll mount, the inverter capacity you’ll need, and whether your budget aligns with reality.… Read more: Build Your Own Home Solar Power System and Actually Save Money
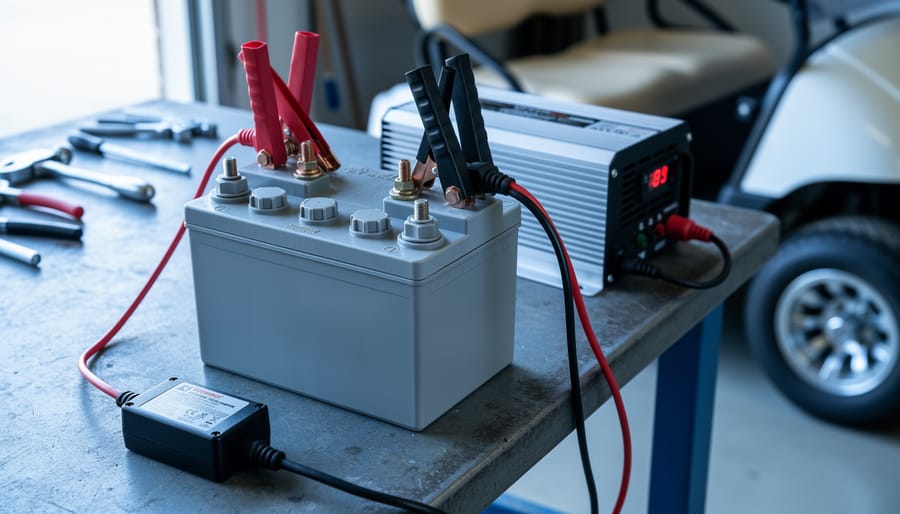
Match your charger voltage to your battery’s 8-volt requirement, or risk permanent damage to your battery bank. Most standard chargers output 6V or 12V, making them incompatible with the less common 8V configuration found in certain golf carts, floor scrubbers, and older solar setups. Use a dedicated 8-volt charger with an output between 9.0V and… Read more: Why Your 8 Volt Battery Won’t Charge (And How to Fix It with an Inverter)


")
")


")
")