What Size Solar Panel to Charge 12V Battery
Updated:

The solar panel size depends on factors like the battery capacity, battery type, desired charge time, and type of charge controller used. In this comprehensive guide, we will discuss in detail the step-by-step process to calculate the ideal solar panel size to charge a 12V battery.
We will also provide solar panel size recommendations for charging common 12V battery capacities using PWM and MPPT charge controllers and discuss other important aspects of charging 12V batteries using solar power.
How to Size Solar Panels for Charging a 12V Battery
Follow these key steps to determine the optimum solar panel size for your 12V battery:
Step 1: Identify the Battery Specifications
The first step is identifying the specifications of the 12V battery you wish to charge, including:
- Battery Voltage – This will be 12V for the batteries discussed in this article.
- Battery Capacity – The capacity is rated in amp-hours (Ah). For example, a 100Ah battery.
- Battery Type – Lead-acid (flooded, AGM, gel) and lithium-ion batteries like LiFePO4 are common types.
- Depth of Discharge – What is the maximum discharge depth or the lowest charge state the battery will be allowed to reach? For lead-acid this is 50%, for lithium, it is 100%.
This battery specification data will be required for our solar panel sizing calculations.
Step 2: Determine the Desired Charging Speed
How quickly do you need to charge the battery? Faster charging requires larger solar panels.
Specify the desired charging speed in terms of peak sun hours. For example, fully charging the battery in 5 peak sun hours.
Using our Peak Sun Hours Calculator, you can estimate your location’s peak sun hours.

Step 3: Choose the Solar Charge Controller
Two main types of solar charge controllers used for charging 12V batteries are:
- PWM – Pulse-width modulation (PWM) charge controllers are more affordable but less efficient. They can require 25-30% larger solar panels to compensate for energy loss.
- MPPT – Maximum power point tracking (MPPT) charge controllers are more expensive but up to 30% more efficient than PWN controllers. They can charge batteries with smaller solar panels than PWM
Step 4: Use a Solar Panel Sizing Calculator
With the above battery and charge controller specifications, you can now use our solar panel sizing calculator to get an estimate of the ideal solar panel size and number of panels required.
Just plug in your battery voltage, capacity, desired depth-of-discharge, charge controller type, and charging time (in peak sun hours). The calculator will determine the required solar panel size.

Step 5: Factor in Real-World Conditions
Since solar panels won’t always operate at their rated output, add a buffer of 10-20% more watts to your calculated solar panel system size.
For example, if the calculator estimates you need a 200W solar panel, choose a 220W to 240W panel for better real-world performance.
Step 6: Determine the Number of Solar Panels You Need
Finally, to determine how many solar panels you need, divide the solar panel power you calculated in the last step and divide it by the rated power of the solar panels you have.
For example, if you have 100W solar panels and your required solar panel size comes out to be 240W, you will need 3 solar panels to charge your 12V batteries.
Continue reading for solar panel size recommendations.
Recommended Solar Panel Sizes for 12V Batteries
Based on the above calculations, here are general solar panel size guidelines based on 12V battery capacity, battery type, and charge controller type:

How Lead-Acid and Lithium Batteries Work in Solar Systems
Understanding how different types of deep-cycle batteries function and their key differences is important for correctly sizing your solar panel system.
Lead-Acid Batteries
Flooded, AGM and gel lead-acid batteries are commonly used in solar power systems due to their affordability. However, they have some downsides:
- Short lifespans of 3-5 years.
- Heavier weight. A 100Ah lead-acid battery weighs around 65 lbs.
- Low energy density, resulting in larger battery sizes.
- Slower charging.
- Not fully dischargeable. Should only be discharged to 50% depth of discharge for a longer lifespan.
Lithium-Ion Batteries
Lithium-ion batteries like lithium iron phosphate batteries (LiFePO4) have gained popularity for solar energy storage because of benefits like:
- High energy density – more compact and lighter. A 100Ah LiFePO4 battery weighs around 30 lbs.
- Very long lifespan of up to 10 years.
- Can withstand more charge/discharge cycles.
- Faster charging capabilities.
- 100% depth of discharge allowed.
However, lithium-ion batteries are more expensive upfront than lead-acid. But the long-term savings may make them worthwhile.
The key differences between the two battery types are important when sizing your solar panels. Next, we’ll look at how to factor in the battery type.
Factors Affecting Solar Panel Size Requirements

When selecting solar panels to charge a 12V battery, there are several key factors that will impact the ideal solar panel size:
- Battery Capacity
- Solar Panel Efficiency
- Geographic Location
- Charging Time
Let’s look at each factor more closely.
Battery Capacity
As discussed previously, higher-capacity batteries require more solar wattage for charging. For example, a 100 Ah 12V battery needs 1,200 Wh for a full charge while a 200 Ah 12V battery requires 2,400 Wh.
So with double the capacity, the 200 Ah battery would need solar panels that supply double the wattage for the same charge time. Battery capacity directly impacts solar sizing.
Solar Panel Efficiency
Solar panels use different technologies that affect their efficiency and power output. Three main types are:
- Monocrystalline – Most efficient at 15-22%. Dense panel design.
- Polycrystalline – Slightly lower efficiency at 13-17%. Distinctive bluish color.
- Thin Film – Lowest efficiency at 7-13%. Can be flexible.
More efficient panel types like monocrystalline will charge a battery faster and allow the use of smaller panels than less efficient types. Efficiency levels must be factored into solar panel sizing.
Geographic Location
The solar irradiance, or the amount of sunlight, that a location receives impacts how much power the solar panels will produce. Sunnier climates will need smaller solar panels for the same battery than less sunny ones.
You can estimate your area’s peak sunlight hours using online solar maps. More sunlight means the potential downsizing of solar panels. Location influences size requirements.
Charging Time
Fast battery charging requires larger solar panels than slower charging. So if your goal is to charge a 100 Ah 12V battery in 4 peak sunlight hours, you would need bigger panels than charging it over 8 hours.
Faster charging demands more solar wattage. Slower charging allows potential downsizing. Intended charging speed is key for solar sizing.
Real-World Application Scenarios
Let’s look at some real-world examples of solar panel setups to charge 12V batteries:
RV Solar Power System
A typical RV may have a 100 Ah AGM battery bank. Two 100W polycrystalline panels mounted on the roof could provide sufficient charging power.
The panels charge the battery through a 20A PWM solar charge controller.
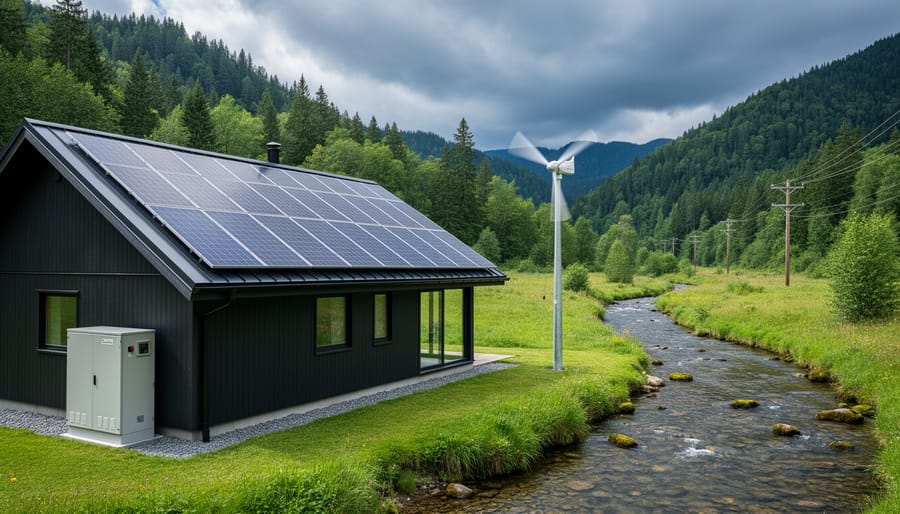
Off-Grid Cabin
An off-grid cabin running on two 220 Ah flooded lead acid batteries would need a more robust solar panel system.
A ground-mounted system with three 100W solar panels and an MPPT charge controller would provide enough daily charging capacity.
Marine Installation
For a boat with a 70 Ah AGM battery, a single 150W panel or two 100W panels mounted to the deck or cabin roof could work, along with a marine PWM charge controller to regulate the charging.
Portable Power Station
A 50 Ah lithium battery portable power station could utilize two compact 100W foldable solar panels. These foldable panels are easier to keep while traveling.
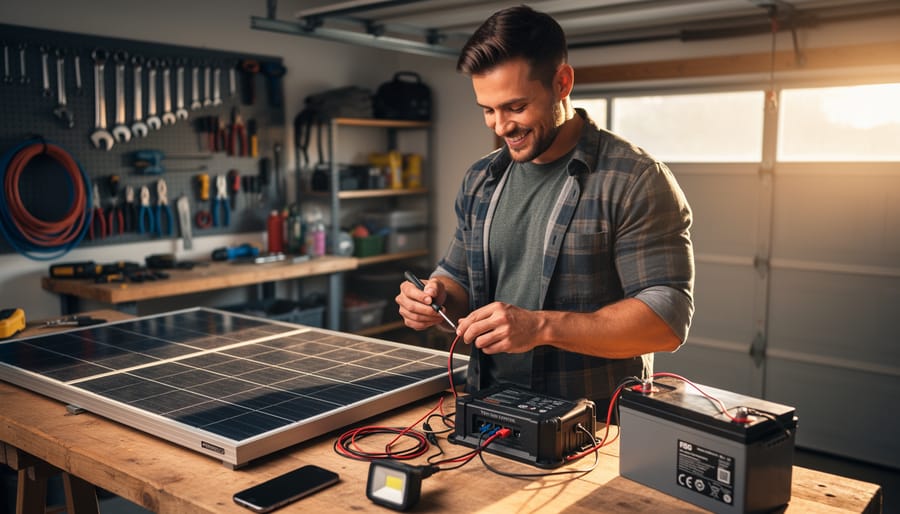
How to Connect Solar Panels to a 12V Battery

Follow this process to connect your solar panels to a 12V battery bank:
Step 1: Get the Required Components
You will need:
- 12V solar panel(s)
- 12V deep cycle battery
- Solar charge controller (PWM or MPPT)
- Battery cables and connectors
- Solar panel extension cables
Ensure all components are rated for a minimum of 12V operation.
Step 2: Connect the Battery to the Charge Controller
Connect the battery to the charge controller’s battery terminals using the battery cables:
- Attach the ring terminal on the positive (red) battery cable to the positive terminal on the battery.
- Attach the ring terminal on the negative (black) battery cable to the negative terminal on the battery.
- Insert the stripped ends of the battery cables into the respective positive and negative battery terminals on the charge controller. Tighten the screw terminals.
This connects the battery to the charge controller.
Step 3: Connect the Solar Panel to the Charge Controller
Using the solar panel extension cables:
- Connect the positive solar panel cable from the solar panel to the positive solar panel input terminal on the charge controller.
- Connect the negative solar panel cable from the solar panel to the negative solar panel input terminal on the charge controller.
Tighten the screw terminals. This completes the solar energy system wiring.
Configure any charge controller settings like battery type, absorption voltage, etc. according to the manufacturer specifications.
How to Charge a 12V Battery Using Solar Panels
Once your solar panel is wired to the 12V battery through a charge controller, follow these steps to start charging:
Step 1: Position the Solar Panel Correctly
Place the solar panel where it will receive full, unobstructed sunlight – for example on an RV roof or trailer.
Angle the solar panel facing towards the sun. Use a tilt mount to angle the panel for maximum sunlight exposure.
Step 2: Connect the Battery
Ensure your deep cycle 12V battery is connected to the charge controller.
A disconnected battery will not charge even if the solar panel is producing power.
Step 3: Monitor Charge Controller Indicators
Check the indicators on your charge controller:
- The battery indicator should show that the battery is connected.
- The solar panel indicator should show it is receiving sunlight.
- The charge indicator should show that charging is in progress.
Step 4: Let the Battery Charge
Leave the solar panel in the sun until the battery is fully charged. The charge controller will automatically stop charging when the battery is full.
Monitor the charge indicator lights to see when charging is complete.
The battery voltage on the charge controller display should also read above 12.6V when fully charged.
That’s all there is to solar charging a 12V battery! Ensure proper wiring, direct sunlight placement, and sufficient solar panel size.
Using a Solar Panel to Directly Charge a 12V Battery
While using a solar charge controller is recommended for most setups, you can directly connect a solar panel to charge a 12V battery in certain scenarios. Here’s what you need to know:
When to Directly Charge a 12V Battery
The main time it’s safe to directly charge a 12V battery from a solar panel without a charge controller is when:
- The solar panel’s max voltage is less than the battery’s full charge voltage
For example, small 5W or 10W panels often won’t exceed a 12V battery’s voltage.
- It’s a short-term or portable application
Occasional direct charging works for keeping batteries topped up for RV or marine use. Not recommended for permanent installs.
- The battery is monitored and disconnected before fully charged
Direct charging requires manually disconnecting the battery once it’s nearly fully charged to avoid overcharging risks.
Dangers of Direct Charging
Directly charging without a charge controller can be dangerous because:
- The battery can be overcharged and damaged if left connected too long
Overcharging leads to excess gassing, heat, and failure of lead-acid batteries.
- The solar panel voltage can exceed the battery rating
Most 12V batteries shouldn’t exceed 14.4V charging voltage. But solar panels can reach up to 22V open-circuit voltage in sunlight.
- No protection from reverse overnight current drain
Batteries can discharge through the solar panels overnight, leading to dead batteries.
Only Use as a Temporary Solution
The risks above mean that directly charging a 12V battery from a solar panel should only be a temporary solution until you get a proper charge controller.
Always use a charge controller for proper battery regulation and safety for any permanent or critical off-grid solar system.
FAQs
Can Any Size 12V Solar Panel Charge a 12V Battery?
Technically, any 12V solar panel can charge an equally rated 12V battery.
However, solar panel size must match the battery capacity and charging requirements to work effectively. An undersized panel will charge slowly.
Can a 5W Solar Panel Charge a 12V Battery?
Yes, a small 5-watt solar panel can technically charge a 12V battery.
However, it would charge extremely slowly and is only practical for occasional trickle charging to maintain a battery, not full charging from empty.
How Many Watts of Solar to Charge a 12V RV Battery?
Most 12V RV batteries range from 90-150 Ah capacity. For an average 100 Ah RV battery using an MPPT charge controller, you would need around 130-200 watts of solar panels for full charging within 8 hours.
With a less efficient PWM charge controller, 160-250 watts is recommended. For faster 3-4 hour charging, 300-400 watts of RV solar is better for a 100Ah battery. Increased solar wattage reduces recharge time.
What Is the Best Solar Charge Controller for a 12V Battery?
For 12V solar systems, MPPT charge controllers are the best choice. They maximize energy utilization from solar panels due to higher charging efficiency.


