Why Is My Solar Inverter Showing Arc Fault E050? Causes and How to Fix It
Updated:
Nine times out of ten, an E050 arc fault error on your solar inverter means a loose connection somewhere in your DC wiring. Before you panic or call an expensive technician, check every MC4 connector between your panels and inverter. A single connection that wasn’t snapped fully closed or has corroded from weather exposure will trigger this shutdown code.
Here’s the fastest diagnostic: if the error appeared suddenly after working fine for months, and especially after windy weather or temperature swings, you’re almost certainly looking at a mechanical issue rather than a real arc fault. The inverter’s arc-fault circuit interrupter (AFCI) is doing exactly what it should by shutting down the system when it detects an irregular electrical signature. That’s the good news. The challenge is figuring out whether you’ve got a genuinely dangerous arc or just a false positive from a connection issue.
Key Takeaway: The E050 arc fault code usually stems from loose or corroded DC connections, not actual fire-risk arcing. Your first move is a thorough visual and physical inspection of every connector, starting at the roof and working down to the inverter.
This article walks you through the complete troubleshooting sequence, from the five-minute checks you can do yourself right now to the situations where you absolutely need to call a certified solar installer. We’ll cover what the arc fault protection system actually does, why false triggers happen so frequently (they’re more common than real arcs), and the step-by-step process to identify and fix the root cause. You’ll also learn the warning signs that mean stop immediately and get professional help, because some arc fault scenarios do indicate real fire hazards that aren’t DIY-safe.
Most E050 errors get resolved in under an hour once you know where to look.
What Is an Arc Fault E050 Error?
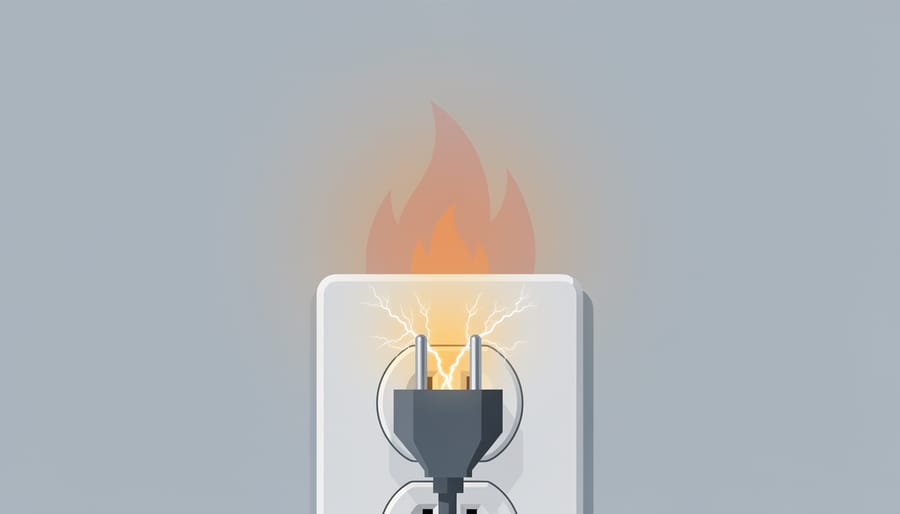
An artistic depiction of electrical arcing near a connection conveys why arc fault protection exists to reduce fire risk.
The E050 error code on your solar inverter means the system has detected an arc fault, an unintended electrical discharge between conductors or from a conductor to ground, and automatically shut down to prevent potential fire hazards. This isn’t a casual warning light you can ignore. When your inverter throws an E050, it’s telling you that somewhere in your DC wiring, electrons jumped a gap they shouldn’t have, creating localized heat and electromagnetic signatures that the arc-fault detection circuitry flagged as dangerous.
Arc fault protection became mandatory in residential solar installations with the 2014 National Electrical Code, requiring inverters to include arc-fault circuit interrupter technology. The system constantly monitors the electrical signature of your DC circuits, looking for the specific high-frequency noise patterns that indicate arcing. When it detects these patterns, the inverter trips within a fraction of a second, cutting power before a small arc can escalate into sustained burning or ignite nearby materials.
Arc Fault
An unintended electrical arc or spark between conductors or from a conductor to ground, creating localized high temperatures and fire risk in solar wiring.
AFCI (Arc-Fault Circuit Interrupter)
Detection circuitry built into solar inverters that monitors electrical signatures and shuts down the system when it identifies arc fault patterns.
Series Arc
An arc occurring in a single conductor, like a loose connection or damaged wire, that interrupts current flow in the circuit. Most common type in solar systems.
Parallel Arc
An arc between two conductors (positive to negative or either to ground), creating a short-circuit path outside the intended wiring.
E050 Error Code
The specific fault code many solar inverters display when arc-fault detection circuitry has triggered a protective shutdown.
The E050 error works hand-in-hand with rapid shutdown systems, which are separate NEC requirements that force solar arrays to de-energize within seconds of a shutdown signal. When your inverter detects an arc fault, it initiates rapid shutdown simultaneously, ensuring that even if the arc persists briefly, the voltage feeding it drops to safe levels almost immediately. This layered safety approach means your system is designed to fail safe rather than fail catastrophically.
Is It a Real Arc Fault or a False Alarm?
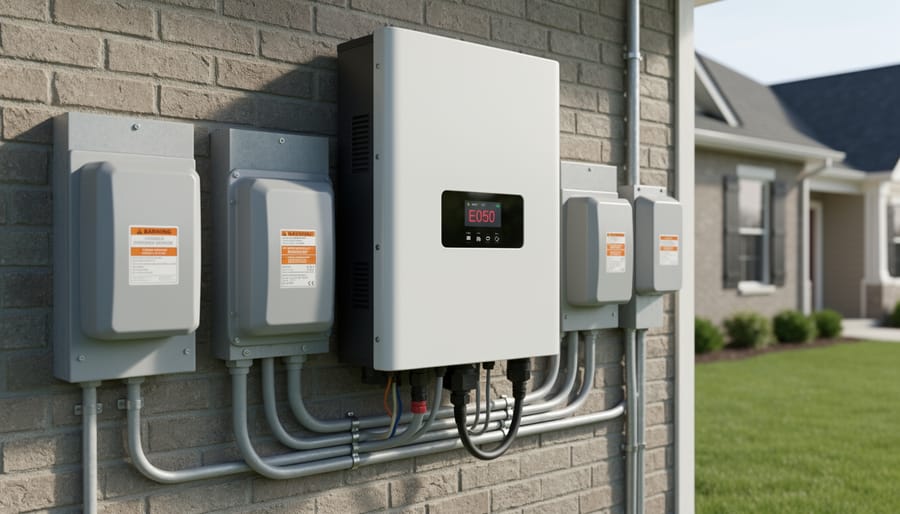
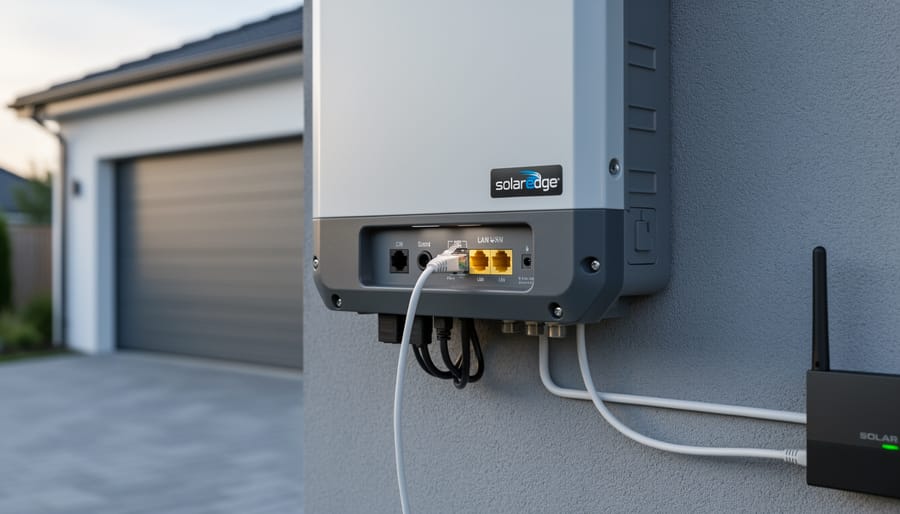
An outdoor inverter installation with visible disconnects helps readers connect the E050 error to the system they rely on day-to-day.
When your inverter throws an E050 code, your first question should be: is this a genuine electrical hazard or just the system being overly cautious? The answer matters because a real arc fault can damage equipment or start a fire, while a false alarm just needs patience and methodical troubleshooting.
Start with your senses. Walk outside to your array and look for obvious warning signs. Do you smell burning plastic or see smoke? Is there visible damage to wiring, melted connectors, or scorch marks anywhere on the system? Can you hear any crackling, popping, or hissing sounds coming from the panels, combiner box, or inverter area? If the answer to any of these is yes, you’ve got a real problem that needs immediate attention.
Warning: If you observe smoke, smell burning, see melted components, or hear arcing sounds, shut down both AC and DC disconnects immediately and call a licensed electrician, this is not a DIY situation.
Assuming everything looks and smells normal, check the timing and pattern of the error. Did the E050 appear during startup, right after sunrise when the panels began producing power? False alarms often happen during the morning startup surge or after system components have been sitting idle overnight. The sudden voltage rise can trigger sensitive arc fault detection algorithms even when nothing is actually wrong.
Also consider recent changes. Did you just install new rapid shutdown equipment, update inverter firmware, or have work done on the system? New installations frequently experience false positives while components settle in and calibration stabilizes. Weather can play a role too, moisture from heavy rain or morning dew finding its way into connections can create temporary resistance that looks like an arc fault to the detection circuit, but clears up once things dry out.
Finally, look for patterns in your inverter’s error log if it keeps records. A one-time E050 that doesn’t repeat after a simple restart probably isn’t a real arc fault. But if the error appears at the same time each day, happens under specific weather conditions, or occurs repeatedly within hours of restarting, you’ve likely got an actual connection or component problem worth investigating further.
The good news? Most E050 errors fall into the false alarm category, especially on systems less than five years old with decent installation quality. You can proceed to systematic troubleshooting with reasonable confidence.
What Causes Arc Fault E050 Errors?
Loose or Corroded Connections
Loose or corroded connections are the number one culprit behind E050 errors in my experience, I’ve seen this on my own arrays more times than I’d like to admit. When an MC4 connector isn’t clicked together properly or terminals in a combiner box work loose over time, you get increased resistance at that junction point. Under load, especially during peak sun hours, that resistance creates heat and can cause intermittent arcing as the connection makes and breaks contact.
The problem gets worse with environmental exposure. Moisture creeping into connector bodies corrodes the metal contacts, further increasing resistance. I’ve pulled apart connectors that looked fine externally but had green corrosion inside that was barely making contact. Thermal cycling is another silent killer, your roof goes from freezing at night to 140°F during summer days. This constant expansion and contraction gradually loosens mechanical connections, particularly in combiner boxes where multiple wires terminate under screw terminals.
Rapid shutdown optimizers add another layer of connection points where this can happen. Each optimizer has input and output MC4 connections, doubling your potential failure points per module.
Damaged Wiring or Insulation
Physical damage to your solar wiring creates exactly the kind of intermittent contact points that trigger arc fault detection. I’ve seen this more often than I’d like to admit, and it’s not always obvious at first glance.
Rodents are a surprisingly common culprit. Squirrels and rats will chew through wire insulation, especially in attic runs or under arrays where they nest. The damaged section might look fine until the wire flexes with temperature changes, then suddenly you’re getting arcing as the exposed conductors make and break contact.
Weather exposure degrades insulation over time. UV rays break down wire jackets that aren’t rated for sunlight. Water intrusion through cracked insulation corrodes copper and creates resistance points. I’ve pulled apart connectors that looked perfect from outside but had green corrosion eating the wire underneath.
Sharp edges during installation, conduit burrs, panel frame corners, mounting hardware, can nick insulation and slowly wear through to bare conductor. Cable ties cranked down too tight do the same thing over months of thermal expansion and contraction.
Look for any discoloration, abrasion marks, or suspicious kinks in your DC wiring during inspection.
Rapid Shutdown Device Issues
Rapid shutdown devices, the optimizers, microinverters, or transmitter/receiver units required by NEC 690.12, can themselves become arc fault triggers. I’ve seen this firsthand when a failing optimizer created intermittent contact during its shutdown sequence, tripping E050 repeatedly at sunset.
These devices switch DC power on and off electronically, and when their internal components degrade, that switching creates arcing signatures the inverter reads as faults. Capacitor failure is common after three to five years, especially in hot climates where roof temperatures exceed 150°F. The switching transistors can also develop high resistance, causing micro-arcing during normal operation.
Firmware bugs are another culprit. Early optimizer generations sometimes miscommunicate with the inverter during shutdown, creating voltage spikes that look like arc events to the AFCI circuitry. Check your manufacturer’s website for firmware updates, many E050 issues disappear after updating both the inverter and rapid shutdown components.
Look for optimizer LED fault codes or check microinverter status through their monitoring portal. A single failed unit can trigger system-wide false alarms.
Inverter AFCI Sensitivity Settings
Modern inverters use sophisticated algorithms to detect arc signatures in your DC wiring, but these systems aren’t perfect. Some models, particularly newer units with updated firmware, set their detection thresholds so conservatively that they flag harmless electrical noise as dangerous arcing.
String inverters switching under load, rapid shutdown transmitters communicating with optimizers, and even grid harmonics feeding back through your system can all trigger false E050 codes. I’ve seen this especially with certain Growatt and Deye models where firmware updates intended to improve safety actually made the detection too aggressive.
If you’ve ruled out physical wiring problems and the error keeps returning under normal operating conditions, your inverter’s AFCI sensitivity may be the culprit. Some manufacturers allow technicians to adjust these thresholds through the inverter’s configuration menu, though doing so typically requires installer-level access codes and may affect your warranty coverage.
Ground Faults and Voltage Imbalances
Ground faults create DC current leakage to earth that the inverter’s detection circuitry can misinterpret as an arc fault event. When insulation breaks down, often from moisture intrusion, rodent damage, or aging wire jackets, the resulting current path generates electrical noise patterns similar to actual arcing. String voltage imbalances between parallel arrays produce similar confusion: if one string operates significantly lower than others due to shading, failed bypass diodes, or degraded panels, the resulting voltage differentials create transient signals that trigger the E050 code. Proper solar grounding prevents many of these false positives by providing a clean reference point for the inverter’s detection algorithms. Check for ground faults using your inverter’s diagnostic mode or a megohmmeter, and verify string voltages match within 5% under identical conditions, larger discrepancies point to panel or wiring problems that need correction.
How to Fix Arc Fault E050 Errors: Step-by-Step
Step 1: Safe System Shutdown
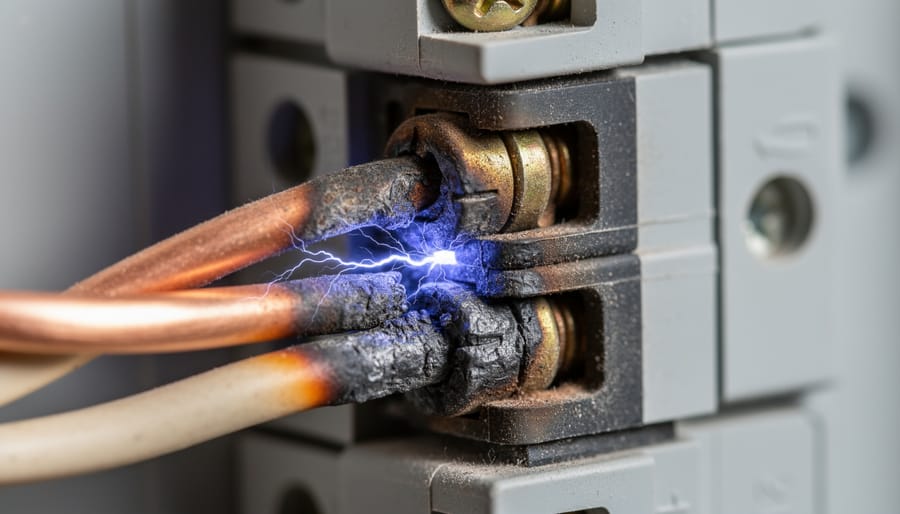
A close-up of connector wear and heat discoloration illustrates how loose or corroded connections can lead to arcing and trigger arc fault detection.
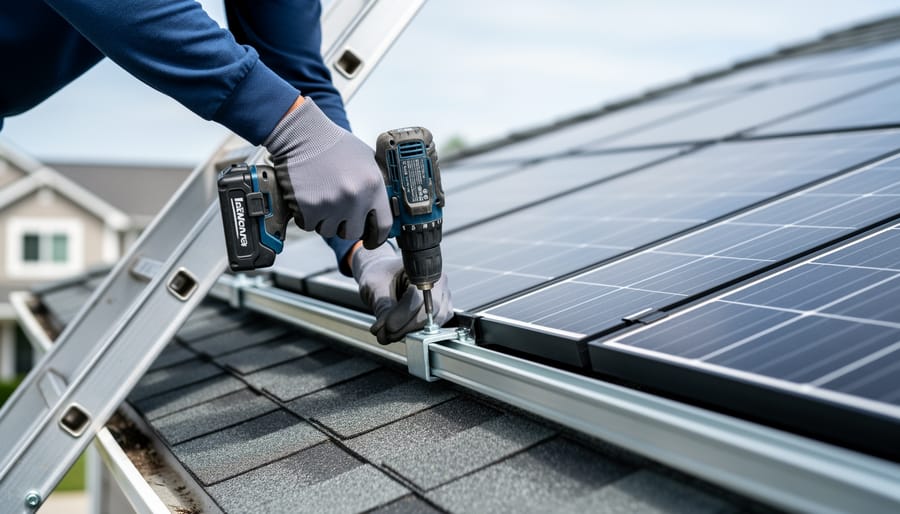
Before you touch anything, power down completely. First, flip the AC disconnect near your inverter to cut grid power. Wait thirty seconds, this lets the inverter’s capacitors drain. Next, open the DC disconnect between your solar array and the inverter. If your system has rapid shutdown, activating the AC disconnect should automatically de-energize rooftop wiring within seconds, but always verify the DC side shows zero voltage with a multimeter before proceeding.
Never assume the array is safe just because the inverter is off. Even with rapid shutdown active, measure voltage at DC terminals to confirm. Use insulated tools and wear electrical gloves rated for your system voltage. If you’re unsure how to properly disconnect solar panels consult your installation manual or wait for daylight to fade, panels produce no power in darkness, giving you a safe working window.
Step 2: Visual Inspection of All Connections
With your system safely powered down, it’s time to put on your detective hat. Grab a flashlight and start at the inverter, working your way through every connection point in your DC circuit. I learned this the hard way after missing a subtle burn mark that cost me two days of production.
Look for obvious red flags first: any discoloration around connectors suggests overheating from resistance. Black or brown marks on MC4 connectors mean you’ve found your culprit. Check for melted plastic, even slight deformation means that connection got too hot. White or green crusty buildup signals corrosion, especially common in coastal areas or humid climates.
Don’t just eyeball the connectors, give each one a gentle tug test. A properly seated MC4 should require deliberate effort to disconnect. If it wiggles or pulls apart easily, that loose connection has been arcing. Inside combiner boxes, inspect every terminal block screw for tightness and look for any darkening on the copper.
Trace your wiring for damaged insulation. Rodent chew marks look like clean diagonal cuts. UV damage shows as cracked, brittle coating. Sharp conduit edges can wear through insulation over time, creating intermittent shorts that trigger E050 errors.
My checklist: photograph problem areas, note connector locations, and mark anything questionable with tape for replacement during the fix phase.
Step 3: Test and Reseat Connections
Now that you’ve located potential problem areas, it’s time to work the connections. Start with the DC disconnect still open. For each MC4 connector pair, twist the locking collar counterclockwise and separate the halves. Inspect the metal contacts inside, they should be shiny copper, not discolored or pitted. Dark spots or greenish corrosion mean replacement, not cleaning.
If contacts look good but the connection was slightly loose, wipe them with a clean cloth and reconnect firmly until you hear the click. Tuggle-test afterward, a proper connection won’t pull apart. Loose fits or worn collars need new connectors. When replacing, use only compatible solar connectors rated for your system voltage. If you’re making fresh terminations, learn to crimp MC4 properly, a poor crimp causes the exact arcing you’re trying to eliminate.
For terminal blocks inside combiner boxes, loosen screws, pull wires, inspect for strand damage, re-strip if needed, and retorque to spec.
Step 4: Check Rapid Shutdown Components
Modern solar systems use rapid shutdown (RSD) devices, optimizers, microinverters, or transmitter/receiver modules, that can themselves trigger E050 errors if they malfunction. Start by locating each RSD unit on your array. Look for visible LED indicators; most show green for normal operation, red or flashing patterns for faults. Check manufacturer documentation to decode these signals.
Examine each unit’s housing for physical damage, water intrusion, or signs of overheating like discoloration. A failed optimizer might create intermittent arcing as it struggles to communicate with the inverter. If your system allows, access the monitoring platform to check individual device status, offline units or those reporting voltage anomalies often correlate with arc fault trips.
Finally, verify firmware versions. Some early RSD implementations had bugs causing false arc fault detection. Many manufacturers released updates specifically addressing E050 nuisance trips. If firmware’s outdated and accessible via installer tools, updating may resolve persistent errors without further repairs.
Step 5: Review Inverter Settings and Logs
Once you’ve checked the physical components, it’s time to dig into your inverter’s brain. Most modern solar inverters keep detailed event logs that record exactly when the E050 error occurred, what the system was doing at that moment, and sometimes even the DC current signature that triggered the alarm.
Access your inverter’s monitoring interface, either through the built-in display, a smartphone app, or the manufacturer’s web portal. Look for the fault log or event history section. Note the timestamps of each E050 occurrence. Are they happening at the same time each day? That suggests temperature-related expansion causing a loose connection. Random timing throughout the day? Likely a intermittent connection issue or animal damage.
Some inverter models let you adjust AFCI sensitivity through installer settings. If you’re seeing repeated false trips and you’ve verified all connections are solid, slightly reducing sensitivity may help. Check your manual first, this setting isn’t always user-accessible and changing it incorrectly can create safety risks.
Compare the error timing against your system’s production curve. Errors during peak power output point to connections that fail under high current load.
Step 6: Test Restart and Monitor
Once you’ve completed your inspections and corrections, it’s time to bring the system back online. Flip the DC disconnect first, then the AC disconnect at the inverter. Don’t just walk away, stay near the inverter for at least 15 minutes after restart. Listen for unusual sounds like crackling or buzzing, and watch for the E050 error to reappear on the display.
If the system runs clean for 15 minutes, check it again after an hour, then once more before sunset. When I cleared an E050 on my setup last spring, I monitored it for three full sunny days before considering it truly fixed. Keep a log of error timestamps if the fault returns, patterns matter. Does it trip at high production? Morning startup? After string voltage drops? That timing tells you whether you missed a weak connection or if you’re dealing with a temperature-dependent issue that needs more investigation.
When to Call a Professional
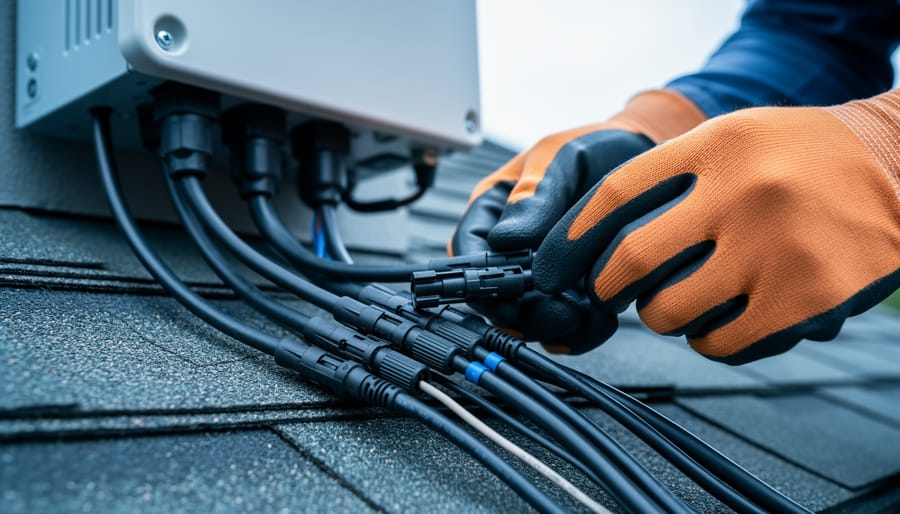
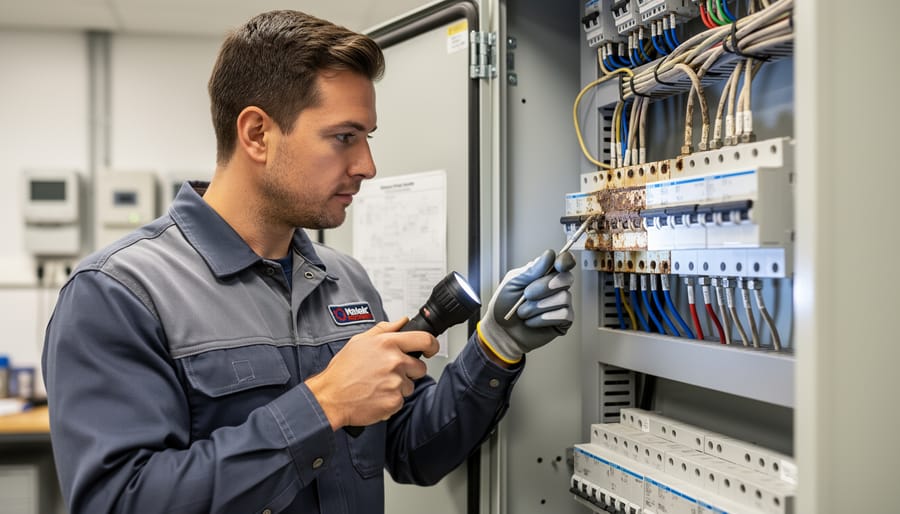
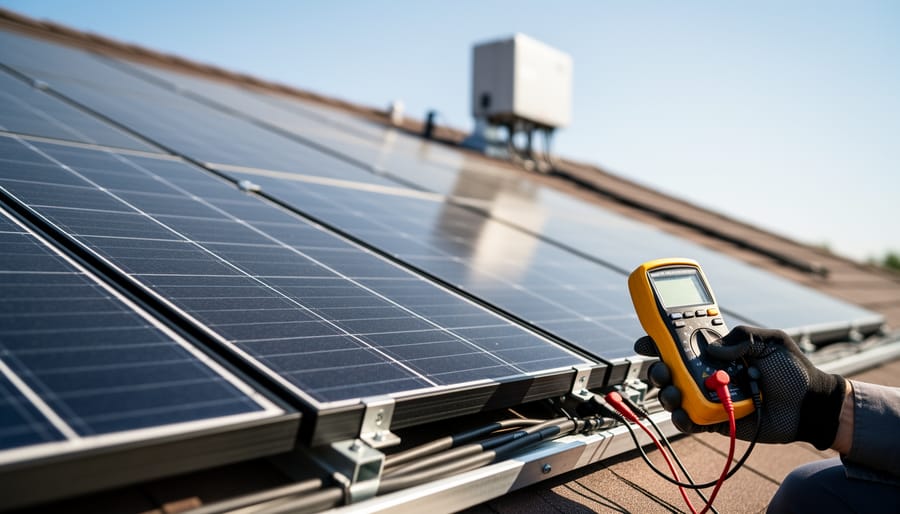
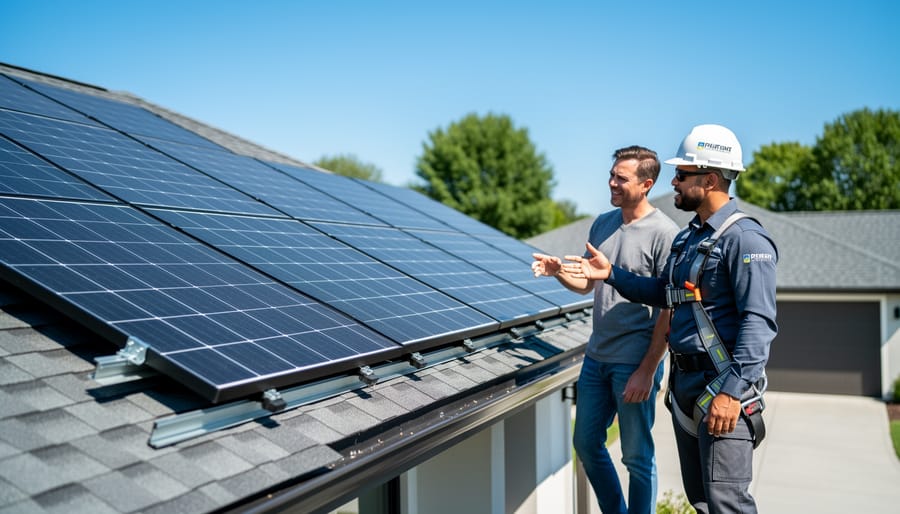
A technician’s inspection scene reinforces the article’s visual checks for damaged insulation, corrosion, and loose terminations during troubleshooting.
While most E050 arc fault errors yield to patient troubleshooting, some situations clearly call for a licensed electrician or certified solar installer. If you’ve followed the diagnostic steps and the error returns within 24 hours of a restart, you’re likely dealing with an intermittent fault that’s difficult to pinpoint, a professional has thermal imaging cameras, insulation resistance testers, and experience that can save you hours of guesswork. Any suspected ground fault requires immediate professional attention; these aren’t just code violations but genuine shock hazards that DIY methods can’t safely resolve.
Watch for these red flags that signal it’s time to call in an expert:
Repeated E050 errors after you’ve inspected and reseated all accessible connections
Scorch marks, melted insulation, or burning smells anywhere in the DC circuit
Arc fault errors that occur only during specific weather conditions or times of day
Roof-mounted junction boxes or rapid shutdown components you can’t safely reach
Any indication of ground fault alongside the arc fault error
Systems still under warranty where DIY repairs might void coverage
Local permitting requirements that mandate licensed electrician sign-off for modifications
The code compliance angle matters more than many DIYers realize. Most jurisdictions require a licensed professional for any work beyond basic maintenance on grid-tied solar systems, and your homeowner’s insurance could deny a fire claim if they determine unpermitted work contributed to the problem. If your system uses string inverters with high DC voltages or includes battery storage, the stakes are even higher, working with 600V DC circuits demands respect and proper training. When in doubt, spending a few hundred dollars on a professional diagnostic visit beats risking your safety or your insurance coverage.
Preventing Future Arc Fault Errors
Installation Best Practices
When I install solar wiring, I’ve learned that preventing arc faults starts before you even make the first connection. Use cable management clips every 18-24 inches along horizontal runs to eliminate sagging, loose wires vibrate in wind and eventually chafe through insulation. Leave service loops of 6-8 inches at every connection point rather than pulling wire taut; this prevents strain on terminals during thermal expansion and gives you slack for future maintenance.
Always specify USE-2 or PV wire rated for outdoor exposure and 90°C temperatures. Regular THHN wire degrades rapidly under UV, creating the insulation cracks that cause E050 errors within two years. When routing through conduit transitions or panel frame edges, I install rubber grommets to prevent the sharp metal from cutting into wire jackets during installation or settling.
Mechanical connections matter more than most DIYers realize. Torque MC4 connectors to manufacturer specs, undertightening leaves gaps for arcing, but overtightening cracks the housing and lets moisture in. I mark each connector with paint pen after proper assembly so I can spot any that have backed off during inspections.
For combiner boxes and terminal blocks, apply antioxidant paste on bare copper before tightening. Re-torque all DC connections after the first month of operation, when thermal cycling has settled the hardware.
Routine Maintenance Schedule
A proactive inspection schedule catches connection issues before they trigger E050 errors. I check my MC4 connectors every six months, spring and fall work well because you’re already dealing with seasonal system adjustments. Look for discoloration around pins, any white crusty buildup indicating corrosion, and proper snap-lock engagement. A loose connector feels spongy when you tug gently; it should be solid.
Annual thermal imaging during peak sun reveals hot spots invisible to the eye. Borrow or rent an infrared camera and scan all junction boxes, combiner connections, and inverter terminals while the system’s running at full capacity. Temperature differences above 10°F from adjacent connections signal developing problems. String voltage checks with a multimeter take five minutes quarterly, compare actual voltage to expected values from your panel specs. Significant drops point to connection resistance building up.
Comprehensive solar maintenance saves far more than it costs by preventing shutdowns and extending component life. I keep a simple log with photos, it makes spotting gradual degradation much easier than relying on memory alone.
Environmental Protection
Weather exposure is the silent killer of solar connections. UV radiation degrades wire insulation over years, rain seeps into improperly sealed junction boxes, and temperature swings cause connector housings to crack. I learned this the hard way when a squirrel chewed through exposed wiring on my first installation, one $200 repair later, I now run all accessible DC wiring through UV-rated conduit.
Use weatherproof junction boxes with gasket seals for all outdoor connections, not the cheap hardware-store variety. Route wiring along roof edges or under panels where possible to minimize sun exposure. For ground-mount systems, elevate conduit runs at least 18 inches to avoid rodent access and use wire mesh barriers around vulnerable entry points. Check box seals annually and replace any cracked conduit immediately, prevention costs pennies compared to arc fault repairs.
Frequently Asked Questions
Working through solar inverter errors can raise plenty of questions, especially when you’re trying to figure out whether to DIY or call for help. Here are the answers to the most common concerns I hear from fellow solar enthusiasts dealing with E050 arc fault codes.
Can I disable the arc fault protection to stop E050 errors?
No, and you shouldn’t try. AFCI protection is required by the National Electrical Code for solar installations and exists to prevent fires, disabling it violates code and creates a serious safety hazard. Instead, fix the underlying cause triggering the detection.
Will troubleshooting E050 myself void my inverter warranty?
Generally no, as long as you don’t open the inverter case or modify internal components. Visual inspections and connector maintenance are normal owner actions, but always check your specific warranty terms before starting work.
How do I know if the problem is with my optimizer or my inverter?
Check your inverter’s diagnostic logs, they usually identify which string or module-level device triggered the fault. If the error consistently points to one optimizer location, that’s your culprit; if it moves around or shows no pattern, look at inverter sensitivity or shared wiring issues.
Is the E050 code the same across all inverter brands?
No, error codes vary by manufacturer. E050 is specific to certain brands like Growatt; SolarEdge might show a different code for the same arc fault condition. Always consult your inverter’s manual for the exact meaning of any error code.
One question I get asked constantly is whether you can just reset the error and move on. Technically yes, most inverters let you clear the fault from the display or app, but that doesn’t solve anything if the underlying arc fault condition still exists. I learned this the hard way when I cleared an E050 on my own system three times in one week before finally inspecting the connections, turns out a corroded MC4 connector was the real problem. Clearing the code without fixing the cause just puts your system at risk and wastes your time with repeated shutdowns.
Another concern people have is whether arc fault errors mean their entire system is unsafe. Not necessarily. The AFCI did its job by detecting a potential problem and shutting down before any damage occurred. Think of it like a smoke detector going off when you burn toast, annoying, but exactly what it’s supposed to do. The key is addressing the trigger promptly rather than ignoring repeated alarms.
The E050 arc fault error might look intimidating when it first pops up on your inverter display, but here’s the reality: most of these issues stem from fixable problems like loose connections, weathered terminals, or overly sensitive detection settings. With the systematic approach we’ve walked through, safe shutdown, methodical inspection, proper connection maintenance, you’ve got the tools to diagnose and resolve the majority of arc fault errors yourself.
I’ve been exactly where you are, staring at that error code and wondering if my entire system was compromised. In my case, it was corroded MC4 connectors on the north-facing array that I’d neglected during routine checks. Twenty minutes with a wire brush and proper reconnection technique, and the system’s been running clean for two years since.
That said, know your limits. If you’ve followed every step, checked every connection, and the error keeps returning, or if you’ve discovered actual arcing damage, charred insulation, or signs of ground faults, that’s your signal to bring in a licensed professional. There’s zero shame in that call. Solar systems involve high DC voltages and strict code requirements. Sometimes the smartest DIY move is recognizing when expert help protects both your investment and your safety.
Whatever route you take, I’d love to hear how your troubleshooting goes. Share your experience with the Spheral Solar community, your solution might be exactly what helps the next person facing the same frustrating error code.
How useful was this post?
Click on a star to rate it!
Average rating 0 / 5. Vote count: 0
No votes so far! Be the first to rate this post.
We are sorry that this post was not useful for you!
Let us improve this post!
Tell us how we can improve this post?
charlesnoble
Here at Spheral Solar, I’m a hands-on solar power enthusiast, constantly exploring and experimenting with DIY solutions. I’m dedicated to sharing my discoveries, insights, and even the bumps I hit along the way, all in the pursuit of a more sustainable future.
How to Wire a 7-Way RV Plug: Step-by-Step Diagram… by Charlesnoble September 12, 2026 Wiring a 7-pin RV plug correctly connects your tow vehicle to your trailer’s lights, brakes, and auxiliary power in about 45 minutes with basic hand tools and careful attention to the color-coded wire standard. The diagram follows a specific layout mandated by the RV Industry Association: each pin controls a…
How to Use an 8 Wire Crimper for Solar Panel and… by Charlesnoble September 24, 2026 Crimping 8-gauge wire correctly takes about 2 minutes per connection once you’ve got the hang of it, but those two minutes make the difference between a solar installation that lasts 25 years and one that fails in the first storm. An 8-gauge wire crimper is a heavy-duty hand tool designed…
Why Is My Defiant Solar Motion Security Light Not… by Charlesnoble September 5, 2026 Most Defiant solar motion lights fail because the battery no longer holds a charge or the solar panel has accumulated enough grime to choke off charging completely. Before you assume your light is dead and start shopping for a replacement, pull off the panel cover and check the battery terminals…
How to Run Functional Performance Testing on Your… by Charlesnoble August 17, 2026 Functional performance testing measures whether your DIY solar system delivers the power output it’s designed to produce. You’ll check voltage, current, and total wattage under real-world conditions, then compare those numbers to your system’s nameplate ratings to calculate a Performance Ratio, the gold standard metric that tells you if everything’s…
How to Connect SolarEdge to Ethernet for Seamless… by Charlesnoble July 9, 2026 Connecting your SolarEdge inverter to your home network via Ethernet cable takes about 15 minutes and gives you real-time access to your system’s performance data from any device with internet access. You’ll plug a standard Ethernet cable into the RJ45 port on your inverter (usually labeled “LAN” or “Ethernet”), run…
Why Two Solar Panels Beat One Every Time (Parallel… by Charlesnoble June 22, 2026 Connect your panels to a charge controller or battery system by running positive terminals to positive and negative to negative. This parallel configuration doubles your available current (amperage) while keeping voltage the same, which is exactly what you need when your system demands more power than a single panel can…
Subscribe for handpicked DIY projects, exclusive tips, and giveaways.
Nine times out of ten, an RV generator that won’t start has a stale fuel problem. If your generator hasn’t run in more than 30 days, degraded gasoline is likely gumming up the carburetor and preventing ignition. Before you panic or call for expensive roadside service, try this: turn on the generator’s fuel valve (if… Read more: RV Generator Troubleshooting: Common Problems and How to Fix Them
A 5kW solar system occupies between 250 and 350 square feet of roof or ground space and produces roughly 20 to 25 kilowatt-hours of electricity per day in most U.S. locations. That’s enough to power a typical three-bedroom home with moderate energy use, though your exact needs depend on your daily consumption patterns, climate zone,… Read more: How to Size a 5kW Solar System for Your Home or RV
Installing a home solar system yourself takes 2-4 weekends for an average 5kW setup, requires solid electrical knowledge and comfort working at heights, and can save you $5,000-$8,000 in labor costs if you tackle everything except the final utility interconnection. The process breaks down into five main phases: permitting and design, mounting the racking system,… Read more: Solar Power Installation Step by Step: Complete DIY Guide From Start to Finish