How to Use an 8 Wire Crimper for Solar Panel and Battery Connections
Updated:
Crimping 8-gauge wire correctly takes about 2 minutes per connection once you’ve got the hang of it, but those two minutes make the difference between a solar installation that lasts 25 years and one that fails in the first storm. An 8-gauge wire crimper is a heavy-duty hand tool designed to cold-forge lugs and terminals onto thick wire, creating gas-tight connections that won’t corrode or come loose under the high-amp loads typical in solar panel arrays, battery banks, and inverter installations.
I learned this the hard way back in 2019 when I helped my neighbor rewire his off-grid battery system. We used a cheap multi-gauge crimper that barely made a dent in the 8-gauge lugs. Six months later, one of those connections heated up enough to melt the insulation. We were lucky it didn’t cause a fire. After that, I invested in a proper ratcheting 8-gauge crimper, and I’ve never looked back.
The key to a solid crimp lies in three things: matching your crimper’s die size to your lug barrel, applying enough force to compress the copper strands into a unified mass, and positioning the crimp in the right spot on the barrel. A quality 8-gauge crimper uses a ratcheting mechanism that won’t release until full compression is achieved, eliminating the guesswork and weak crimps that plague lighter-duty tools.
For solar applications especially, you’re working with expensive components and potentially dangerous current levels. A failed crimp in a 200-watt panel string might just mean lost power. A failed crimp in a 48-volt battery bank can mean sparks, heat, and real safety risks. That’s why learning to use an 8-gauge crimper properly isn’t just a nice skill to have; it’s essential knowledge for anyone serious about DIY solar.
Key Takeaway: Every crimp needs three checks: a firm tug test (no movement), visual confirmation (centered compression with no exposed wire), and a multimeter continuity test showing less than 0.5 ohms resistance for 8 AWG connections.
What You’ll Need: Tools and Materials
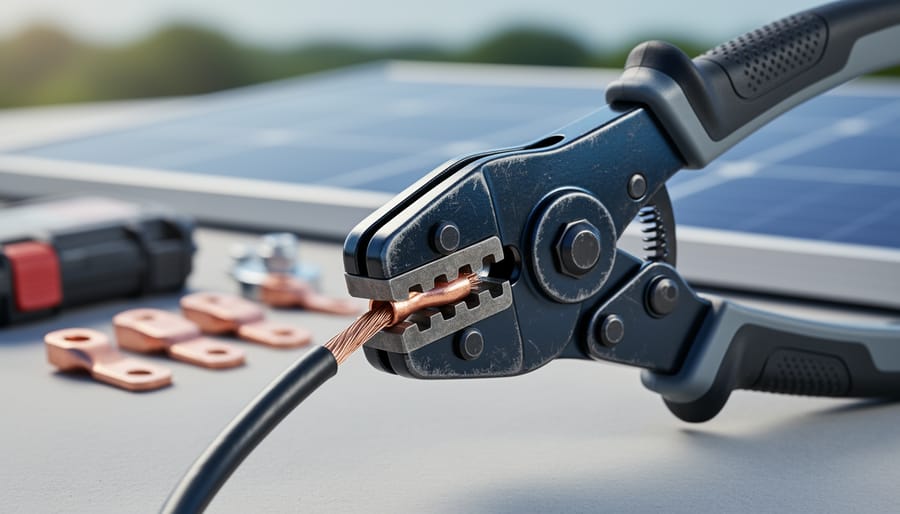
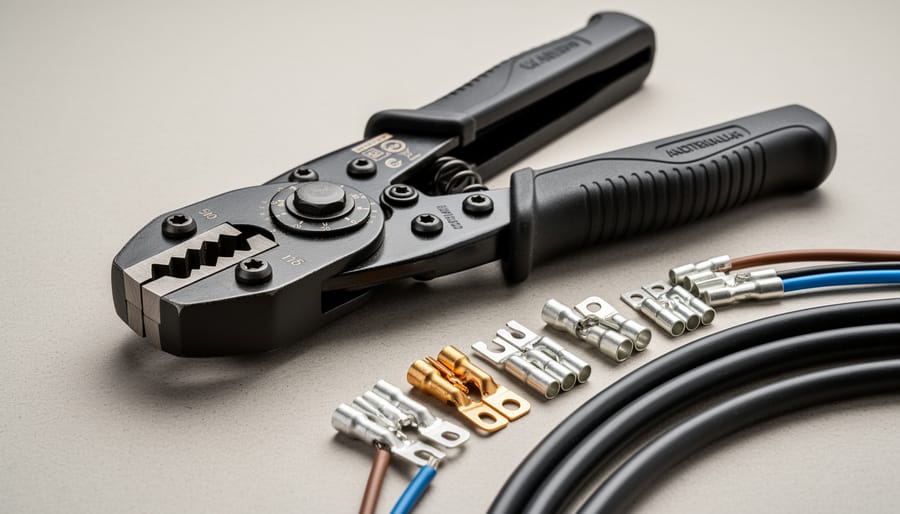
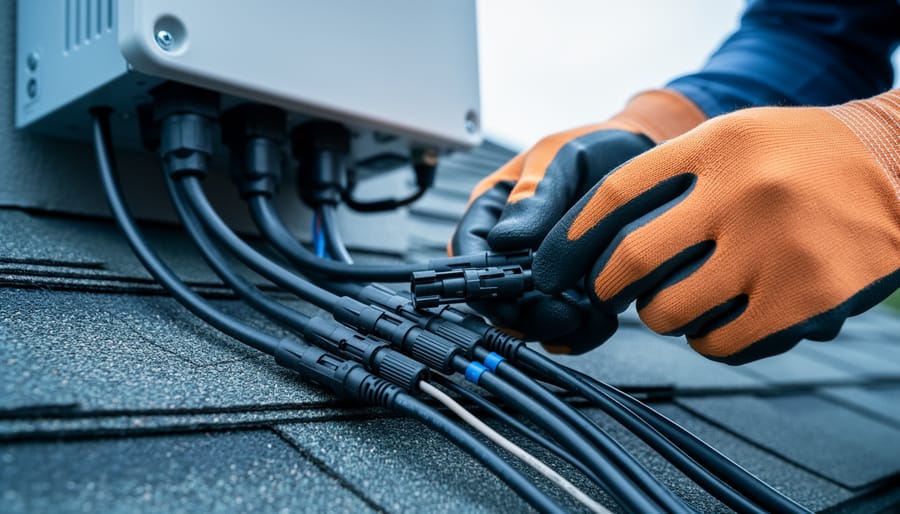
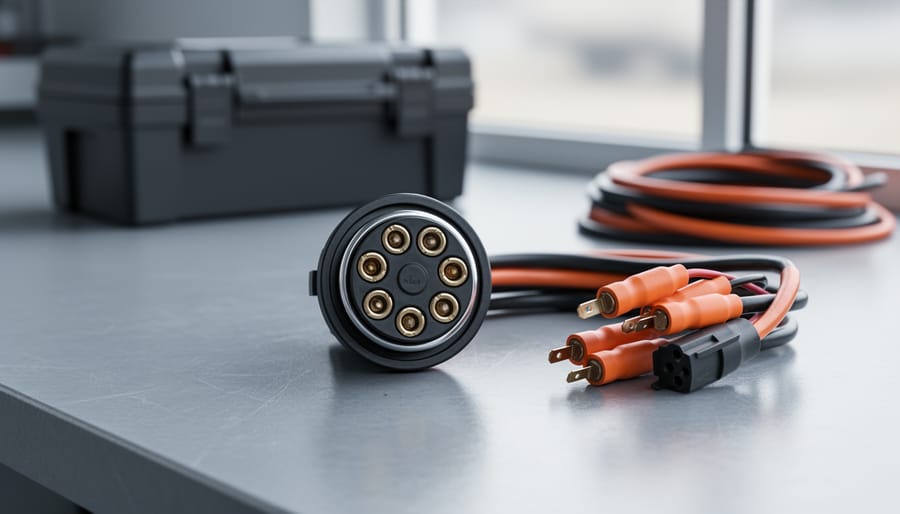
A close-up of an 8 wire crimper with compatible heavy-gauge connectors to set context for the tools used in solar wiring.
Before you make your first crimp, let’s get everything lined up. Having the right tools and materials within arm’s reach makes the job smoother and helps you avoid frustrating mid-project runs to the hardware store. Here’s what you need:
Essential Tools and Materials:
8 wire crimper (ratcheting type recommended)Specifically designed for 8 AWG wire; look for clearly marked gauge slots and a ratcheting mechanism that won’t release until the crimp is complete
Wire strippersOne of the best wire strippers for the job will have adjustable gauge settings or dedicated 8 AWG notches to cleanly remove insulation without nicking the copper
8 AWG copper wireThe standard for many solar panel connections; verify your system’s wire gauge requirements using ampacity charts before you buy
Crimp connectors sized for 8 AWGRing terminals for battery posts and grounding points, spade terminals for quick-disconnect applications, and butt connectors for joining wire runs
Safety glassesWire ends can be sharp and occasionally fly when cut; protect your eyes
Wire cuttersFor clean, square cuts; diagonal cutters work well for 8 AWG
Helpful Optional Items:
Heat shrink tubing (adhesive-lined for outdoor use)Provides weatherproofing and strain relief for connections exposed to the elements
Heat gun or lighterFor shrinking the tubing; a heat gun offers more control
MultimeterLets you verify continuity and measure resistance to confirm solid electrical connections
Label maker or wire tagsEssential for keeping track of positive/negative runs and different circuits in your solar array
Work glovesUseful when handling stiff wire, though you’ll want to remove them for the actual crimping to maintain feel and precision
Most of these items are one-time purchases that’ll serve you through multiple solar projects. The crimp connectors and heat shrink are consumables you’ll restock as needed, so I always keep a variety pack of each on hand.
Safety First: Important Precautions Before You Start
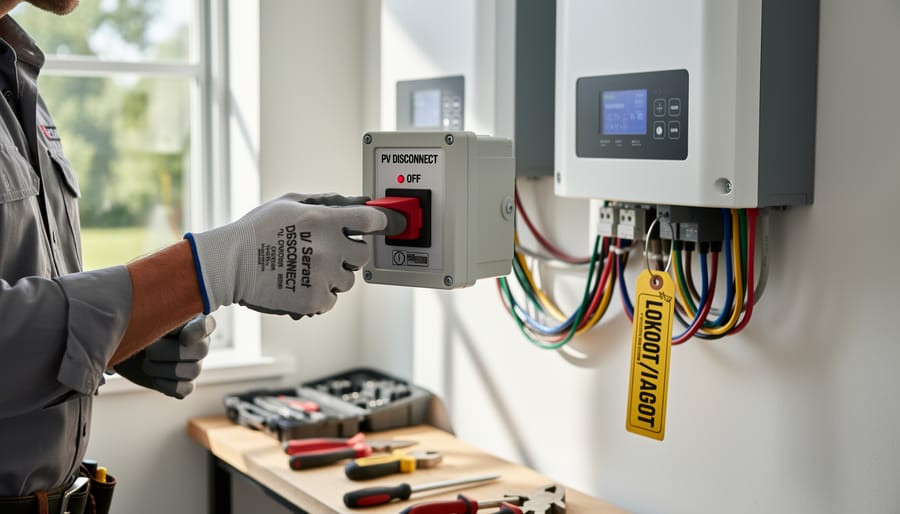
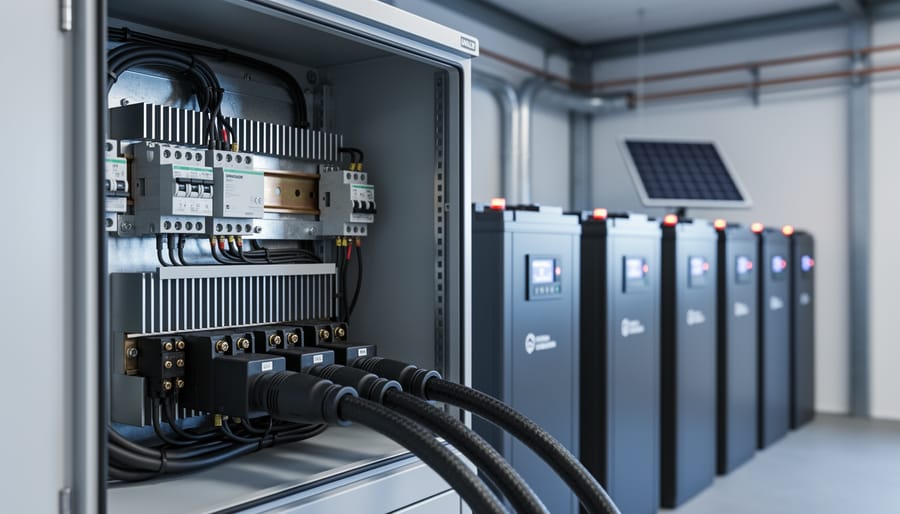
Shows the safety-first mindset by depicting power being disconnected before working on solar battery wiring.
I’ll admit I wasn’t always the most cautious person in my early solar days. I learned the hard way that treating electrical work casually is a recipe for trouble. Before you pick up that crimper, let’s talk about keeping yourself and your system safe.
Warning: Always disconnect solar panels (cover them or disconnect at the combiner box) and batteries at the main disconnect before working on any connections.
Working with live circuits isn’t just dangerous for you, it can arc and weld your crimper jaws shut, ruining the tool and potentially causing burns. I’ve seen it happen to someone who thought they could “just quickly” add a connector without shutting things down.
Keep your work area completely dry. Water and electricity are a bad combination, and moisture inside a crimp connector creates corrosion that degrades the connection over time. If you’re working outdoors, wait for clear weather.
Wear safety glasses every time. Wire strands can spring back when you cut or strip them, and metal shavings from crimping can fly toward your face. Your eyes are irreplaceable.
Understand your wire gauge ratings and never over-crimp. Squeezing too hard crushes the copper conductors, reducing their current-carrying capacity and creating resistance. In solar applications, this means voltage drop (wasted power), heat buildup at the connection point, and in worst cases, melted insulation or fire. Under-crimping is just as bad, loose connections arc and spark, generating even more heat.
Match your connector size precisely to your wire gauge. An 8 AWG wire needs an 8 AWG-rated connector. Forcing mismatched components together creates weak points that fail under load, especially problematic when you’re carrying 20, 30, or 40 amps through a solar charge circuit.
Step-by-Step: How to Crimp 8 AWG Wire Connections
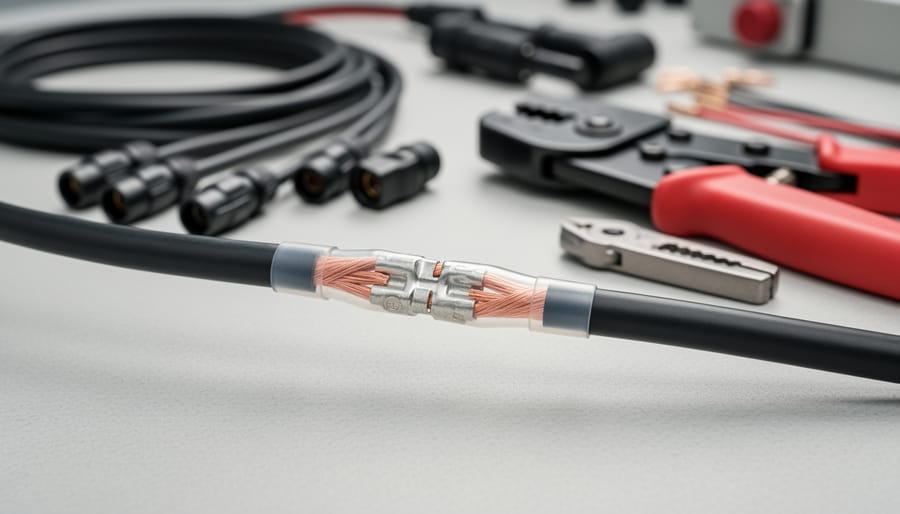
Highlights what a clean, properly protected crimped connection looks like before it’s integrated into the solar system.
Preparing Your Wire
Start by measuring the wire length you’ll need for your connection, then add an extra inch or two for flexibility. Trust me, it’s easier to trim excess than to splice in more wire later. Use sharp wire cutters to make a clean, square cut, ragged edges make everything harder.
Now comes the critical part: stripping the insulation. For most crimp connectors on 8 AWG wire, you’ll want to expose about 1/4 to 3/8 inch of bare conductor. Check your specific connector first, many have a strip gauge marked right on the barrel. Set your wire stripper to the correct gauge (8 AWG) to avoid nicking the copper strands underneath. Position the stripper at your target depth, squeeze firmly, and rotate it slightly as you pull off the insulation in one smooth motion.
Once stripped, inspect the exposed conductor closely. Look for any damaged or broken strands, even one or two can compromise your connection’s current-carrying capacity. If you spot damage, cut it off and strip again. Gently twist the strands clockwise to tighten them together and prevent any from straying during insertion.
Keep a small brush handy to wipe away any insulation debris before crimping. Clean conductors make better connections.
Selecting and Positioning the Right Connector
With your wire properly stripped, it’s time to match it with the right connector. For solar installations, you’ll primarily use three types: ring terminals (which bolt securely to battery posts and bus bars), spade terminals (for quick-connect applications like charge controller inputs), and butt connectors (when splicing two wires together in junction boxes).
Check the connector packaging for its wire gauge rating, it must match your 8 AWG wire. Most connectors are color-coded: yellow typically fits 10-12 AWG, blue handles 14-16 AWG, and red or blue vinyl-insulated connectors often accommodate 8 AWG. When in doubt, the barrel opening should snugly fit your stripped wire without excessive wiggle room.
Here’s the crucial part: slide the stripped wire into the connector barrel until the insulation touches the barrel’s entrance and you can see copper strands at the inspection window (if your connector has one). The wire should bottom out completely, if you see a gap between the insulation and barrel entrance, you haven’t inserted it far enough. This full insertion ensures maximum contact area and a reliable crimp.
Hold the wire and connector together firmly as you move to the crimper. Any slippage now means a weak connection later.
Making the Crimp
Now comes the moment of truth, actually making the crimp. This is where precision matters most, but don’t overthink it. Quality 8 wire crimpers are designed to make this nearly foolproof if you follow a few key steps.
First, locate the jaw on your crimper marked “8” or “8 AWG.” Most crimpers have multiple die cavities, each sized for specific wire gauges. Using the wrong one will give you either a weak crimp or a crushed connector. Slide your connector into the 8 AWG jaw so the barrel sits centered in the depression. The insulated portion should extend slightly beyond the crimper jaws, you’re only compressing the metal barrel, not the plastic sleeve.
Here’s where the ratcheting mechanism becomes your friend. When you squeeze the handles together, you’ll feel them click and lock partway through the stroke. Keep squeezing with firm, steady pressure, not jerky or hesitant, until the crimper automatically releases with a final click. This ratchet design ensures you apply enough force for a proper crimp without overdoing it.
Never release the handles early by manually disengaging the ratchet. I learned this the hard way on my first installation when I got impatient and popped the release. The result? A loose crimp that failed my tug test and wasted a perfectly good connector. Let the tool do its job completely. When it releases on its own, your crimp is done, uniform, centered, and mechanically sound.
Adding Heat Shrink Protection (Optional but Recommended)
Heat shrink tubing adds a critical layer of protection to your crimped connections, especially for solar installations exposed to rain, UV rays, and temperature swings. I always use it on outdoor connections, it’s cheap insurance against corrosion and moisture intrusion.
Slide the heat shrink over the wire before you crimp (don’t make my rookie mistake of crimping first and then realizing you can’t get it on). Choose tubing that’s slightly larger than your connector’s widest point. After crimping, slide the tubing over the entire connection so it covers both the crimp barrel and a bit of the wire insulation on each side.
Apply heat evenly using a heat gun or even a lighter, keeping it moving to avoid scorching. The tubing will shrink tight and may show a bit of adhesive seeping out at the ends, that’s perfect. It creates a waterproof seal that protects the connection from the elements and provides strain relief where the wire exits the connector.
For marine-grade protection, use dual-wall heat shrink with adhesive lining.
Testing Your Crimps: How to Verify a Solid Connection
A crimped connection is only as good as the verification you do afterward. I learned this the hard way when a connector I thought was solid came loose during my first solar installation, fortunately during testing, not after everything was buttoned up. Here’s how to make sure your crimps will hold up in the real world.
The Physical Tug Test
This is your first line of defense. Grasp the wire firmly with one hand and the connector with the other, then pull straight away with steady, moderate force, roughly the same pressure you’d use to open a stubborn jar lid. A properly crimped connection shouldn’t budge at all. The wire should not slide out of the connector barrel, and the connector itself shouldn’t deform or separate.
If the wire slips even slightly, that’s a failed crimp. Cut it off and start over. Don’t try to re-crimp the same connector, once it’s been compressed, the metal has formed to a specific shape and won’t make a reliable second attempt.
Visual Inspection Checklist
Get close and look carefully at your finished crimp. You’re checking for several things: The crimp should be centered on the barrel, not off to one side. The barrel should show clear compression marks from the crimper jaws, forming a hexagonal or rounded indent depending on your tool. There should be no exposed conductor wire visible outside the barrel, just insulation meeting the connector. The barrel shouldn’t be cracked, split, or flattened paper-thin (signs of over-crimping).
I like to run my finger along the crimp to feel for sharp edges or burrs that might indicate damage.
Multimeter Testing
For critical solar connections, especially those carrying significant current, a multimeter gives you definitive proof. Set your meter to continuity or low resistance mode (typically the ohm setting). Touch one probe to the wire and the other to the connector’s metal contact point. You should see near-zero resistance, for an 8 AWG crimp, anything under 0.5 ohms is excellent, and under 1 ohm is acceptable.
No reading or infinite resistance means you have no electrical connection. A reading significantly higher than 1 ohm suggests a poor crimp with limited contact between wire and connector. Either scenario requires redoing the crimp.
For continuity, most meters will beep or light up to confirm a complete circuit. This quick test takes five seconds and can save you from troubleshooting mysterious voltage drops months down the road.
When to Redo a Crimp
Don’t compromise here. Redo the crimp if the wire pulls out during the tug test, if you see any exposed conductor strands, if the barrel is cracked or severely deformed, or if your multimeter shows high resistance or no continuity. Solar connections can carry substantial current for decades, a marginal crimp today becomes a failure point tomorrow.
Common Mistakes and How to Avoid Them
I’ve made my share of mistakes learning to crimp properly, and I’ve helped countless DIYers troubleshoot theirs. The good news is that most crimping errors follow predictable patterns, and once you know what to look for, you can avoid them entirely. Here are the most common issues I see:
Under-crimping happens when you don’t apply enough pressure or release the crimper before it completes its cycle. The connector looks crimped but the wire can twist or pull out with minimal force. You’ll notice the crimp barrel isn’t fully compressed and may still have its original round or hexagonal shape instead of the distinctive indent pattern. Prevention is simple: always let the ratcheting crimper complete its full cycle until it releases on its own. Never force it open mid-crimp.
Over-crimping is the opposite problem and potentially more dangerous. You’ve crushed the connector so hard that individual copper strands break inside the barrel, reducing conductivity and creating a weak point that can fail under load or vibration. The telltale sign is a crimp that looks severely flattened or cracked, sometimes with copper strands visible at the edges. Avoid this by using only the jaw slot marked for your wire gauge. Don’t crimp twice in the same spot or switch to a smaller gauge slot thinking it will make a stronger connection.
Using the wrong gauge slot is surprisingly easy when you’re working quickly. I once spent twenty minutes troubleshooting a solar charge controller that kept throwing errors before realizing I’d crimped all my battery connections in the 10 AWG slot instead of the 8 AWG slot. The result was loose, high-resistance connections. Always double-check that the gauge marking on your crimper matches your actual wire size before squeezing.
Insufficient wire strip length leaves a gap between the wire end and the bottom of the connector barrel, creating a weak crimp that relies on insulation instead of copper. Strip exactly the length recommended for your connector type, typically one-quarter to three-eighths of an inch. Too much stripped wire is also problematic, leaving exposed copper that can short against other terminals.
Mixing incompatible components causes endless frustration. Not all connectors rated for 8 AWG wire work equally well with stranded versus solid conductors, and some are designed specifically for copper or aluminum. Check your connector packaging to confirm it matches both your wire gauge and conductor type. When in doubt, buy connectors from the same manufacturer as your crimper for guaranteed compatibility.
What to Do Next: Integrating Your Crimped Connections into Your Solar System
Now that you’ve mastered the crimp itself, it’s time to put those connections to work in your solar system. Start by connecting your crimped wires to their destinations, solar panels, charge controllers, batteries, and inverters. Pay close attention to polarity markings (positive and negative) and double-check before tightening anything down.
When securing ring or spade terminals to binding posts and terminal blocks, torque matters more than you might think. Most solar components specify a torque range (often 30-50 inch-pounds for battery terminals, less for smaller connections). Too loose and you’ll get resistance and heat; too tight and you risk stripping threads or cracking the terminal. If you don’t have a torque screwdriver, snug the connection firmly by hand, then give it an additional quarter turn with a screwdriver, that usually gets you close.
Keep your wire runs organized and labeled from the start. Use zip ties or wire loom to bundle cables together, and label both ends of each wire with its function (“Panel 1 Positive” or “Battery Negative to Controller”). Your future self will thank you when troubleshooting or expanding your system. Route wires away from sharp edges and moving parts, and secure them so they won’t sag or chafe over time.
Before you energize everything, revisit your wire gauge calculations. Even perfect crimps won’t save you from voltage drop if your wire is undersized for the distance and amperage. Use voltage drop limits as your guide, typically keeping losses under 3% for most solar circuits. Our site’s calculators can verify your gauge is appropriate for your specific setup, whether you’re working with individual components or complete solar panel kits.
Frequently Asked Questions
Can I use my 8 wire crimper for smaller or larger wire gauges?
Most 8 wire crimpers can handle a range of sizes, typically from 10 AWG down to 8 AWG and sometimes up to 6 AWG, but you’ll get the best results using the crimper for its intended gauge. If you frequently work with smaller wires like 10 or 12 AWG in your solar projects, consider adding a dedicated 6 wire crimper to your toolkit for more precise crimps on those lighter gauge connections.
Do I need different crimpers for different connector types?
No, a quality 8 wire crimper works with all standard connector types including ring terminals, spade terminals, and butt connectors, as long as they’re sized for 8 AWG wire. The crimper’s jaws are designed to compress the connector barrel uniformly regardless of the terminal shape on the other end.
How long do crimped connections last outdoors in a solar installation?
Properly crimped connections using quality connectors and heat shrink protection can last 20 to 25 years or more in outdoor solar applications. The key is using tinned copper connectors rated for marine or outdoor use, adding heat shrink tubing for moisture protection, and ensuring the crimp itself is done correctly with full compression and no exposed conductor.
Can I crimp aluminum wire with an 8 wire crimper?
You can crimp aluminum wire, but you must use connectors specifically rated for aluminum and apply an anti-oxidant compound to prevent corrosion at the connection point. Standard copper connectors won’t work reliably with aluminum because the metals expand at different rates and aluminum oxidizes quickly, leading to high resistance and potential failure.
When should I solder instead of crimp for solar connections?
For solar panel and battery connections, crimping is actually preferred over soldering because crimped joints remain flexible and resist vibration better, which matters in installations subject to wind or thermal cycling. Solder can create brittle joints that crack over time, and it’s also harder to do properly in field conditions without introducing cold solder joints that have high resistance.
What’s the difference between ratcheting and non-ratcheting crimpers?
Ratcheting crimpers lock in place and won’t release until you’ve applied full compression, which guarantees consistent, complete crimps every time. Non-ratcheting models let you release early, which often results in weak, under-crimped connections that can fail under load.
These questions come up constantly in our solar DIY community, and I’ve learned the answers through plenty of trial and error on my own projects. The gauge compatibility question is especially important because trying to force an 8 AWG crimper onto 4 AWG wire, for example, just won’t give you a secure connection, and you risk damaging both the connector and the tool.
One thing I wish I’d known earlier is that crimping beats soldering for DC solar connections almost every time. I spent years soldering everything because that’s what I learned in electronics classes, but modern crimp connections are actually more reliable for the high-current, outdoor environment of solar systems. The flexibility of a crimped joint handles thermal expansion and contraction much better than rigid solder.
If you’re serious about solar DIY work, I’d also recommend getting a basic solar power meter to verify your system is performing as expected after you’ve made all your connections. It’s one thing to crimp wires correctly, but being able to measure actual voltage and current flow gives you confidence that everything is working together properly.
Mastering the art of crimping 8 AWG wire connections is honestly one of those skills that might seem intimidating at first, but becomes second nature with just a bit of practice. I remember my own nervous first attempts, triple-checking every connection and wondering if I was doing it right. Now it’s as routine as brewing my morning coffee, and I know you’ll get there too.
The beauty of proper crimping is that it’s not just about making connections that work today. It’s about building solar systems that will serve you reliably for decades, weathering storms and temperature swings without giving you headaches. Every solid crimp you make is an investment in your energy independence and peace of mind.
I’d love to hear how your first crimping project goes. Drop a comment below sharing your experience, any challenges you faced, or tips you discovered along the way. Our community thrives on these shared stories, and your insights might be exactly what helps the next person tackle their solar installation with confidence.
Ready to take the next step? Check out our wire sizing calculator to ensure your connections can handle your system’s current demands safely. And if you’re planning a complete solar setup, our beginner’s guide to off-grid solar systems will walk you through the entire process from panels to power.
Happy crimping, and here’s to clean, reliable solar energy powering your adventures.
How useful was this post?
Click on a star to rate it!
Average rating 0 / 5. Vote count: 0
No votes so far! Be the first to rate this post.
We are sorry that this post was not useful for you!
Let us improve this post!
Tell us how we can improve this post?
charlesnoble
Here at Spheral Solar, I’m a hands-on solar power enthusiast, constantly exploring and experimenting with DIY solutions. I’m dedicated to sharing my discoveries, insights, and even the bumps I hit along the way, all in the pursuit of a more sustainable future.
Why Is My Solar Inverter Showing Arc Fault E050?… by Charlesnoble September 9, 2026 Nine times out of ten, an E050 arc fault error on your solar inverter means a loose connection somewhere in your DC wiring. Before you panic or call an expensive technician, check every MC4 connector between your panels and inverter. A single connection that wasn’t snapped fully closed or has…
How to Wire a 7-Way RV Plug: Step-by-Step Diagram… by Charlesnoble September 12, 2026 Wiring a 7-pin RV plug correctly connects your tow vehicle to your trailer’s lights, brakes, and auxiliary power in about 45 minutes with basic hand tools and careful attention to the color-coded wire standard. The diagram follows a specific layout mandated by the RV Industry Association: each pin controls a…
How to Wire and Configure a Battery Inverter 3 Phase… by Charlesnoble September 16, 2026 Charging a battery bank with a 3-phase inverter requires connecting your inverter’s AC output to a compatible battery charger or hybrid inverter system that can convert the 3-phase power back to DC for storage. Most DIY solar setups achieve this by using a hybrid inverter that handles both solar input…
How to Connect SolarEdge to Ethernet for Seamless… by Charlesnoble July 9, 2026 Connecting your SolarEdge inverter to your home network via Ethernet cable takes about 15 minutes and gives you real-time access to your system’s performance data from any device with internet access. You’ll plug a standard Ethernet cable into the RJ45 port on your inverter (usually labeled “LAN” or “Ethernet”), run…
5 Sources of Electrical Energy Every Solar DIYer… by Charlesnoble July 1, 2026 Electricity powers our homes from five main sources: solar panels, wind turbines, hydroelectric generators, fossil fuel generators, and battery storage systems. If you’re building a reliable off-grid setup or backing up your solar array, understanding how these sources work together transforms a single-point-of-failure system into resilient, year-round power. I learned…
How to Install a Solar Heating System for Your… by Charlesnoble August 25, 2026 You can heat your inground pool with solar panels mounted on your roof, garage, or ground rack, capturing free energy from the sun and extending your swim season by months while slashing heating costs to nearly zero. A properly sized solar heating system circulates pool water through black collector panels…
Subscribe for handpicked DIY projects, exclusive tips, and giveaways.
Crimping 8-gauge wire correctly takes about 2 minutes per connection once you’ve got the hang of it, but those two minutes make the difference between a solar installation that lasts 25 years and one that fails in the first storm. An 8-gauge wire crimper is a heavy-duty hand tool designed to cold-forge lugs and terminals… Read more: How to Use an 8 Wire Crimper for Solar Panel and Battery Connections
Building a solar powered outdoor table takes about 8 to 12 hours and requires basic woodworking skills plus some familiarity with electrical connections. You’ll mount solar panels directly onto a custom-built or modified outdoor table, wire them to a charge controller and battery system housed underneath, and add USB ports or AC outlets for charging… Read more: How to Build a Solar Powered Outdoor Table for Your Camping Setup
Charging a battery bank with a 3-phase inverter requires connecting your inverter’s AC output to a compatible battery charger or hybrid inverter system that can convert the 3-phase power back to DC for storage. Most DIY solar setups achieve this by using a hybrid inverter that handles both solar input and battery charging simultaneously, or… Read more: How to Wire and Configure a Battery Inverter 3 Phase System for Off-Grid Solar