How to Convert Lamp Post to Solar
Updated:

Converting high-pressure sodium (HPS) lamp posts to solar fittings requires removing the existing light fitting. A suitable solar lamp post-light fitting is installed in its place to complete the conversion.
Most post-lights recently utilized HPS, LPS (low-pressure sodium), or MH (metal halide) lamps. Collectively known as high-intensity discharge lamps(HID), they are very effective at large-area illumination. Even so, their eclipse is by low-voltage LED luminaires, particularly solar-powered fixtures. And it’s not hard to understand why.
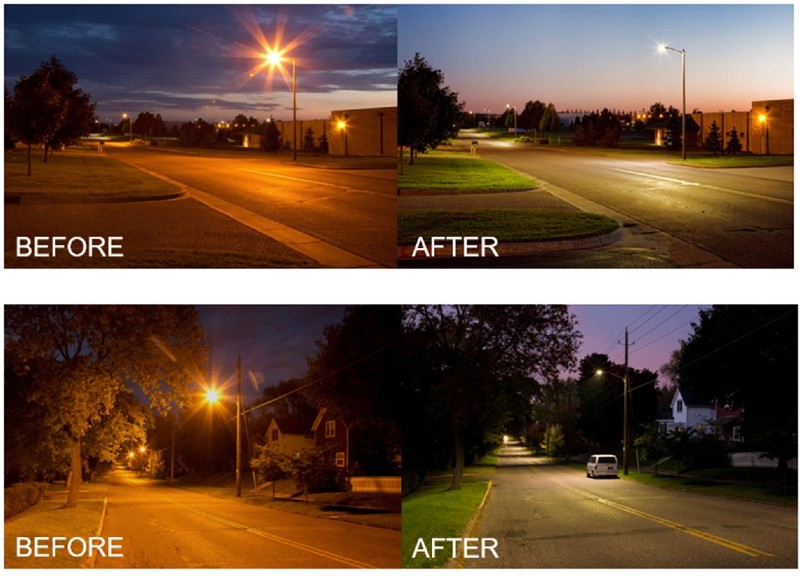
HID lamps emit light in a color spectrum that, while generally effective, does pose several challenges. By comparison, LED lighting is more natural and can be color-adjusted to suit a wide range of situations. The light emitted by LED fittings is also more focused than HID lights, leading to increased efficiency. Not to mention that a solar post light adds no additional power costs after the initial installation.
Most solar post-light fittings are self-contained and come installation-ready with solar panels, batteries, and related charging circuits. So, converting older lamp posts to solar is a lot easier than replacing HID or gas lamp fittings.
You remove the old fittings and replace them with solar lights of your choice. Most solar lights come standard with mounting hardware designed to attach to existing post designs. So conversion is generally straightforward and well within the abilities of most DIY enthusiasts.
Are Led Lights Better Than Hid Types, and Why?
HID lamps, in their various guises, have seen used as industrial, security, and street lights for over 100 years. They emit light in a color range that makes them fairly effective at illuminating large areas. However, their light spectrum is quite limited when it comes to accurately reproducing colors.
Below is a good example of HID street lighting (left) and LED lighting (right) in Los Angeles.
 Color Rendition
HID lights are not all that effective at accurate color rendition. This is well illustrated in the image below. The left Honda Jazz is actually red, and the right one is black, but both appear black under LPS illumination.
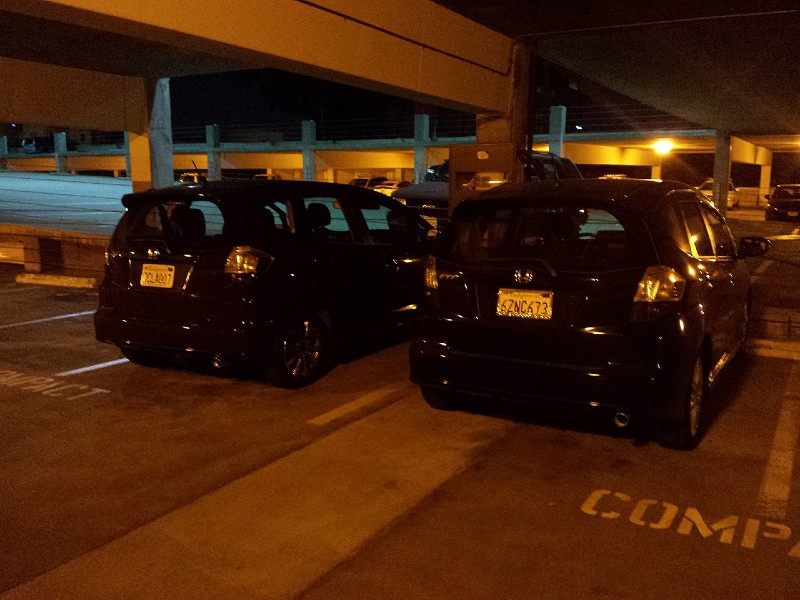
LED lights, on the other hand, deliver excellent CRI ratings. This really comes into its own with solar lamp posts, street lights, and parking lot lights. And that is not the only mark of the difference between HID and LED lights. Here are some others.
Life Span
The average HPS light has an expected operational life of 24,000 hours. LED lamps can last between 50,000 and 100,000 hours.
Directional Illumination
HID lamps are unidirectional, meaning they emit light in a 360° arc, much of which is actually lost. LED lights are better focused and emit light in a maximum arc width of 180° with minimal losses.
Complexity and Heat Generation
HID light fittings are complex and are subject to thermal degradation. LED light post fittings are less complex, run much cooler, and thus need less maintenance.
Warm-up Times
Unlike HID lamps that can take up to 10 minutes, LED lights start up instantaneously.
Power Efficiency
Solar-powered lights are initially more expensive than traditional HID fittings but use no additional grid electricity during operation.
Converting a Garden Lamp Post to Solar LED Lights
We are going to look at converting two types of post-lights to solar. Low-level residential or landscape lamp posts and high-level driveway, tennis court, or parking lot light posts.
Converting a Gas or Electric Lam Post to a Solar Post Light
Residential driveway or landscaping lamp posts are typically between 4 and 7 feet high, making the conversion a fairly simple. You won’t need much more than a step ladder, adjustable wrench, screwdrivers, a side cutter, or wire stripper.
Replacement of an Existing Landscape Fitting With a Solar Post Light
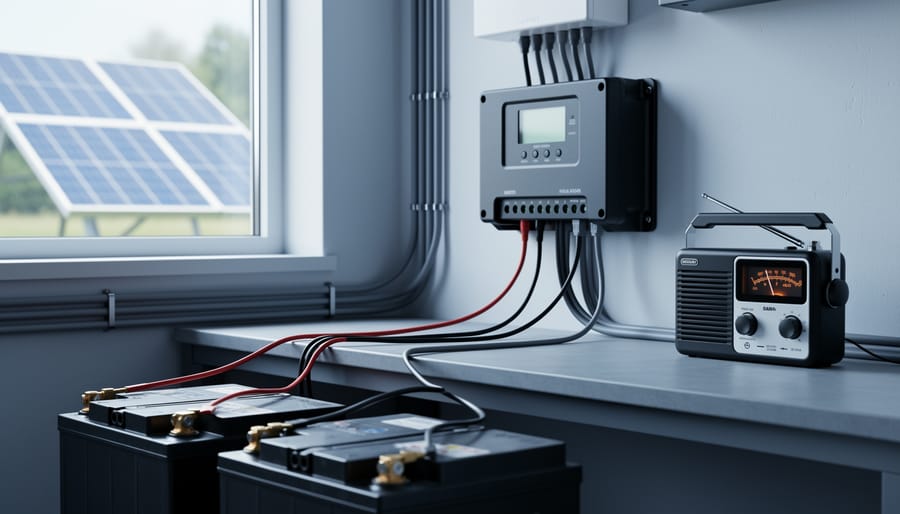
Solar post light fixtures consist of an integrated solar light fitting, solar panel, charge control circuit, and batteries. So it would be best if you essentially only had the fitting, as no additional solar fitting wiring is necessary. Before choosing a solar fitting, measuring the lamp post diameter at its top is a good idea. When choosing a replacement fitting, check that the mounting lug is the same or a little bigger than that diameter.
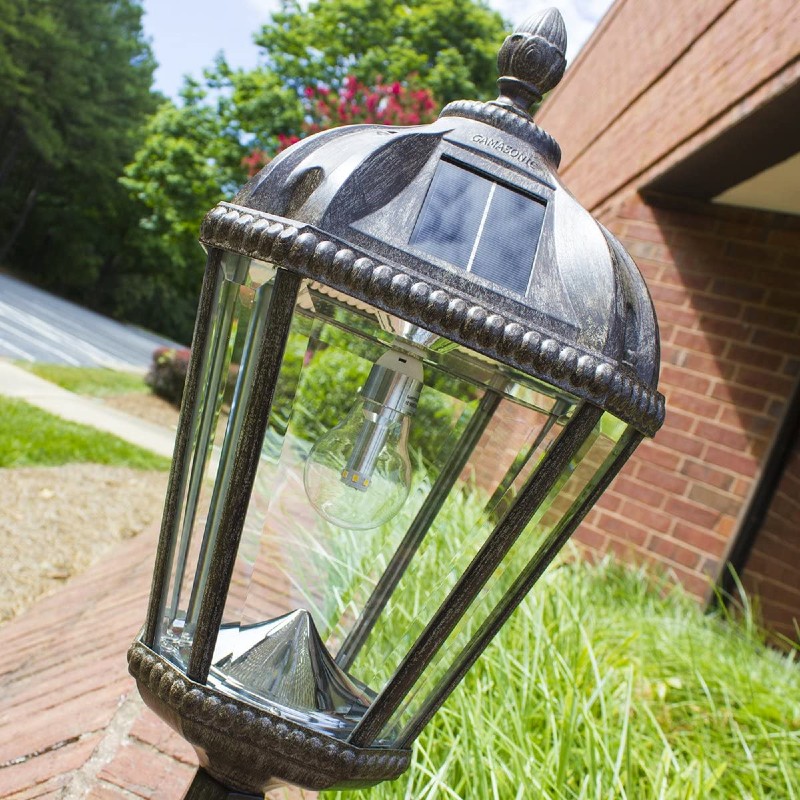
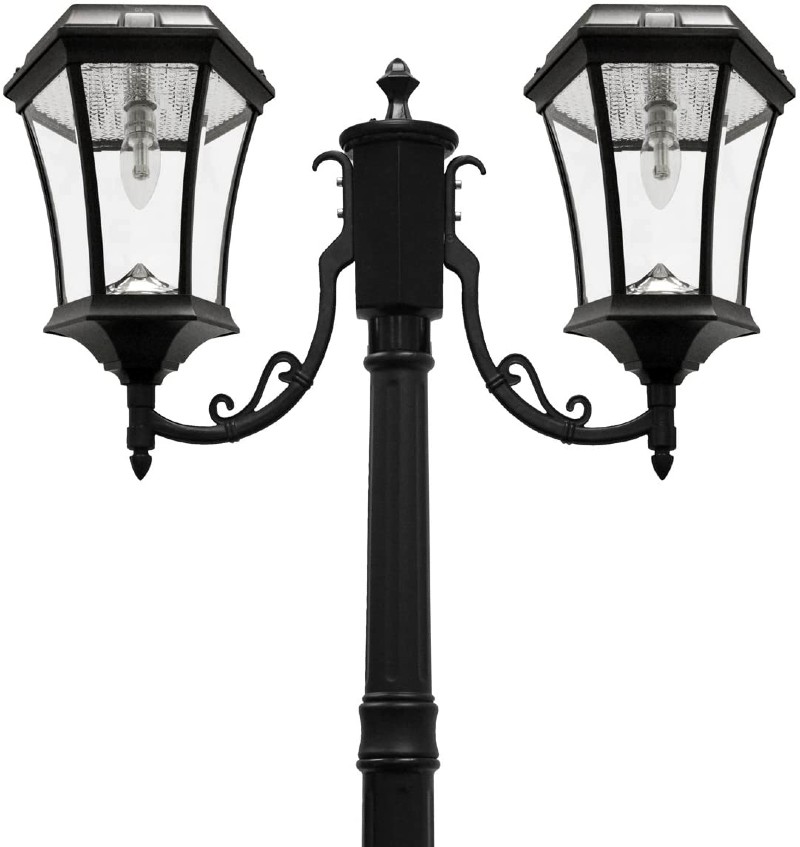
Illustrated below are a couple of examples of Gama Sonic solar lights.
Removing the Old Fitting
Important Note:
- If the existing lamp is 120 volt AC, you should get an electrician to disconnect it. Always isolate the MAINS supply before disconnecting the light if you have the necessary electrical knowledge. When the electrical supply is off, disconnect the light post power cable from its connector block or circuit breaker.
- If the light runs from a step-down 12-volt power supply, isolate the supply and disconnect the cable as above. You can then put the mains supply back on.
- If you are replacing a gas lamp, shut off the gas supply and disconnect the gas hoses if possible.
Once the light safely isolates, remove the post-mounting screws, hex head studs, or bolts. You may have to grind or cut the welding beads off if the fitting tack-weld to the post.
When the fitting is free of the post, remove it and pull any slack power cable out of the post. Disconnect the cable from the fitting and put it in a safe place. If you plan to remove the cable, you can pull it clear of the post now. If not, tape expose ends up and tuck them back into the post-light pole.
Installing the New Fitting
You can now put the LED bulb into the solar lamp fitting, close it up, and place it on the pole. If it is a good fit, tighten up the locking screws, check that the fitting is secure, and you’re done. If it is too big or small, you’ll have to shim the fitting or fashion a reducer for the pole.
Note for gas lamp replacement: If you have replaced a gas lamp with a solar light, removing all the gas lines back to the source is best.
Converting a High-Level Lamp Post to Solar LED lights
Replacing high-level post lights is much more tricky and typically requires a long extension ladder. This requires a high degree of ladder safety. High-level solar lamp post lights also differ significantly from the previous examples. They are generally larger and heavier and more difficult to manage at heights. Their height also makes the process of troubleshooting faulty lights more challenging.
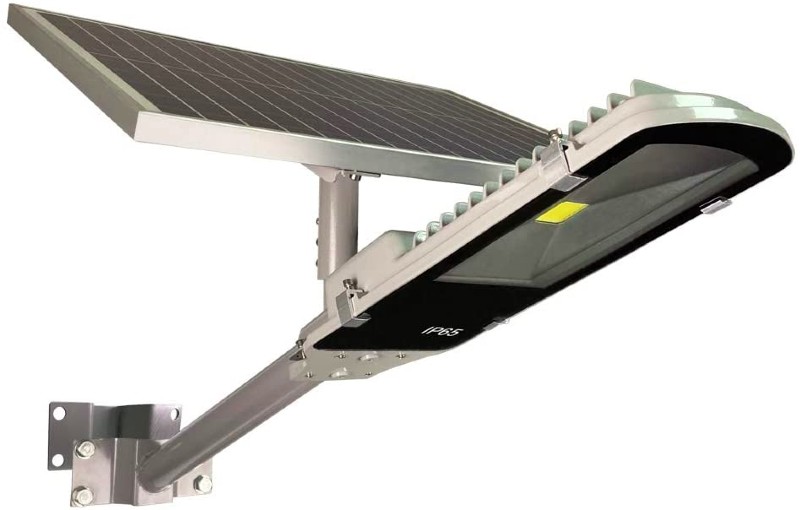
Illustrated below is a typical high-level solar post-light.
Important Note: The above-mentioned electrical safety cautions and procedures also apply to this type of replacement.
Removing the Existing Light Fitting
There are so many types of high-level light fittings in general use that it’s impractical to be specific about their removal. The disconnection, cable management, and fitting removal will depend on the specifics and individual discretion.
Generally, power feed cables for streets and driveways, parking lots, or tennis courts are underground. So, leaving them inside the pole is the easiest way of getting it done. Just disconnect the cables from the power source and insulate the old connection points.
Installing the New Solar Lamp Post Fitting
Most high-level solar post-light fitting consists of the light fixture and a separate, angled solar panel. Many panel mounts are adjustable, allowing the panel to angle for maximum light gathering. It also makes the panels easier to clean.
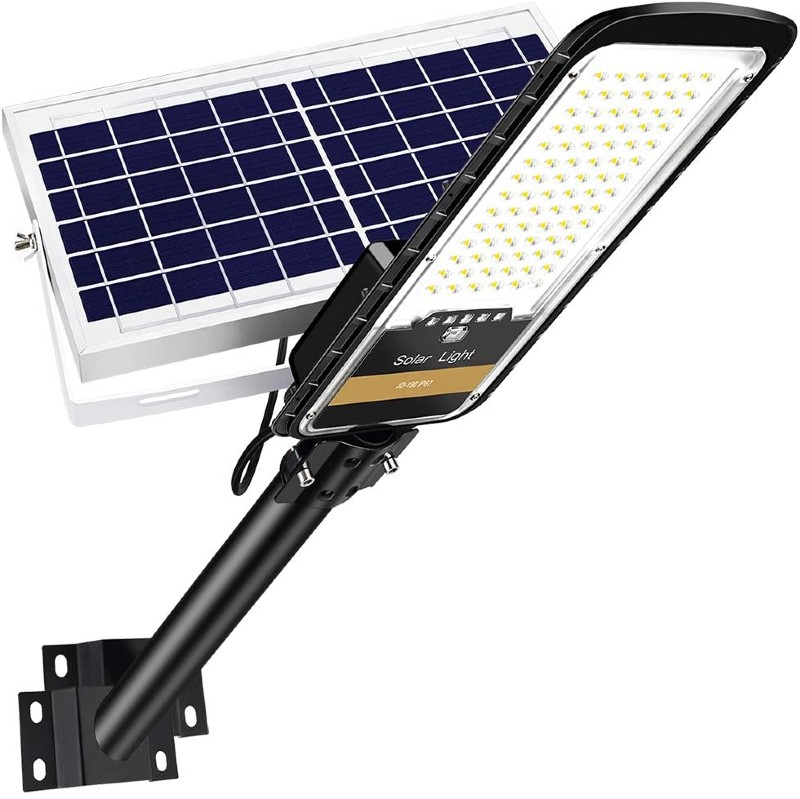
The most common attachment method is a clam shell or U clamp, which is easy to install. Fortunately, no other wiring or additional equipment is required. So, once you have the light fixture in place, it can securely tighten up, and that’s that.
In Summary
The value of solar lighting is beyond question in today’s green-centric, low-carbon footprint environment. And beyond any environmentally friendly issues, solar lighting is essential to individual and corporate efforts to cut costs. Therefore, replacing traditional lamp post lighting with solar post lights would be integral to those efforts.
So, if you have conventional post lights in your business or garden lighting scheme, now’s the time to switch to solar lights.


