Residential ERV Systems: How They Work with Solar Ventilation to Freshen Your Home
Updated:
A residential ERV (Energy Recovery Ventilator) exchanges stale indoor air with fresh outdoor air while recovering up to 80% of the heating or cooling energy that would otherwise be lost, and when paired with solar power, it delivers year-round ventilation with virtually no grid electricity cost. Unlike a simple exhaust fan or open window, an ERV uses a heat-exchange core to precondition incoming air, meaning your home stays fresh without wasting the energy you’ve already spent heating or cooling your space.
For those of us building solar-powered homes or trying to reduce our carbon footprint, the ERV is one of those rare pieces of equipment that actually earns its keep. I installed my first solar-powered ERV back in 2019 after watching my basement workshop turn into a sauna every summer, and the difference in air quality was immediate. No more stuffiness, no more condensation on the windows, and my solar array handled the 50-watt load without breaking a sweat.
The beauty of running an ERV on solar is the match in timing. Ventilation needs tend to peak during the day when people are home and outdoor air is warmest, exactly when your panels are producing the most power. A typical residential ERV draws between 40 and 120 watts depending on speed, well within the capability of even a modest rooftop array or a dedicated off-grid setup.
This guide walks you through what an ERV actually does, how to calculate the right size for your space, and the practical steps to wire one into your solar system. We’ll cover installation basics, common pitfalls, and real-world performance numbers so you can decide if a solar-powered ERV makes sense for your home.
Key Takeaway: An ERV exchanges stale indoor air for fresh outdoor air while recovering both heat and moisture, keeping your home comfortable without wasting energy. Choose an ERV over an HRV if you live in a humid climate or want to maintain balanced indoor humidity year-round.
What an ERV Actually Does in Your Home
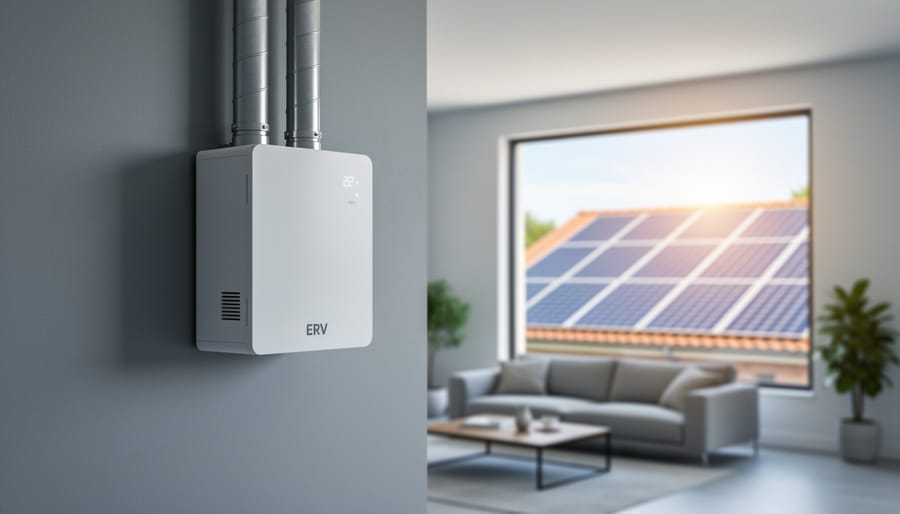
A residential ERV installed indoors shows how ventilation equipment can fit neatly into real home mechanical spaces.
Think of your home as a living, breathing space, because it kind of is. Every time you cook, shower, breathe, or even just exist indoors, you’re adding moisture, carbon dioxide, and odors to the air. Meanwhile, paint, furniture, and building materials off-gas chemicals. An ERV, Energy Recovery Ventilator, solves this by continuously swapping stale indoor air for fresh outdoor air, but here’s the clever part: it does so without throwing away all the heating or cooling energy you’ve already paid for.
Here’s how it works. An ERV has two separate airstreams running through a heat exchanger core. One stream pulls stale air from inside your home (typically from bathrooms, kitchens, and laundry rooms) and exhausts it outside. The other stream brings fresh outdoor air in and distributes it to living spaces. As these two airstreams pass through the core, without actually mixing, the ERV transfers heat and humidity between them. In winter, the outgoing warm air preheats the incoming cold air. In summer, the outgoing cool air pre-cools the incoming hot air. You get fresh air, but your furnace or air conditioner doesn’t have to work as hard.
Now, you might hear about HRVs, Heat Recovery Ventilators, and wonder what’s different. An HRV only recovers heat, not moisture. That’s fine in very cold, dry climates where you want to retain indoor humidity in winter. But in most residential settings, especially if you live somewhere with muggy summers or humid winters, an ERV’s ability to manage moisture is a big advantage. It keeps your home from getting too damp in summer or too dry in winter, while still delivering that fresh-air benefit.
I’ve experimented with both in my own projects, and for most DIYers looking to pair ventilation with solar, an ERV hits the sweet spot. It runs quietly in the background, sips power, and makes your home healthier without cranking up the energy bill. Once you’ve sized your solar setup correctly, which we’ll cover next, you can ventilate continuously and still stay off-grid or dramatically reduce your grid dependence.
Why Pair an ERV with Solar Power
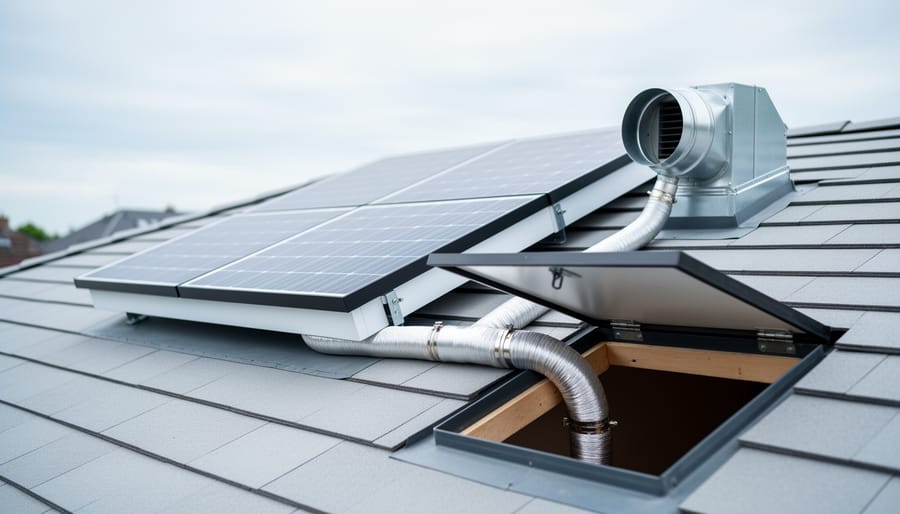
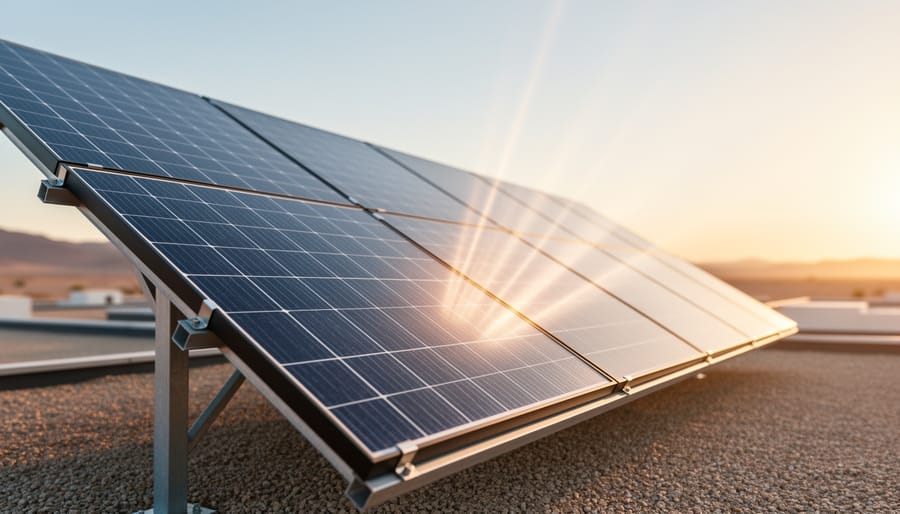
Solar panels on a residential roof visually reinforce the idea of powering an ERV with renewable energy.
ERVs run anywhere from 16 to 24 hours a day in most homes, especially if you’re serious about maintaining consistent indoor air quality. That constant operation makes them perfect partners for solar energy. Unlike appliances that spike your power usage for short bursts, an ERV draws a steady 20 to 100 watts (depending on the model and fan speed), which means you can size your solar setup precisely and avoid the guesswork that comes with variable loads.
The math works beautifully. A typical 50-watt ERV running 20 hours a day consumes about 1,000 watt-hours (1 kWh) daily. A modest 300-watt solar panel in most of the U.S. produces roughly 1.2 to 1.5 kWh per day, easily covering that load with energy left over for battery charging. When you pair solar-powered ventilation with a battery bank, your ERV keeps running through the night and on overcast days without pulling from the grid.
The financial upside compounds over time. At the national average of $0.16 per kWh, a 50-watt ERV running continuously adds about $58 to your annual electric bill if grid-powered. Offset that with solar, and you’re looking at payback within a few years on a small panel and battery setup, especially if you’re already building a home solar array. Beyond the direct savings, you’re insulating yourself from rate hikes and peak-hour pricing.
I ran a 40-watt DC ERV off a single 200-watt panel and a 100Ah lithium battery in my workshop for two summers, mostly to test the concept before recommending it to anyone. The system kept the space comfortable without adding a dime to my electric bill, and I barely thought about it once I dialed in the charge controller settings. That hands-off reliability is what sold me. You’re not juggling schedules or worrying about vampire loads; the sun handles it.
The environmental angle matters too. Ventilation is non-negotiable for health, but powering it with renewables means you’re not burning fossil fuels just to breathe cleaner air. It’s a small step toward energy independence that actually improves your daily life instead of asking you to sacrifice comfort.
Sizing Your Solar Setup for an ERV
Calculating Daily Energy Needs
Start with your ERV’s nameplate or spec sheet, the wattage is usually printed right on the unit or listed in the manual. Most residential ERVs pull between 20 and 100 watts, though larger or higher-speed models can reach 150 watts. Write that number down.
Next, estimate how many hours per day you’ll run the system. Many folks run their ERVs continuously (24 hours) for consistent air quality, but you might dial it back to 16 or 12 hours if you’re managing a smaller battery bank. Multiply wattage by hours to get watt-hours (Wh) per day. For example, a 60-watt ERV running 20 hours daily uses 1,200 Wh (60 × 20).
Now add a buffer. Inverters typically lose 10-15% converting DC solar power to AC, and cloudy stretches reduce panel output. I multiply my daily Wh figure by 1.3 to cover both. In our example, 1,200 Wh × 1.3 = 1,560 Wh. That’s your target daily energy need.
If you want to cross-check airflow against power draw, especially if your ERV has variable speeds, the same CFM calculation principles apply: higher CFM settings pull more watts. Round up rather than down; it’s easier to have surplus solar capacity than to discover your battery drained overnight.
Panel and Battery Recommendations
For a typical residential ERV drawing 50-100 watts, a single 200-watt solar panel usually provides enough power during daylight hours, with some surplus to charge batteries. If you live in a cloudier climate or want to run the ERV 24/7 without grid backup, consider bumping up to a 300-400W panel to ensure consistent charging even on overcast days.
Battery sizing depends on how many hours you need the ERV to run without sun. A modest 100Ah 12V battery (roughly 1.2 kWh usable) can power a 60-watt ERV for about 16 hours, covering overnight operation and cloudy mornings. For uninterrupted 24-hour runtime in winter with limited sun, aim for 200Ah or more. Lithium batteries offer better depth-of-discharge and longevity than lead-acid, though they cost more upfront.
Should you integrate with your existing home solar array or build a dedicated circuit? If you already have a grid-tied or off-grid system with spare capacity, tying the ERV into that setup is simpler and avoids duplicate charge controllers. Just confirm your inverter and battery bank can handle the added load. A dedicated circuit makes sense if your main system is maxed out or if you want the ERV isolated, say, to keep ventilation running even if the house battery bank drains for other uses. In my own shop, I ran a separate small panel and battery for the ERV precisely for that independence.
Either approach works; the key is matching your daily energy needs to your local sun availability and budget.
Installing and Wiring Your Solar ERV System
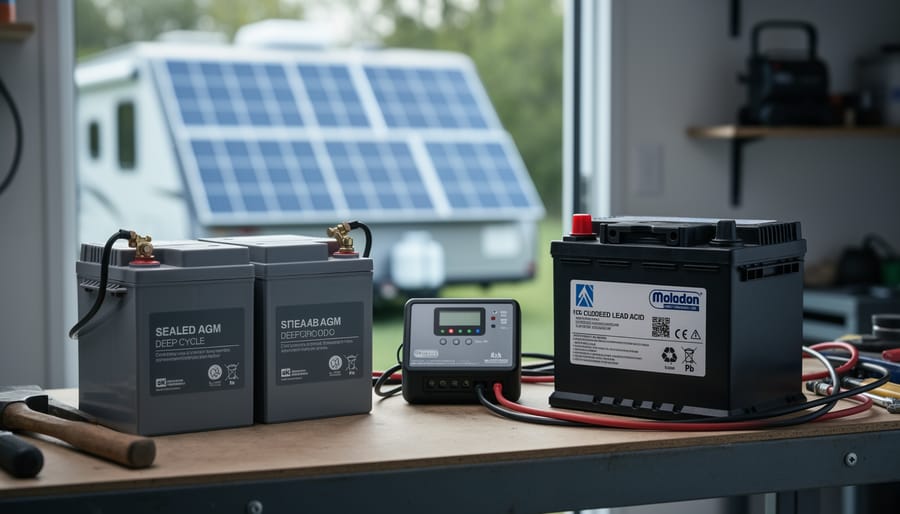
Hands-on work in a clean workshop setting helps readers picture safe, practical DIY solar ventilation installation.
DC vs. AC ERV Units
DC-native ERV units run directly on 12V or 24V power from your solar battery bank, eliminating the need for an inverter. This makes them 10-15% more efficient overall, since you skip the conversion losses that happen when stepping up DC to AC. If you’re building a dedicated whole-house ventilation system powered entirely by solar, a DC unit simplifies your wiring and cuts energy waste.
The catch? DC residential ERVs are harder to find. Most mainstream brands still manufacture AC units (120V in North America), which means you’ll need an inverter to run them from your battery. The inverter adds cost, complexity, and a small efficiency penalty, but AC units give you far more choice in capacity, features, and warranty support.
In 2026, a few specialty suppliers offer DC ERVs sized for homes, but expect to pay a premium and accept longer lead times. For most DIY solar setups, a quality AC ERV with a reliable pure sine wave inverter strikes the best balance between performance, availability, and long-term support.
Safety and Code Compliance
Before you mount your ERV or connect any wires, take the time to understand what your local jurisdiction requires. Building codes vary widely: some areas mandate licensed electrician sign-off for any grid-tied work, while others allow homeowner-installed DC systems under certain conditions. Start by calling your building department or checking their website for residential ventilation and electrical permits.
Most jurisdictions follow the National Electrical Code (NEC) for wiring, which includes specific rules for low-voltage DC circuits, battery banks, and inverters. Following solar wiring safety principles, proper gauge wire, fusing at the battery, strain relief, and weather-resistant connections, is essential whether your system is inspected or not. For the ERV unit itself, look for products certified to UL or CSA standards, and follow the manufacturer’s installation manual precisely.
When in doubt, hire help. A licensed HVAC tech can ensure your ductwork meets ventilation codes, and an electrician familiar with solar can handle grid-tied connections safely. Cutting corners on permits or wiring creates fire risks and may void warranties or complicate home sales down the line.
Real-World Performance and Maintenance
Once your solar ERV is up and running, you’ll quickly settle into a rhythm with it. Most units produce a gentle hum, think refrigerator or bathroom fan, that fades into background noise within a day or two. If yours suddenly gets louder, that’s often a sign the filters need attention or a duct has come loose.
Speaking of filters, mark your calendar now: you’ll want to check them every two to three months and replace or clean them as needed. I learned this the hard way when I neglected mine for six months and watched airflow drop by half. Now I set a phone reminder for the first Saturday of every third month, pull the filters, vacuum them off, and pop them back in. Takes five minutes. If you’ve got pets or live on a dusty road, bump that schedule to monthly.
Seasonal shifts affect performance more than you’d expect. In summer, your ERV pulls harder to exchange hot, humid outdoor air, so you might see a 10-15% uptick in power draw. Winter’s the opposite: cold, dry air moves easily, and your system coasts. Your solar panels produce less in winter, but thankfully the ERV demands less too, so it usually balances out. Keep an eye on your battery bank during long cloudy stretches, I’ve had to dial back run-time from 24/7 to 18 hours on overcast December weeks to avoid draining the batteries overnight.
Monitoring is half the fun. A simple energy meter between your charge controller and the ERV gives you real-time wattage. I check mine weekly via a Bluetooth app and log it in a spreadsheet. Over two years, I’ve documented how the system adapts, what drains the battery, and where I can optimize. It’s the same discipline that led to my real savings story with attic ventilation, small tweaks add up. Expect to tinker a bit in year one, then enjoy smooth sailing after that.
Troubleshooting Common Issues
Sunlit interior atmosphere suggests cleaner, fresher air circulating through the home from an ERV system.
When your solar-powered ERV isn’t performing as expected, a few common culprits usually explain the issue, and most have straightforward fixes you can tackle yourself.
Insufficient solar production on cloudy days is the most frequent complaint. If your ERV stops running or your battery drains faster than anticipated during overcast weather, you’ve likely undersized your system for real-world conditions. Solution: add 25-30% more panel capacity than your minimum calculation suggests, or expand your battery bank to carry you through two to three cloudy days. I learned this the hard way during a foggy Oregon winter, my initial 200W panel struggled until I added another 100W and doubled my battery reserve.
Battery drain overnight means your storage isn’t sufficient for continuous operation. Check your battery’s state of charge each morning; if it regularly drops below 50%, you need more capacity or should reduce nighttime ERV runtime with a timer. Some folks switch to intermittent operation (20 minutes per hour) overnight to stretch battery life.
ERV won’t start at all? First, verify your charge controller shows power reaching the battery, then check all wire connections for corrosion or looseness. If you’re using an inverter for an AC unit, confirm it’s sized correctly (add 20% headroom beyond the ERV’s rated wattage) and actually powering on.
Why isn’t my ERV running at night?
Your battery likely lacks the capacity to power the unit through dark hours, or you don’t have grid backup configured. Size your battery for 12-16 hours of operation, or install a grid-tie system to supplement solar after sunset.
Why is airflow weak even though the unit is running?
Check your filters first, they should be cleaned or replaced every three months. Also inspect ductwork for kinks, disconnections, or blockages at intake and exhaust vents.
Can I run an ERV on solar in winter?
Absolutely, but you’ll need larger battery reserves and possibly more panel capacity to compensate for shorter daylight hours and lower sun angles. Plan for 40-50% more storage than summer requirements.
Poor airflow despite the fan running points to clogged filters or duct problems. Pull your filters and hold them to light, if you can’t see through them, they’re overdue for cleaning. Walk your ductwork next, feeling for disconnected joints or crushed flex duct.
Condensation or frost buildup in the ERV core happens when indoor and outdoor temperature differences are extreme. This is normal in very cold weather; most units have defrost cycles. If it persists, ensure your ERV is rated for your climate zone and that you’re not over-ventilating (which brings in excessive moisture). Reduce runtime temporarily during temperature extremes, and make sure your home’s humidity levels stay between 30-50%.
Keep a simple log of solar production, battery voltage, and ERV runtime for a week when issues arise, patterns emerge quickly and point you toward the real problem.
Pairing a residential ERV with solar power isn’t just about cutting your electricity bill, though that’s a nice bonus. It’s about taking control of your home’s air quality while staying true to your renewable energy goals. You get fresh, filtered air cycling through every room, moisture levels balanced naturally, and the peace of mind that comes from running it all on sunshine instead of grid power.
I’ve watched my own solar-powered ventilation system hum along for years now, and it still amazes me how something so simple can make such a noticeable difference. The air feels cleaner. The house stays comfortable year-round. And knowing the whole setup runs on energy I’m generating myself? That never gets old.
If you’re thinking about making the leap, start with the math. Head over to our solar calculator and plug in your ERV’s wattage, it’ll show you exactly what panel and battery setup you need. Don’t overthink it. You can start small, learn as you go, and expand when you’re ready.
And once you’ve got your system running, come share your experience in our community. Post your install photos, talk through challenges, celebrate wins. That’s how we all get better at this solar thing, by learning from each other’s real-world projects. Your healthier, solar-powered home is closer than you think.
How useful was this post?
Click on a star to rate it!
Average rating 0 / 5. Vote count: 0
No votes so far! Be the first to rate this post.
We are sorry that this post was not useful for you!
Let us improve this post!
Tell us how we can improve this post?
charlesnoble
Here at Spheral Solar, I’m a hands-on solar power enthusiast, constantly exploring and experimenting with DIY solutions. I’m dedicated to sharing my discoveries, insights, and even the bumps I hit along the way, all in the pursuit of a more sustainable future.
How to Install a Whole House Ventilation System… by Charlesnoble July 12, 2026 Installing a whole house ventilation system powered by solar takes about 6 to 8 hours for a moderately skilled DIYer and delivers continuous fresh air circulation without touching your electric bill. The core method involves mounting a solar panel on your roof to power an intake or exhaust fan, routing…
What Is Sustainable Interior Design (and How Does It Work)? by Charlesnoble August 4, 2026 Sustainable interior design is the practice of creating beautiful, functional living spaces using materials, methods, and systems that minimize environmental impact while maximizing energy efficiency and occupant health. It goes beyond choosing a bamboo coffee table or swapping out light bulbs. At its core, sustainable design rethinks how rooms are…
5 Sources of Electrical Energy Every Solar DIYer… by Charlesnoble July 1, 2026 Electricity powers our homes from five main sources: solar panels, wind turbines, hydroelectric generators, fossil fuel generators, and battery storage systems. If you’re building a reliable off-grid setup or backing up your solar array, understanding how these sources work together transforms a single-point-of-failure system into resilient, year-round power. I learned…
What Should a Pool Be Heated To? The Complete… by Charlesnoble July 4, 2026 Most residential swimming pools should be heated to 78-82°F for comfortable recreational use, though your ideal temperature depends on how you plan to use the pool, who’s swimming, and whether you want to keep energy costs in check. If you’re heating with solar, you’ll find this sweet spot is easy…
AGM vs. Lead Acid Batteries: Which Is Better for… by Charlesnoble July 23, 2026 AGM batteries outperform traditional flooded lead acid batteries in nearly every practical measure that matters for solar installations, but whether that performance justifies their 50-100% higher upfront cost depends entirely on how hands-off you want your system to be and how often you’ll cycle the battery deeply. After running both…
How to Install a Solar Heating System for Your… by Charlesnoble August 25, 2026 You can heat your inground pool with solar panels mounted on your roof, garage, or ground rack, capturing free energy from the sun and extending your swim season by months while slashing heating costs to nearly zero. A properly sized solar heating system circulates pool water through black collector panels…
Subscribe for handpicked DIY projects, exclusive tips, and giveaways.
After testing dozens of solar chargers across camping trips, power outages, and backyard experiments, we found the X-Dragon 20W delivers the most reliable charging performance for phones and tablets, while the Goal Zero Nomad 50W steps up when you need to power larger devices or handle extended emergencies. If you’re planning weekend hikes, assembling an… Read more: 7 Best Solar Powered USB Chargers of 2026, Tested and Reviewed
There is something special about a mature tree. Decades of growth, shade that actually cools the house, branches that the kids climbed, a root system that has quietly held the yard together through every storm. So when circumstances force a move, whether it is a home renovation, a new driveway, or a construction project that… Read more: How to Move a Mature Tree Without Killing It: The Complete Relocation Guide
A mass energy conversion calculator lets you determine how much energy is locked inside any amount of matter using Einstein’s famous equation E=mc². Whether you’re working on a physics assignment or simply curious about the enormous energy potential in everyday objects, the calculation itself takes just seconds once you understand the formula’s three components: energy… Read more: How to Use a Mass Energy Conversion Calculator (Step-by-Step Guide)